Chocolate Chip Zucchini Cookie Bars-Easy Recipe
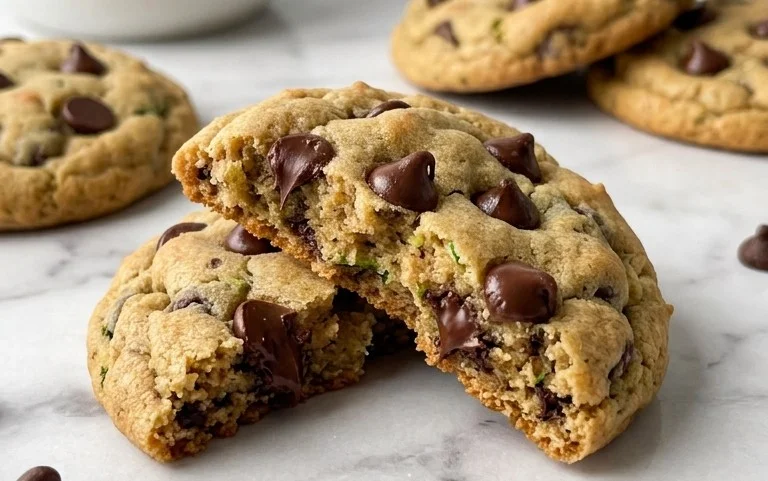
Chocolate Chip Zucchini Cookie Bars are about to become your new favorite way to sneak veggies into dessert. Trust me on this one! We all know that feeling – the craving for something sweet and comforting, but also the subtle guilt that follows. That’s where these magical bars come in. They’re the perfect marriage of tender, chewy cookie and the surprising goodness of zucchini, all packed into an easy-to-make bar.
Why You’ll Love These
What makes these Chocolate Chip Zucchini Cookie Bars so special? Firstly, they are incredibly forgiving. Whether you’re a seasoned baker or just starting out, you’ll find this recipe a breeze. Secondly, the zucchini, while not overtly tasting like a vegetable, adds an unbelievable moisture and tenderness that’s hard to achieve with regular cookies. It makes them impossibly chewy and absolutely delicious. Finally, who can resist the allure of melty chocolate chips baked into a golden, soft bar? They’re perfect for sharing (or not!), for snack time, or even as an after-dinner treat. Get ready to impress yourself and everyone around you with these fantastic bars!
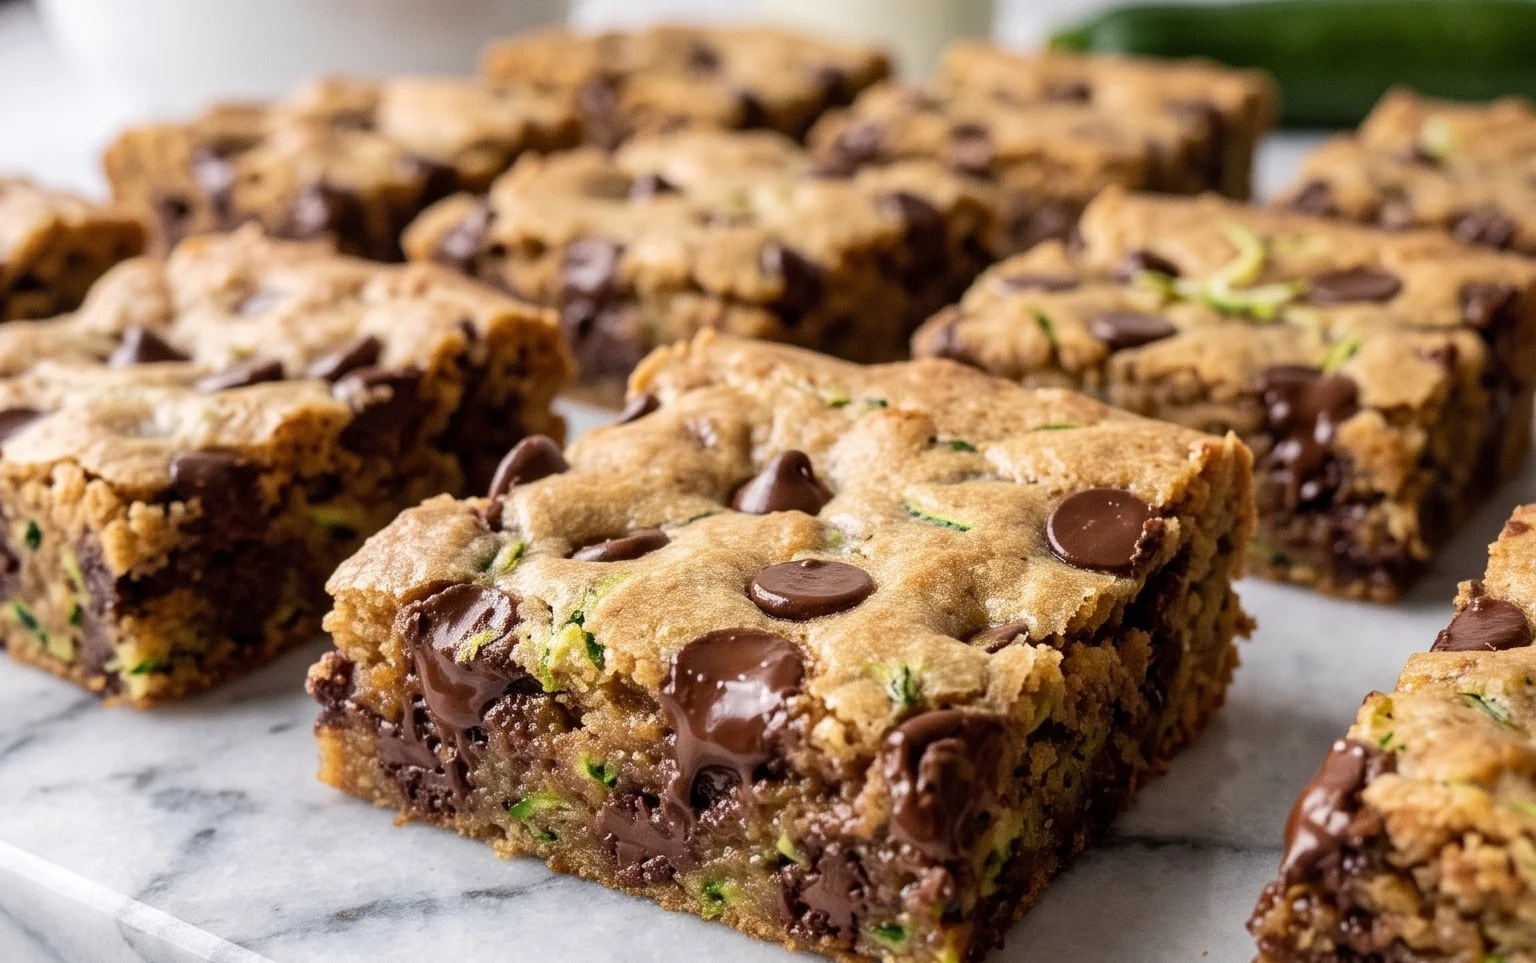
Chocolate Chip Zucchini Cookie Bars
There’s something magical about a treat that manages to be both decadent and surprisingly wholesome. These Chocolate Chip Zucchini Cookie Bars are exactly that. They’re packed with gooey chocolate chips, the warm spice of cinnamon, and a secret ingredient that adds incredible moisture without a hint of zucchini flavor: shredded zucchini! This recipe is a fantastic way to use up an abundance of summer squash and create a dessert that the whole family will adore, even the pickiest eaters. The best part? They bake up into convenient bars, making them perfect for snacking, lunchboxes, or sharing at gatherings.
Let’s get baking!
Ingredients:
Getting Started: Prep and Preheating
Before we dive into mixing, let’s get our kitchen ready. Preheat your oven to 350°F (175°C). This consistent temperature is key for even baking. Next, prepare your baking pan. I recommend using an 8×8 inch square baking pan. Line it with parchment paper, leaving some overhang on the sides. This creates easy handles for lifting the bars out of the pan once they’re baked, and it also makes cleanup a breeze. Don’t skip this step; it’s a lifesaver!
Now, let’s talk about that zucchini. It’s crucial to shred it finely. A box grater works perfectly. Once shredded, take a generous handful and squeeze out as much liquid as possible. You can do this by pressing it in your hands or wrapping it in a clean kitchen towel or cheesecloth and wringin extractg it out. This step is vital to prevent soggy bars and ensure a lovely texture.
Mixing the Dry Ingredients
In a medium-sized bowl, whisk together the dry ingredients: the all-purpose flour, baking soda, salt, and ground cinnamon. Whisking ensures that the leavening agents and salt are evenly distributed throughout the flour, which will help your bars rise evenly and prevent pockets of saltiness. The cinnamon adds a beautiful warmth and aroma that complements the chocolate perfectly.
Creating the Wet Ingredients Base
In a larger bowl, combine the melted butter (or coconut oil) with the packed brown sugar and granulated sugar. Using melted butter makes this step incredibly easy – no creaming required! Stir the sugars and butter together until well combined. Then, add the large egg (or applesauce) and the vanilla extract. Whisk everything together until the mixture is smooth and glossy. The brown sugar contributes moisture and a richer, more caramel-like flavor, while the granulated sugar provides a slight crispness to the edges.
Combining Wet and Dry, and Adding the Stars
Now, it’s time to bring it all together. Gradually add the dry ingredients to the wet ingredients, mixing until just combined. Be careful not to overmix at this stage, as overmixing can develop the gluten in the flour, leading to tougher cookies. You want to mix until you no longer see streaks of dry flour.
Once the batter is almost fully combined, gently fold in the finely shredded and squeezed zucchini. It might seem like a lot of zucchini, but it’s going to disappear into the batter and work its magic, making these bars incredibly moist and tender. Finally, fold in the semi-sweet chocolate chips. If you’re using chopped nuts, this is also the time to add them. Stir them in until they’re evenly distributed throughout the batter.
Baking and Finishing Touches
Spoon the batter into your prepared 8×8 inch baking pan. Spread it out evenly with a spatula, making sure it reaches all the corners. If you’re feeling fancy, and I often do, this is the perfect moment to sprinkle a little flaky sea salt over the top of the batter before it goes into the oven. The salt will contrast beautifully with the sweet chocolate and create little pockets of flavor.
Bake for 25-30 minutes, or until the edges are golden brown and a toothpick inserted into the center comes out with moist crum extractbs (not wet batter). The baking time can vary slightly depending on your oven, so keep an eye on them, especially during the last few minutes.
Once baked, let the bars cool completely in the pan on a wire rack. This is a crucial step for allowing them to set properly. Trying to cut them too soon will result in a crum extractbly mess. Once they are fully cooled, use the parchment paper overhang to lift the entire slab out of the pan. Then, place it on a cutting board and cut into bars. These are delicious served at room temperature, or you can even warm them up slightly for an extra gooey treat. Enjoy every delicious bite of these surprisingly healthy chocolate chip zucchini cookie bars!
Conclusion:
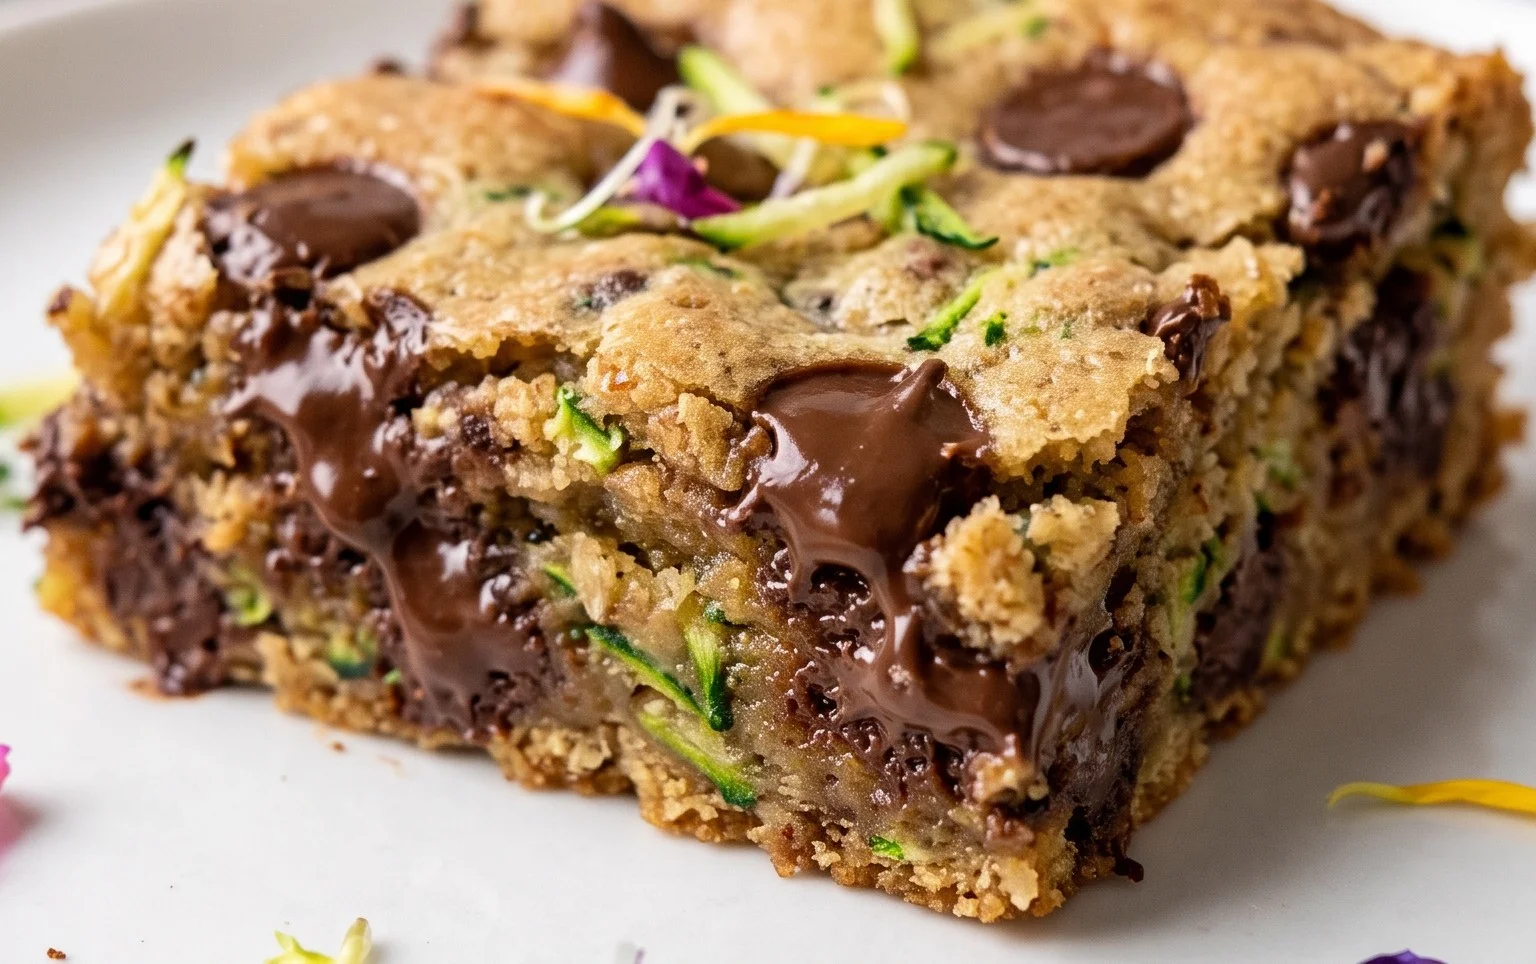
So there you have it – your guide to making the most incredibly moist and delicious Chocolate Chip Zucchini Cookie Bars! This recipe truly is a winner because it takes a humble vegetable and transforms it into a sweet treat that no one will suspect is packed with goodness. The zucchini not only adds moisture but also creates a wonderfully tender crum extractb, making these bars a delight to bite into. They’re perfect for a quick snack, a delightful dessert, or even a surprise breakfast treat (we won’t tell!).
When it comes to serving, these bars are fantastic on their own, but consider a drizzle of cream cheese frosting for an extra touch of decadence, or a dusting of powdered sugar for a lighter feel. They also pair beautifully with a glass of cold milk or a warm cup of coffee. Feeling adventurous? Try adding a handful of chopped walnuts or pecans for a delightful crunch, or swap out some of the chocolate chips for white chocolate or butterscotch chips. I really encourage you to give these Chocolate Chip Zucchini Cookie Bars a try; I’m confident they’ll become a fast favorite in your baking repertoire!
Frequently Asked Questions:
Can I taste the zucchini in these bars?
Not at all! The flavor of the zucchini is completely masked by the sweet chocolate chips and warm spices. The zucchini’s primary role is to add moisture and a tender texture, making the bars incredibly decadent without any discernible vegetable taste. It’s a secret ingredient that just makes them better!
How should I store these cookie bars?
Once completely cooled, store your Chocolate Chip Zucchini Cookie Bars in an airtight container at room temperature for up to 3-4 days. For longer storage, you can refrigerate them for up to a week, or freeze them for up to 3 months. They are surprisingly delicious straight from the fridge or gently reheated!
Can I make these bars gluten-free?
Yes, you absolutely can! To make these Chocolate Chip Zucchini Cookie Bars gluten-free, simply substitute a good quality gluten-free all-purpose flour blend for the regular all-purpose flour. You might need to adjust the liquid slightly depending on your flour blend, but generally, it’s a straightforward swap. Ensure your other ingredients, like chocolate chips, are also gluten-free.
Chocolate Chip Zucchini Cookie Bars
Delicious and moist chocolate chip cookie bars made with fresh zucchini and a hint of cinnamon. A perfect treat for any occasion.
Ingredients
-
1 cup all-purpose flour
-
½ teaspoon baking soda
-
½ teaspoon salt
-
1 teaspoon ground cinnamon
-
½ cup unsalted butter, melted
-
¾ cup brown sugar, packed
-
¼ cup granulated sugar
-
1 large egg
-
1½ teaspoons vanilla extract
-
1½ cups finely shredded zucchini, squeezed dry
-
1 cup semi-sweet chocolate chips
-
chopped walnuts or pecans (optional)
-
sprinkle of flaky salt on top before baking (optional)
Instructions
-
Step 1
Preheat oven to 350°F (175°C). Line an 8×8 inch baking pan with parchment paper. -
Step 2
In a medium bowl, whisk together the flour, baking soda, salt, and cinnamon. -
Step 3
In a large bowl, cream together the melted butter, brown sugar, and granulated sugar until well combined. -
Step 4
Beat in the egg and vanilla extract until smooth. -
Step 5
Stir in the shredded zucchini. Gradually add the dry ingredients to the wet ingredients, mixing until just combined. Fold in the chocolate chips and any optional nuts. -
Step 6
Spread the batter evenly into the prepared baking pan. Sprinkle with flaky salt if desired. -
Step 7
Bake for 20-25 minutes, or until a toothpick inserted into the center comes out clean. -
Step 8
Let cool completely in the pan before cutting into bars.
Important Information
Nutrition Facts (Per Serving)
It is important to consider this information as approximate and not to use it as definitive health advice.
Allergy Information
Please check ingredients for potential allergens and consult a health professional if in doubt.