Moist Chocolate Banana Bread Recipe-Easy & Delicious
Chocolate Banana Bread. Isn’t that just a symphony of delicious words? If you’re anything like me, the mere mention of this iconic treat conjures up memories of warm, cozy kitchens and pure, unadulterated comfort. This isn’t just any quick bread; it’s a beloved classic that manages to be both incredibly simple to make and utterly decadent. What makes our Chocolate Banana Bread so special? It’s the magical marriage of sweet, ripe bananas and rich, dark chocolate. That perfect balance creates a moist, tender crum extractb bursting with flavor. It’s the ultimate way to use up those overripe bananas on your counter, transforming them into something extraordinary. Get ready to bake the best Chocolate Banana Bread you’ve ever tasted – I promise it’s a game-changer!
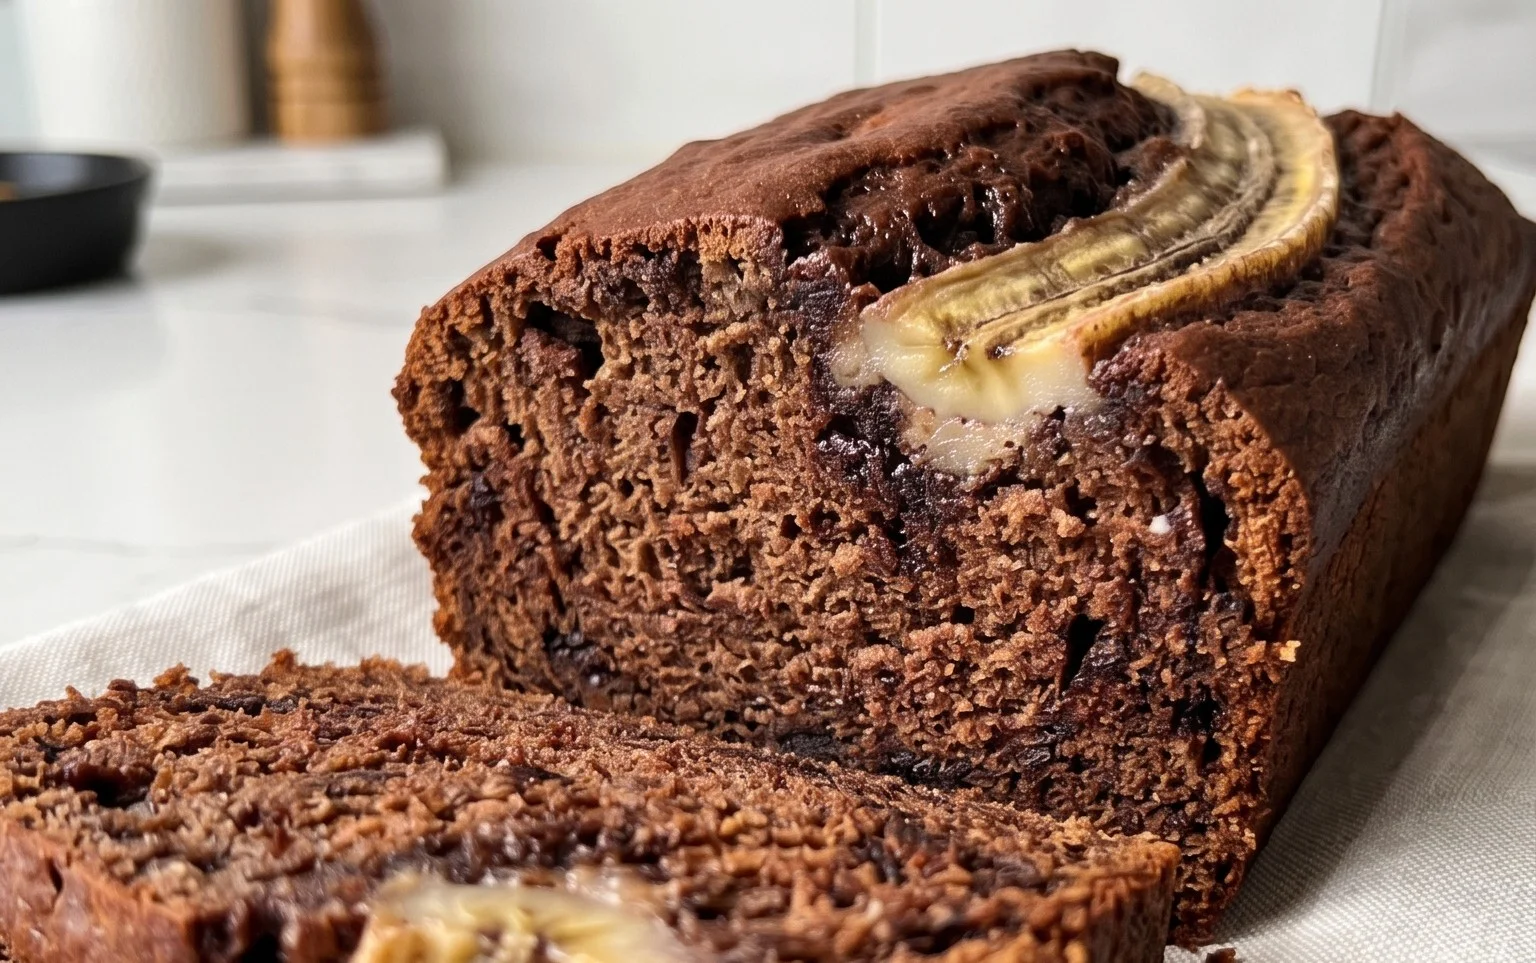
This chocolate banana bread recipe is a revelation! It’s the perfect fusion of a comforting classic and a decadent treat. Imagin extracte the sweet, familiar aroma of banana bread filling your kitchen, but with an added layer of rich, dark chocolate. This loaf is incredibly moist, not too sweet, and packed with satisfying flavor. It’s the ideal accompaniment to a morning coffee, an afternoon snack, or even a light dessert. The beauty of this recipe is its simplicity, making it accessible for bakers of all levels. Plus, using ripe bananas means you’re giving those overripe fruits a delicious second life. Let’s get baking!
Ingredients:
*Note on eggs: For a vegan option, you can substitute the two large eggs with two flax eggs. To make a flax egg, whisk together 2 tablespoons of ground flaxseed with 6 tablespoons of water and let it sit for 5-10 minutes until it thickens to a gel-like consistency.
**Note on almond milk: Feel free to use any milk you prefer, such as oat milk, soy milk, or even regular dairy milk. The key is to have a liquid to help with moisture and binding.
Getting Started: Preheating and Preparing Your Pan
Before you even think about mixing ingredients, it’s crucial to get your oven preheated and your loaf pan ready. This ensures that your banana bread starts baking immediately once it’s in the oven, leading to a more even rise and a better texture. Preheat your oven to 350°F (175°C). While the oven is heating, prepare your loaf pan. You can do this by either greasing it thoroughly with butter or cooking spray and then lightly flouring it, tapping out any excess flour. Alternatively, and my preferred method for easy cleanup, is to line your loaf pan with parchment paper. Cut a piece of parchment paper that fits the bottom of the pan, and then cut two long strips that will overlap and hang over the sides. This creates “sling” that you can later use to lift the entire loaf right out of the pan once it’s cooled, making removal a breeze.
Step 1: The Dry Ingredients – Building the Foundation
In a large mixing bowl, combine all of your dry ingredients. This includes the white whole wheat flour, light brown sugar, unsweetened cocoa powder, baking soda, and salt. Whisk these ingredients together thoroughly. This step is important for several reasons. Firstly, it ensures that all the dry components are evenly distributed. This means no pockets of baking soda, which can lead to an uneven rise or a metallic taste, and no clumps of flour or cocoa. Secondly, whisking aerates the flour and cocoa powder, which can contribute to a lighter final product. Make sure to break up any lumps in the brown sugar and cocoa powder to ensure a smooth consistency.
Step 2: The Wet Ingredients – Creamy Goodness
In a separate medium-sized bowl, mash your ripe bananas until they are smooth and free of large lumps. The riper the bananas, the sweeter and more flavorful your bread will be, and the easier they are to mash. Next, add the 2 large eggs to the mashed bananas. Whisk them in until well combined. Then, pour in the unsweetened almond milk and the vanilla extract. Finally, add the melted coconut oil. Stir everything together until it’s a uniform, creamy mixture. The melted coconut oil adds a wonderful richness and contributes to the incredible moistness of this bread. Ensure the coconut oil is melted but not hot to avoid scrambling the eggs.
Step 3: Combining Wet and Dry – The Magic Happens
Now it’s time to bring your wet and dry ingredients together. Pour the wet banana and chocolate mixture into the bowl with the dry ingredients. Gently fold them together using a spatula or wooden spoon until just combined. It’s very important not to overmix at this stage. Overmixing can develop the gluten in the flour too much, resulting in a tough and dense bread. You should still see a few streaks of flour; that’s perfectly fine. The goal is to incorporate the ingredients without overworking the batter. Once the batter is mostly combined, gently fold in the 1/2 cup of chocolate chips. Reserve some extra chocolate chips if you like to sprinkle them on top for an extra chocolatey finish before baking.
Step 4: Pouring and Topping – Ready for the Oven
Pour the batter into your prepared loaf pan, spreading it evenly with your spatula. If you’re adding extra chocolate chips for topping, sprinkle them generously over the surface of the batter now. Press them in slightly so they don’t all sink to the bottom during baking. This is also the stage where you can add other optional toppings, like a sprinkle of sea salt for a salted chocolate effect, or even some chopped nuts if that’s your preference. Smooth the top of the batter so it bakes evenly.
Step 5: Baking – The Aromatic Transformation
Place the loaf pan in the preheated oven. Bake for approximately 50-60 minutes. The baking time can vary depending on your oven, so it’s crucial to check for doneness. You’ll know the chocolate banana bread is ready when a toothpick inserted into the center comes out clean, or with just a few moist crum extractbs attached (but no wet batter). If the top of the bread starts to brown too quickly before the inside is cooked, you can loosely tent it with aluminum foil for the remaining baking time. Once baked, remove the loaf from the oven and let it cool in the pan for about 10-15 minutes. This allows it to set slightly before you attempt to remove it. Then, use the parchment paper sling to carefully lift the loaf out of the pan and place it on a wire rack to cool completely. Patience is key here; a fully cooled loaf is much easier to slice and tastes even better as the flavors meld. Enjoy this delicious creation!
Conclusion:
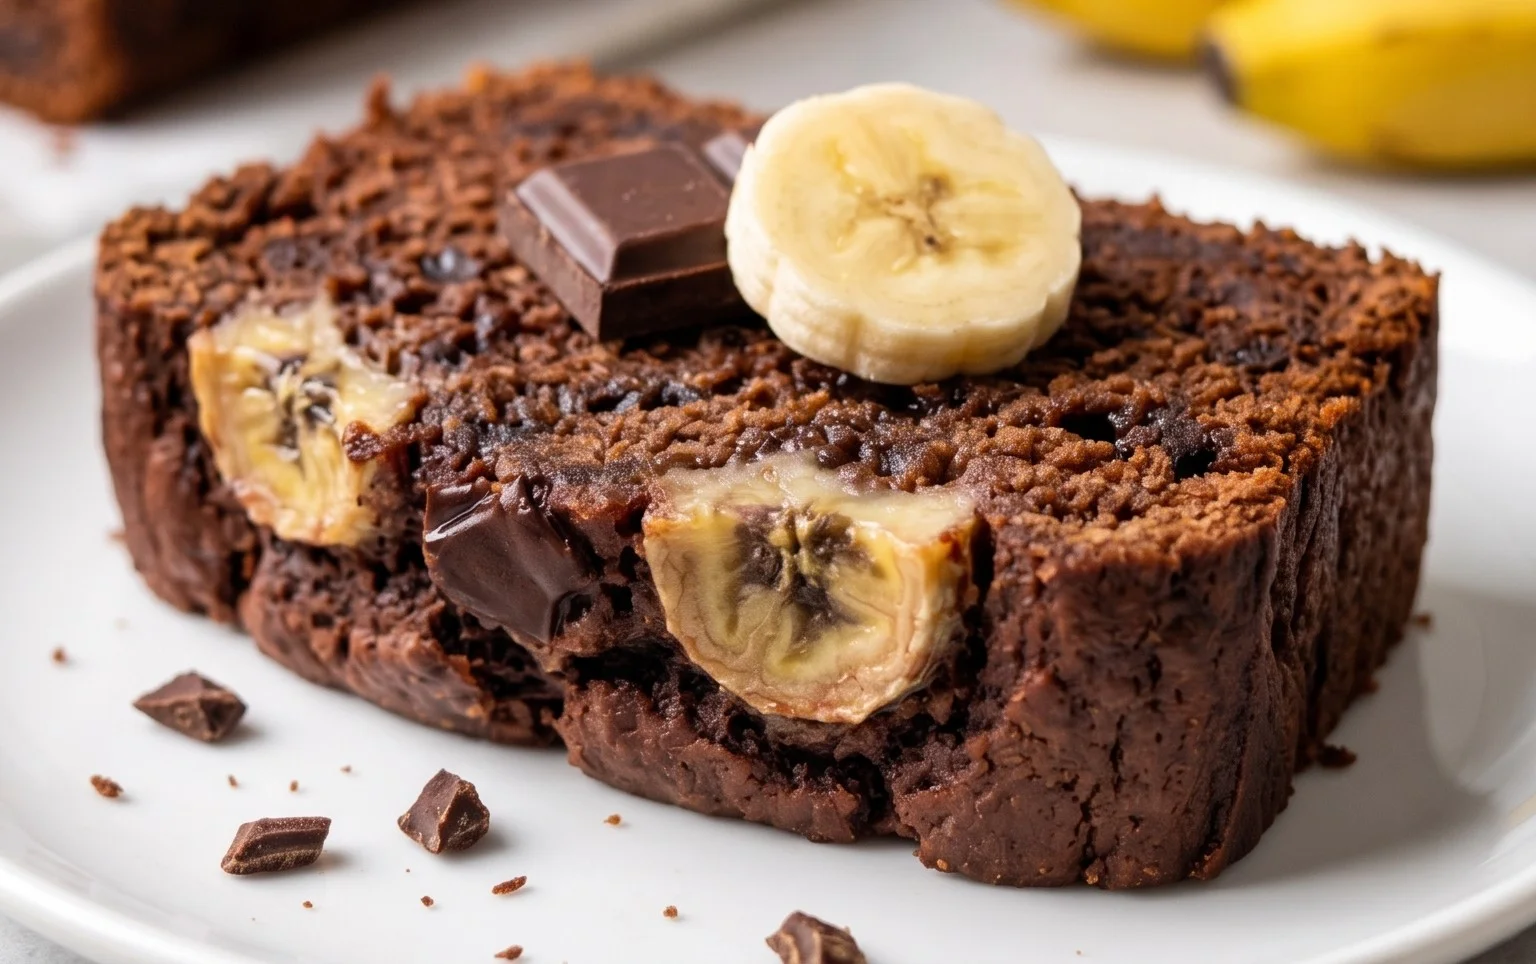
There you have it – the ultimate guide to creating a truly sensational Chocolate Banana Bread! This recipe is a guaranteed winner because it perfectly balances the natural sweetness of ripe bananas with the rich, decadent flavor of chocolate. It’s incredibly moist, tender, and bursting with comforting goodness. Whether you’re a seasoned baker or just starting out, this recipe is straightforward and yields impressive results every time. Imagin extracte the aroma filling your kitchen as it bakes – pure bliss! This is more than just a dessert; it’s a hug in a loaf pan. Don’t hesitate to whip up a batch soon; you won’t regret it.
I love serving this versatile loaf warm with a generous smear of butter, or even a dollop of whipped cream. It’s also fantastic on its own with a cup of coffee or tea. For variations, consider adding a handful of chocolate chips, a sprinkle of chopped nuts like walnuts or pecans, or even a swirl of peanut butter batter for an extra layer of flavor. Get creative and make it your own!
Frequently Asked Questions about Chocolate Banana Bread:
Q: How do I know when my Chocolate Banana Bread is done baking?
A: The best way to check is to insert a toothpick or a thin knife into the center of the loaf. If it comes out clean or with a few moist crum extractbs attached (but no wet batter), it’s ready. Be careful not to overbake, as this can lead to a dry loaf.
Q: Can I freeze this Chocolate Banana Bread?
A: Absolutely! Once completely cooled, wrap the loaf tightly in plastic wrap, then in aluminum foil, or place it in an airtight container. It will keep well in the freezer for up to 3 months. Thaw at room temperature before slicing and enjoying.
Q: My bananas aren’t very ripe. Can I still make this recipe?
A: While very ripe bananas (with lots of brown spots!) are ideal for sweetness and moisture, you can still make the recipe with less ripe ones. However, the flavor might be a bit less intense, and you may need to add a touch more sweetener, like a tablespoon of sugar or maple syrup, to compensate.
Chocolate Banana Bread
A moist and decadent chocolate banana bread recipe, perfect for breakfast or dessert.
Ingredients
-
1 cup white whole wheat flour
-
½ cup light brown sugar
-
3/4 cup unsweetened cocoa powder
-
1 teaspoon baking soda
-
1/8 teaspoon salt
-
1/2 cup chocolate chips
-
2 large eggs
-
3 medium ripe bananas (mashed)
-
1/2 cup unsweetened almond milk
-
2 teaspoons vanilla extract
-
1/4 cup melted coconut oil
Instructions
-
Step 1
Preheat oven to 350°F (175°C). Grease and flour a 9×5 inch loaf pan. -
Step 2
In a large bowl, whisk together the white whole wheat flour, light brown sugar, unsweetened cocoa powder, baking soda, and salt. -
Step 3
In a separate bowl, mash the ripe bananas. Add the eggs, unsweetened almond milk, melted coconut oil, and vanilla extract. Whisk until well combined. -
Step 4
Pour the wet ingredients into the dry ingredients and stir until just combined. Do not overmix. Fold in the chocolate chips. -
Step 5
Pour the batter into the prepared loaf pan and sprinkle with extra chocolate chips, if desired. -
Step 6
Bake for 50-65 minutes, or until a toothpick inserted into the center comes out clean. -
Step 7
Let cool in the pan for 10 minutes before transferring to a wire rack to cool completely.
Important Information
Nutrition Facts (Per Serving)
It is important to consider this information as approximate and not to use it as definitive health advice.
Allergy Information
Please check ingredients for potential allergens and consult a health professional if in doubt.