Easy St. Patrick’s Day Desserts-Festive Treats
St. Patrick’s Day Desserts are a delightful way to infuse a bit of Irish cheer and a whole lot of sweetness into your celebrations. Who doesn’t love a good reason to indulge in something festive and delicious? These treats are more than just sugar and spice; they’re a tangible expression of joy, bringin extractg together friends and family with vibrant colors and comforting flavors. What truly makes these St. Patrick’s Day Desserts so special is their ability to capture the spirit of the holiday. Whether it’s the emerald green hues reminiscent of rolling Irish hills, the subtle hints of mint or Irish cream, or simply the sheer abundance of celebratory baking, these desserts offer a universally appealing way to embrace the luck of the Irish. Get ready to discover recipes that will have everyone feeling a little greener and a lot happier.
St. Patrick’s Day Desserts
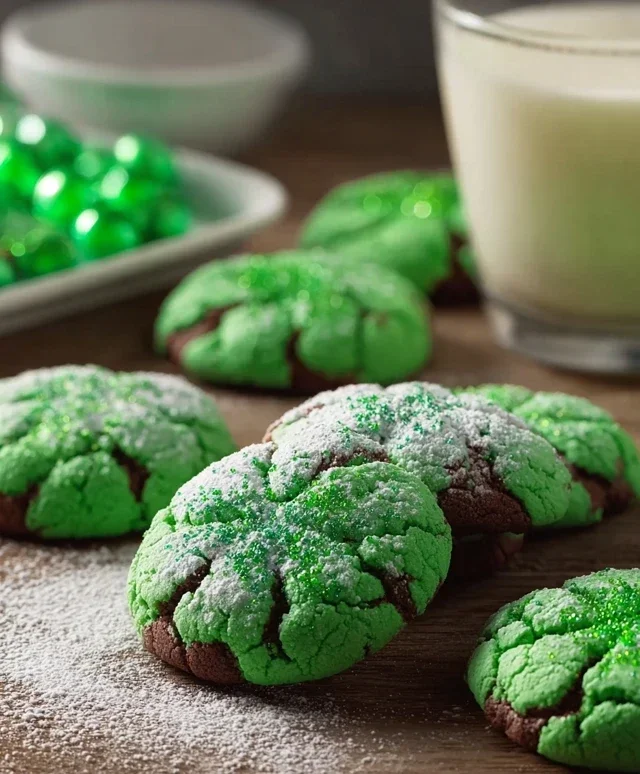
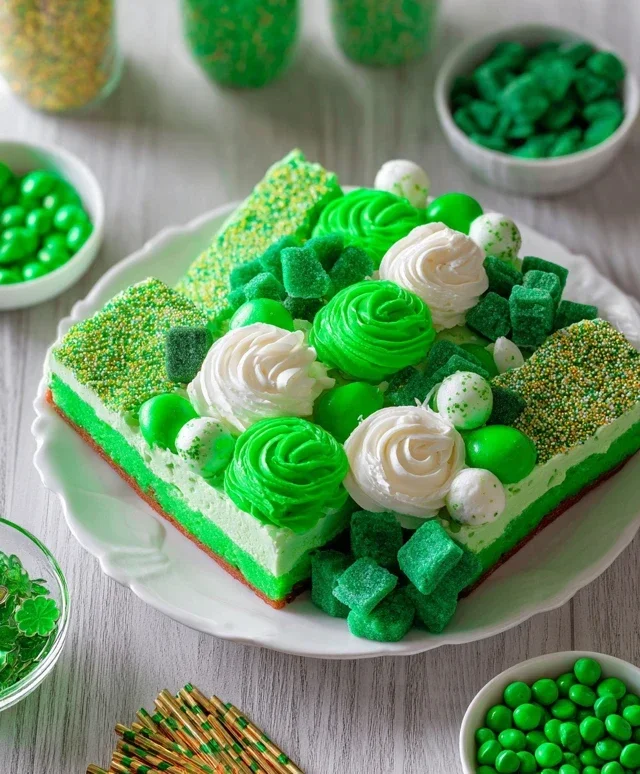
It’s that time of year again! The air is buzzing with the promise of spring, and the color green is taking over our wardrobes, our drinks, and, of course, our dessert tables. St. Patrick’s Day is the perfect excuse to indulge in some festive and fun treats. Whether you’re planning a full Irish feast or just want to add a touch of green to your day, these St. Patrick’s Day desserts are sure to be a hit with everyone, from the littlest leprechauns to the seasoned revelers. We’re going to whip up something truly special, a delightful green-hued dessert that’s as charming as it is delicious. Let’s get our aprons on and dive into this delightful creation!
Ingredients:
Instructions:
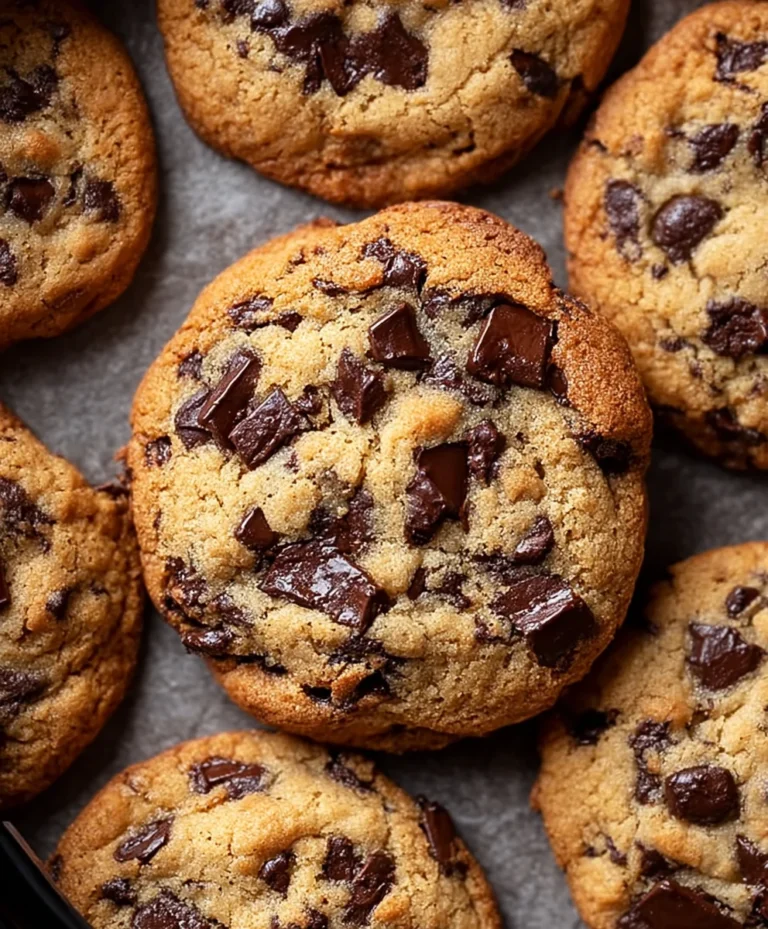
This recipe is designed to be straightforward and fun, perfect for getting the whole family involved. We’re making a delicious, cake-like cookie that’s wonderfully tender and holds its shape beautifully, making it ideal for decorating. The vibrant green color will instantly evoke the spirit of St. Paddy’s Day.
Phase 1: Preparing the Cookie Dough
First, let’s get our dry ingredients ready. In a medium bowl, whisk together the all-purpose flour, baking powder, and salt. This simple step ensures that the leavening agents and salt are evenly distributed throughout the dough, which is crucial for a consistent texture. Set this bowl aside for now.
In a large mixing bowl, cream together the softened unsalted butter and granulated sugar until light and fluffy. This is where the magic starts! Using softened butter, not melted, is key here. It allows the sugar crystals to aerate the butter, creating tiny air pockets that contribute to the cookies’ tender crum extractb. You can use an electric mixer for this, or a sturdy whisk and some elbow grease. Continue mixing until the mixture is pnon-alcoholic ale yellow and has increased in volume. This process typically takes about 3-5 minutes.
Next, we’ll add the wet ingredients. Beat in the two large eggs, one at a time, mixing well after each addition. Once the eggs are incorporated, stir in the vanilla extract. The vanilla adds a wonderful aroma and depth of flavor that complements the sweetness of the cookie.
Now, it’s time to introduce some color! Add a few drops of green food coloring to the milk. Start with a small amount, like a teaspoon, and gradually add more until you achieve your desired shade of green. Remember, you can always add more, but you can’t take it away, so it’s best to start conservatively. Stir the food coloring into the milk until it’s evenly distributed.
Gradually add the dry ingredients to the wet ingredients, mixing on low speed or by hand until just combined. Be careful not to overmix at this stage, as overmixing can develop the gluten in the flour, leading to tougher cookies. Once the flour mixture is almost fully incorporated, slowly pour in the green-tinted milk. Continue mixing until the dough comes together. It should be soft but not sticky. If the dough feels too wet, you can add a tablespoon of flour at a time. If it seems too dry, add a teaspoon of milk at a time. You want a cohesive dough that’s easy to handle.
Phase 2: Shaping and Baking the Cookies
Once your beautiful green dough is ready, it’s time to shape it. You can either chill the dough for about 30 minutes to make it easier to roll, or work with it directly. For classic cookie shapes, roll out the dough on a lightly floured surface to about ¼-inch thickness. Use your favorite St. Patrick’s Day cookie cutters – think sbeef hamrocks, pots of gold, or even simple circles. If you don’t have cutters, you can also roll the dough into balls and gently flatten them with the bottom of a glass. Place the shaped cookies onto baking sheets lined with parchment paper, leaving about an inch between them to allow for slight spreading.
Preheat your oven to 350°F (175°C). Bake the cookies for 8-10 minutes, or until the edges are lightly golden and the centers are set. Keep a close eye on them, as baking times can vary depending on your oven and the size of your cookies. We want them to be tender, not crisp. Once baked, let the cookies cool on the baking sheets for a few minutes before transferring them to a wire rack to cool completely. This step is crucial before decorating. Warm cookies will melt the glaze and make a mess!
Phase 3: Creating the Festive Glaze and Decorating
While the cookies are cooling, let’s prepare our vibrant green glaze. In a medium bowl, whisk together the powdered sugar and 2 tablespoons of milk until smooth. Add the vanilla extract. If the glaze is too thick, add more milk, a teaspoon at a time, until you reach a drizzling consistency. If it’s too thin, add a little more powdered sugar.
Now, let’s add the festive color! Add a few drops of green food coloring to the glaze and stir until the color is uniform and has that perfect St. Patrick’s Day hue. You can make the glaze a light mint green or a deeper emerald – the choice is yours!
Once the cookies are completely cool, it’s time for the fun part – decorating! You can dip the tops of the cookies into the glaze, or use a spoon to drizzle it over them. For a more elaborate look, you can use a piping bag with a small round tip to outline and fill the cookies. Don’t worry about perfection; a slightly rustic look can be very charming! Immediately after glazing, while the glaze is still wet, sprinkle your cookies with green, white, and orange sprinkles to add extra sparkle and festivity. Let the glaze set completely before serving or storing.
These delightful St. Patrick’s Day desserts are more than just a treat; they’re a celebration. The tender cookie base combined with the sweet, vibrant glaze creates a memorable confection that embodies the joy of the holiday. Enjoy making and sharing these festive delights!
Conclusion:
I hope you’re feeling inspired to bring a touch of Irish cheer to your St. Patrick’s Day celebrations with these delightful dessert recipes! Whether you’re a seasoned baker or just looking for a fun, festive treat, these options offer something for everyone. They are wonderfully versatile, allowing you to adapt them to your personal taste and available ingredients, making them truly great for any occasion. Imagin extracte the smiles on your guests’ faces as they tuck into these vibrant, delicious creations. Don’t be shy – dive in and give these St. Patrick’s Day Desserts a try! You might just discover your new favorite way to celebrate this joyous holiday.
These desserts are fantastic on their own, but they also pair beautifully with a dollop of freshly whipped cream, a scoop of vanilla ice cream, or even a drizzle of Irish cream liqueur extract for the adults. Consider serving them at your St. Patrick’s Day gathering, as a special end to a themed dinner, or simply as a way to brighten up an ordinary day with a splash of green and a whole lot of deliciousness.
Frequently Asked Questions:
Can I make these desserts ahead of time?
Absolutely! Many of these St. Patrick’s Day Desserts can be prepared a day or two in advance, which is a lifesaver when you’re hosting. Items like cakes, cookies, and even some cheesecakes can be made ahead and stored according to their specific instructions. This allows you to enjoy your celebration without feeling rushed in the kitchen.
Are there any nut-free options?
Yes, most of the recipes can be easily adapted to be nut-free. Simply ensure you use nut-free ingredients like chocolate chips, sprinkles, and extracts. Always double-check the labels of your ingredients to avoid cross-contamination if allergies are a concern for your guests.
What if I don’t have green food coloring?
Don’t worry if you’re out of green food coloring! You can achieve a lovely natural green hue using ingredients like matcha powder for a subtle earthy flavor, or pureed mint for a refreshing twist. For some recipes, you might also find vibrant green fruit purees, like kiwi or avocado (in desserts where it won’t affect the flavor), can add a beautiful natural color.
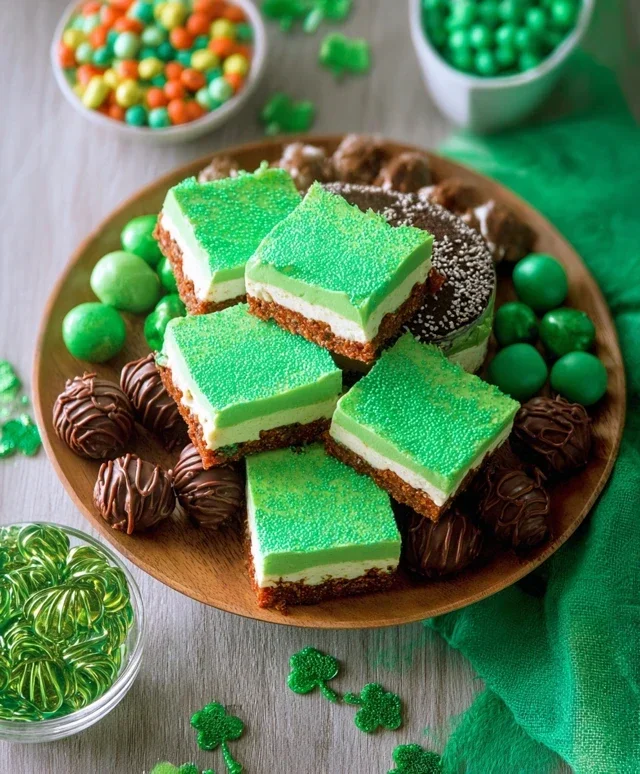
St. Patrick’s Day Dessert Medley
A delightful assortment of festive desserts perfect for celebrating St. Patrick’s Day, featuring green hues and sweet flavors.
Ingredients
-
1 cup all-purpose flour
-
1/2 cup granulated sugar
-
1/4 teaspoon salt
-
1/2 cup unsalted butter, softened
-
1/4 cup milk
-
1 teaspoon vanilla extract
-
Green food coloring
-
1/2 cup heavy cream
-
1/4 cup powdered sugar
-
Cream cheese frosting
Instructions
-
Step 1
Preheat oven to 350°F (175°C). Grease and flour a baking sheet. -
Step 2
In a large bowl, cream together the softened butter and granulated sugar until light and fluffy. -
Step 3
Gradually add the flour and salt to the wet ingredients, mixing until just combined. Stir in the milk and vanilla extract. -
Step 4
Divide the dough into two portions. Tint one portion with green food coloring. Shape small portions of both green and white dough into festive shapes, or swirl them together for a marbled effect. Place on the prepared baking sheet. -
Step 5
Bake for 10-12 minutes, or until edges are lightly golden. Let cool completely on the baking sheet before transferring to a wire rack. -
Step 6
For the green whipped cream, whip the heavy cream and powdered sugar until stiff peaks form. Add a drop of green food coloring and gently fold to combine. -
Step 7
Once the cookies are cool, spread with cream cheese frosting or top with the green whipped cream. Serve chilled.
Important Information
Nutrition Facts (Per Serving)
It is important to consider this information as approximate and not to use it as definitive health advice.
Allergy Information
Please check ingredients for potential allergens and consult a health professional if in doubt.