Easy Orange Chicken Recipe- Sweet & Tangy Delight
Orange Chicken Recipe: Get ready to bring the irresistible sweet and tangy flavors of your favorite takeout right into your own kitchen! There’s a reason why Orange Chicken is a beloved classic for so many of us. It’s that perfect harmony of crispy, golden chicken pieces coated in a vibrant, sticky sauce that’s both comforting and exciting. Forget the delivery fees and the long waits, because I’m about to share my go-to Orange Chicken Recipe that will have you saying, “Why did I ever bother ordering out?” This isn’t just any Orange Chicken; it’s a carefully crafted balance of zesty orange goodness, a hint of heat, and a satisfying crunch that makes every bite a little piece of heaven. Prepare to impress yourself and anyone lucky enough to share this delicious meal with you.
Craving That Sweet & Tangy Bite? Make Authentic Orange Chicken at Home!
There’s something incredibly satisfying about a perfectly executed Orange Chicken. That delightful balance of sweet, tangy, and savory, coated in a sticky, glossy sauce and served with fluffy rice – it’s a comfort food classic for a reason. While takeout is always an option, recreating this beloved dish in your own kitchen is surprisingly achievable and incredibly rewarding. Forget those overly sweet, vaguely orange-flavored versions; we’re going for authentic flavor that will have you ditching your usual order. This recipe focuses on building layers of flavor, ensuring crispy chicken and a vibrant sauce that truly sings.
Ingredients:
Preparing the Chicken for Maximum Crispiness
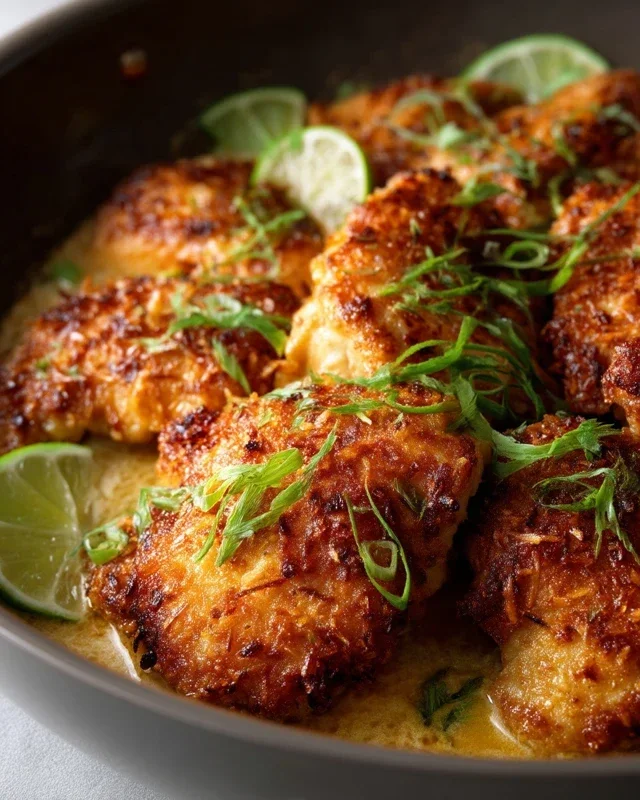
The foundation of great Orange Chicken is, of course, the chicken itself. We’re using chicken thighs here because their slightly higher fat content makes them more forgiving and ensures a tender, juicy result after frying. However, boneless, skinless chicken breasts are a perfectly acceptable alternative if you prefer. The key is to cut them into uniform, bite-sized pieces for even cooking.
In a medium bowl, combine your chicken pieces with 1 tablespoon of soy sauce, the egg white, sesame oil, and ground white pepper. The soy sauce adds a base layer of savory flavor, while the egg white acts as a binder for our coating, ensuring it adheres beautifully. The sesame oil imparts a subtle nutty aroma that is characteristic of many Asian dishes. Gently toss everything together to ensure each piece of chicken is well-coated. Let this marinate for at least 15 minutes while you prepare the coating.
Now, for the magic that creates that irresistible crunch: the coating. In a separate shallow bowl or plate, whisk together the cornstarch and flour. This mixture is crucial for achieving a light, crispy exterior that will hold up to the sauce. Dredge each marinated chicken piece thoroughly in the cornstarch and flour mixture, shaking off any excess. Ensure each piece is fully coated, as this is where the crispiness truly comes from. Set the coated chicken aside on a plate while you heat your oil.
Cooking the Crispy Chicken
We’re going to pan-fry or shallow-fry the chicken for optimal crispiness. Heat about 1/2 inch of neutral cooking oil (like vegetable or canola oil) in a large skillet or wok over medium-high heat. You want the oil to be hot enough that a small piece of chicken sizzles immediately upon contact. This usually takes about 5-7 minutes of preheating.
Carefully add the coated chicken pieces to the hot oil in a single layer, being careful not to overcrowd the pan. Overcrowding will steam the chicken instead of frying it, leading to a soggy result. You’ll likely need to cook the chicken in batches. Fry for about 3-5 minutes per side, or until golden brown and cooked through. The exact time will depend on the size of your chicken pieces and the temperature of your oil. Use a slotted spoon to transfer the cooked chicken to a wire rack set over a baking sheet. This allows excess oil to drain off, keeping the chicken wonderfully crisp.
Crafting the Luscious Orange Sauce
While the chicken is resting and staying crispy, it’s time to make the star of the show: the orange sauce. In a clean skillet or wok (you can wipe out the one you used for frying if there are no burnt bits), add the water and fresh orange juice. We’re starting with a liquid base that will be thickened and flavored.
Add the brown sugar, soy sauce, rice vinegar, shaoxing vinegar, grated gin extractger extract, and grated garlic. Whisk everything together to combine. Bring the mixture to a simmer over medium heat, stirring occasionally. As the sauce heats up, the sugar will dissolve, and the flavors will begin extract to meld. Taste the sauce at this point and adjust the sweetness or tangin extractess to your liking. If you prefer it sweeter, add more brown sugar; if you like it tangier, add a touch more rice vinegar. The shaoxing vinegar adds a subtle depth, but it’s perfectly fine to omit if you can’t find it.
Let the sauce simmer for about 5-7 minutes, or until it has thickened slightly and become a glossy consistency. You’re looking for a sauce that will coat the back of a spoon. If it becomes too thick, you can add a tablespoon or two of water to thin it out. If it’s not thick enough, you can create a cornstarch slurry (1 teaspoon of cornstarch mixed with 1 tablespoon of cold water) and whisk it into the simmering sauce, cooking for another minute until thickened.
Bringin extractg It All Together
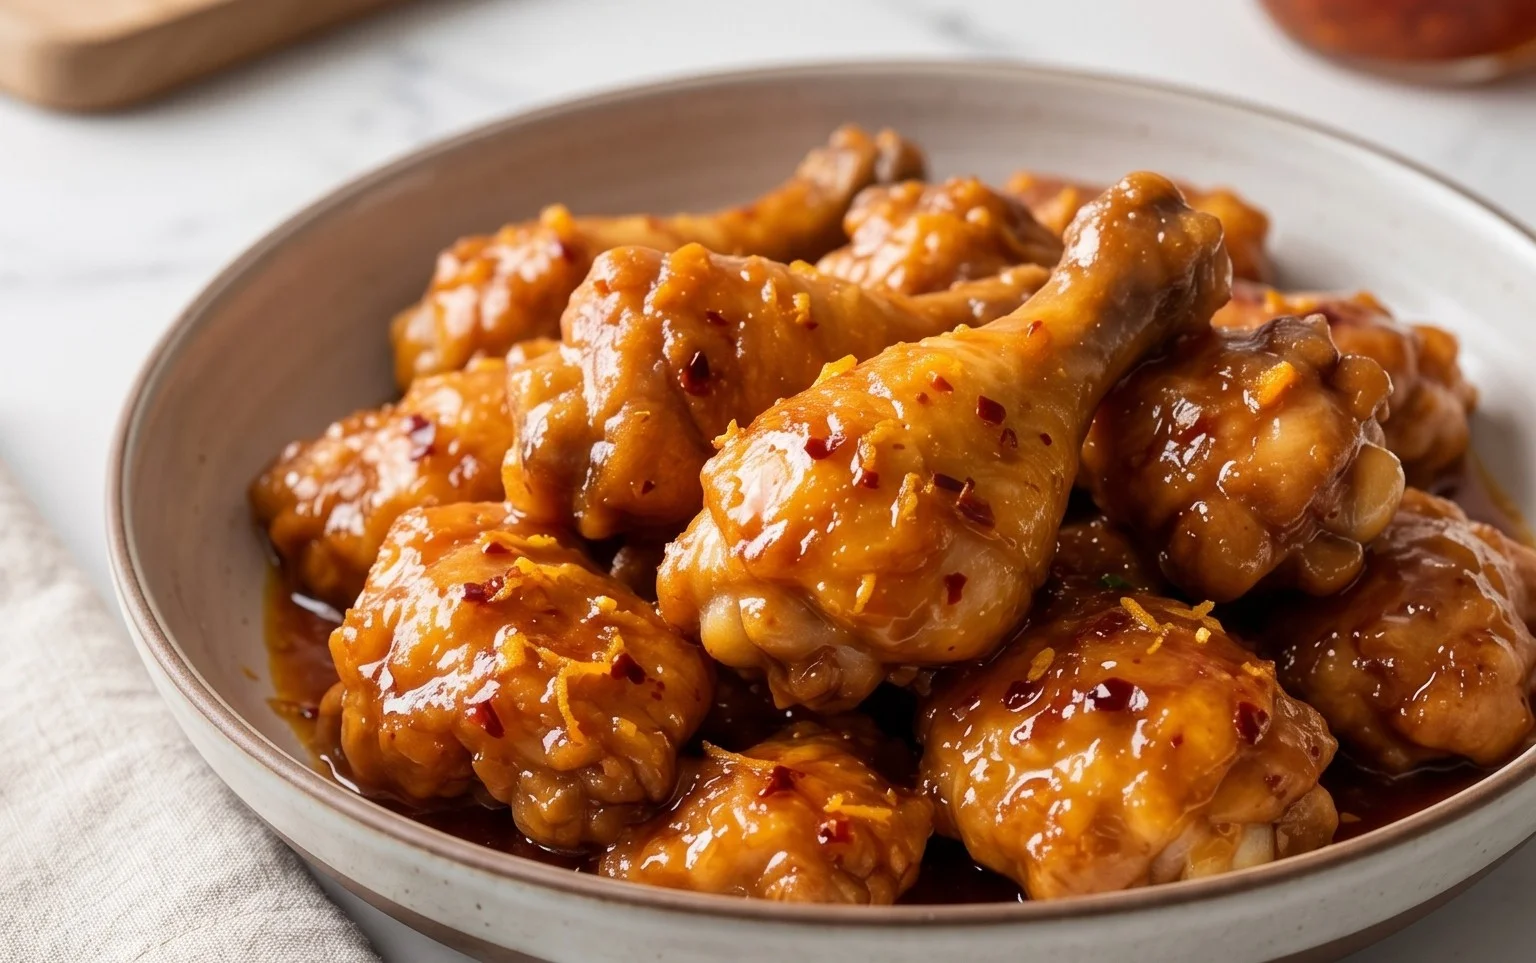
Now for the grand finnon-alcoholic ale: combining the crispy chicken with the luscious orange sauce. Once your sauce has reached your desired consistency, add the fried chicken back into the skillet with the sauce. Gently toss the chicken to coat each piece evenly. The heat from the sauce will re-crisp the exterior of the chicken slightly while allowing the sauce to cling beautifully. Cook for just a minute or two, until the chicken is thoroughly coated and glistening.
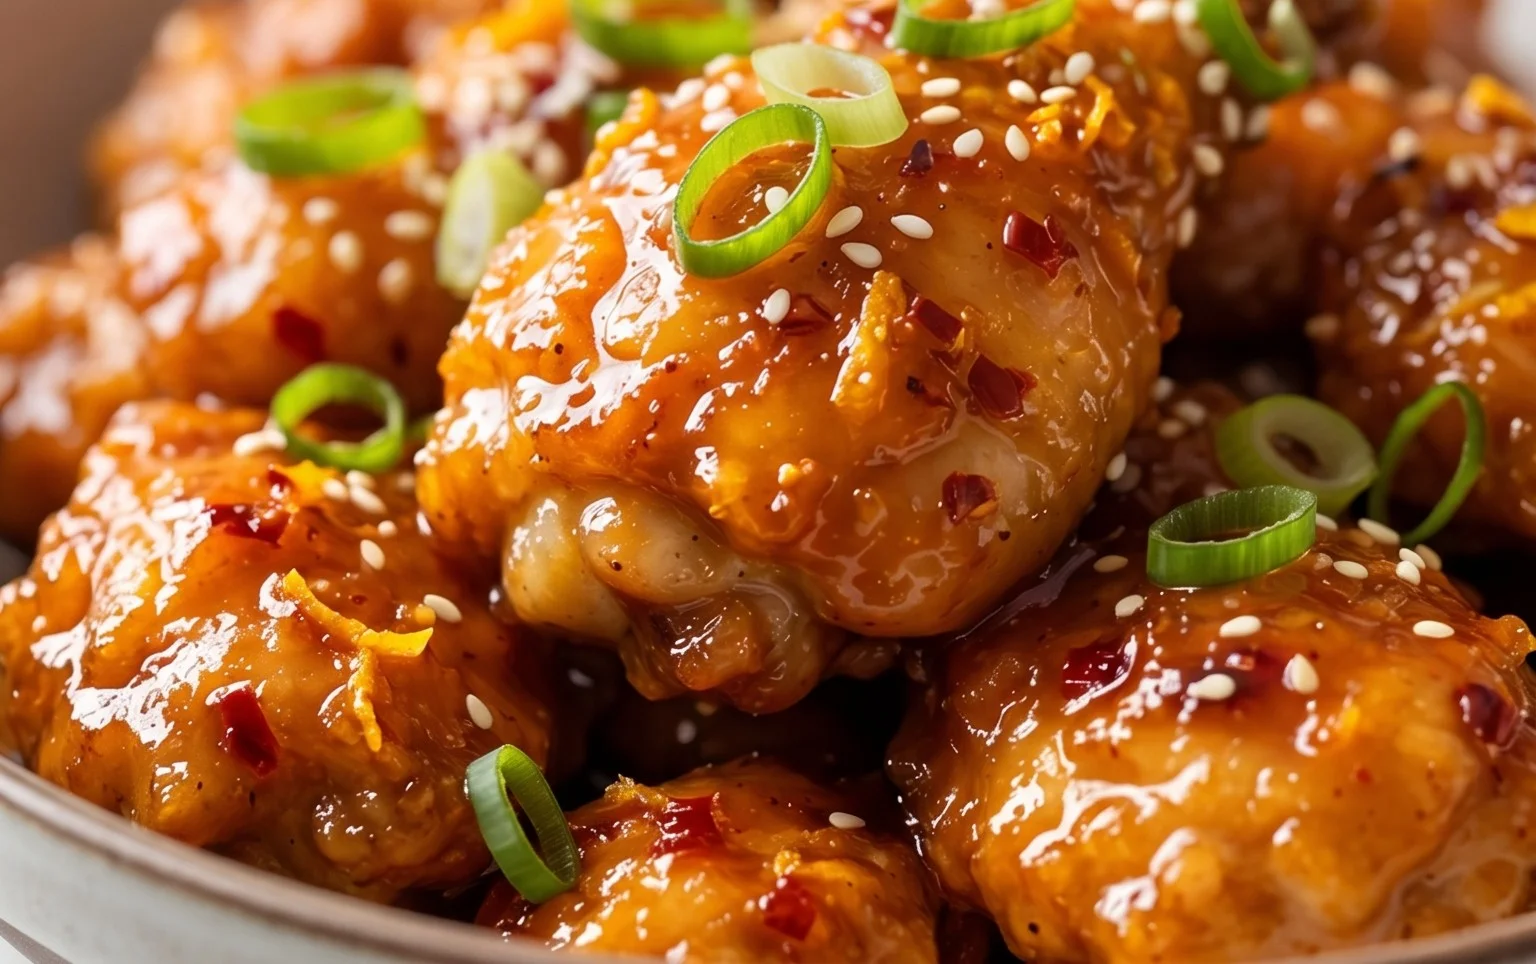
Serve your homemade Orange Chicken immediately over steamed white rice. A garnish of toasted sesame seeds or thinly sliced green onions adds a lovely pop of color and freshness. Enjoy the fruits of your labor – a truly delicious and satisfying meal that rivals any takeout!
Conclusion:
There you have it – a fantastic and surprisingly easy way to recreate that beloved restaurant-style Orange Chicken in your own kitchen! This recipe is a winner because it balances that signature sweet and tangy orange glaze with perfectly crispy chicken, making it an incredibly satisfying meal. It’s impressive enough for guests but simple enough for a weeknight dinner.
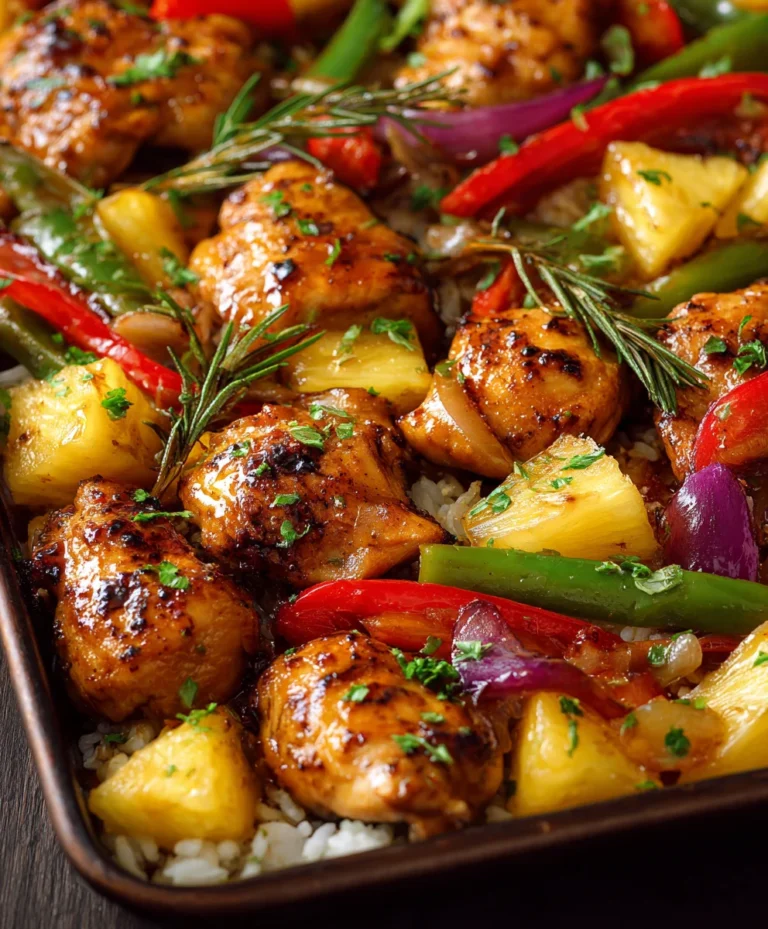
I love serving this Orange Chicken over fluffy white or brown rice, alongside some steamed broccoli or bok choy for a complete and vibrant meal. For a fun twist, consider adding a sprinkle of toasted sesame seeds and sliced green onions as a garnish. If you’re feeling adventurous, you could even try adding a pinch of red pepper flakes to the sauce for a subtle kick, or perhaps experiment with different citrus juices like tangerine or grapefruit for a unique flavor profile. I truly encourage you to give this recipe a try – you won’t be disappointed!
Frequently Asked Questions:
Can I make the orange chicken ahead of time?
While the chicken is best enjoyed fresh and crispy, you can definitely prepare the orange sauce and cut the chicken a day in advance. Store them separately in airtight containers in the refrigerator. Reheat the sauce gently and then toss the crispy chicken in it just before serving to maintain the best texture.
What is the best way to get the chicken extra crispy?
For maximum crispiness, ensure you don’t overcrowd the pan when frying the chicken. Fry in batches if necessary. Also, ensure the oil is at the correct temperature (around 350°F or 175°C) before adding the chicken. Patting the chicken dry after coating it in the cornstarch mixture also helps achieve a crispier exterior.
Can I bake this Orange Chicken instead of frying it?
Yes, you can! To bake, toss the coated chicken with a tablespoon or two of oil and spread it in a single layer on a baking sheet. Bake at 400°F (200°C) for 20-25 minutes, flipping halfway through, until golden brown and cooked through. While it won’t be quite as crispy as fried, it’s a healthier and still delicious alternative.
Orange Chicken Recipe
A classic and delicious orange chicken recipe, perfect for a quick weeknight meal. This version uses tender chicken thighs coated in a crispy batter and tossed in a vibrant, sweet, and tangy orange sauce.
Ingredients
-
350-450 g chicken thighs, cut into bite-sized-pieces
-
1/2 cup cornstarch
-
2 tbsp flour
-
1 tbsp soy sauce
-
1 egg white
-
1 tsp sesame oil
-
1/4 tsp ground white pepper
-
1/3 cup water
-
3/4 cup fresh orange juice
-
4-6 tbsp brown sugar
-
2 tbsp soy sauce
-
1 tbsp rice vinegar
-
1 tbsp non-alcoholic sake
-
1/2 tsp grated ginger
-
1 clove grated garlic
Instructions
-
Step 1
In a bowl, combine the chicken pieces with 1 tbsp soy sauce, egg white, sesame oil, and white pepper. Marinate for at least 10 minutes. -
Step 2
In a separate shallow dish, mix cornstarch and flour. Dredge the marinated chicken pieces in the cornstarch mixture, ensuring each piece is well-coated. -
Step 3
Heat oil in a wok or large skillet over medium-high heat. Fry the chicken in batches until golden brown and crispy. Remove and drain on paper towels. -
Step 4
In a clean pan or the same wok (after draining excess oil), combine orange juice, brown sugar, 2 tbsp soy sauce, rice vinegar, non-alcoholic sake, grated ginger, and grated garlic. Bring to a simmer. -
Step 5
In a small bowl, whisk together 1/3 cup water and 1 tbsp cornstarch (or enough to thicken the sauce slightly). Pour this slurry into the simmering sauce, stirring constantly until the sauce thickens. -
Step 6
Add the fried chicken back into the thickened sauce. Toss to coat evenly. Serve immediately, perhaps with rice.
Important Information
Nutrition Facts (Per Serving)
It is important to consider this information as approximate and not to use it as definitive health advice.
Allergy Information
Please check ingredients for potential allergens and consult a health professional if in doubt.