Easy Chocolate Protein Pudding-Healthy Treat
Chocolate Protein Pudding Recipe: Let’s be honest, who doesn’t adore a rich, decadent chocolate dessert? But what if I told you you could indulge your sweet tooth while simultaneously fueling your body with muscle-building protein? This is where our incredible Chocolate Protein Pudding Recipe comes in, transforming a classic treat into a guilt-free powerhouse. Forget those chalky protein shakes; this pudding is unbelievably creamy, deeply satisfying, and tastes like a genuine dessert you’d find in a high-end bakery. It’s the perfect post-workout recovery meal, a healthy afternoon snack, or even a surprisingly elegant dessert for company. What truly makes this Chocolate Protein Pudding Recipe special is its versatility and how effortlessly it blends nutritional benefits with pure, unadulterated chocolate bliss. Get ready to discover your new favorite healthy indulgence!
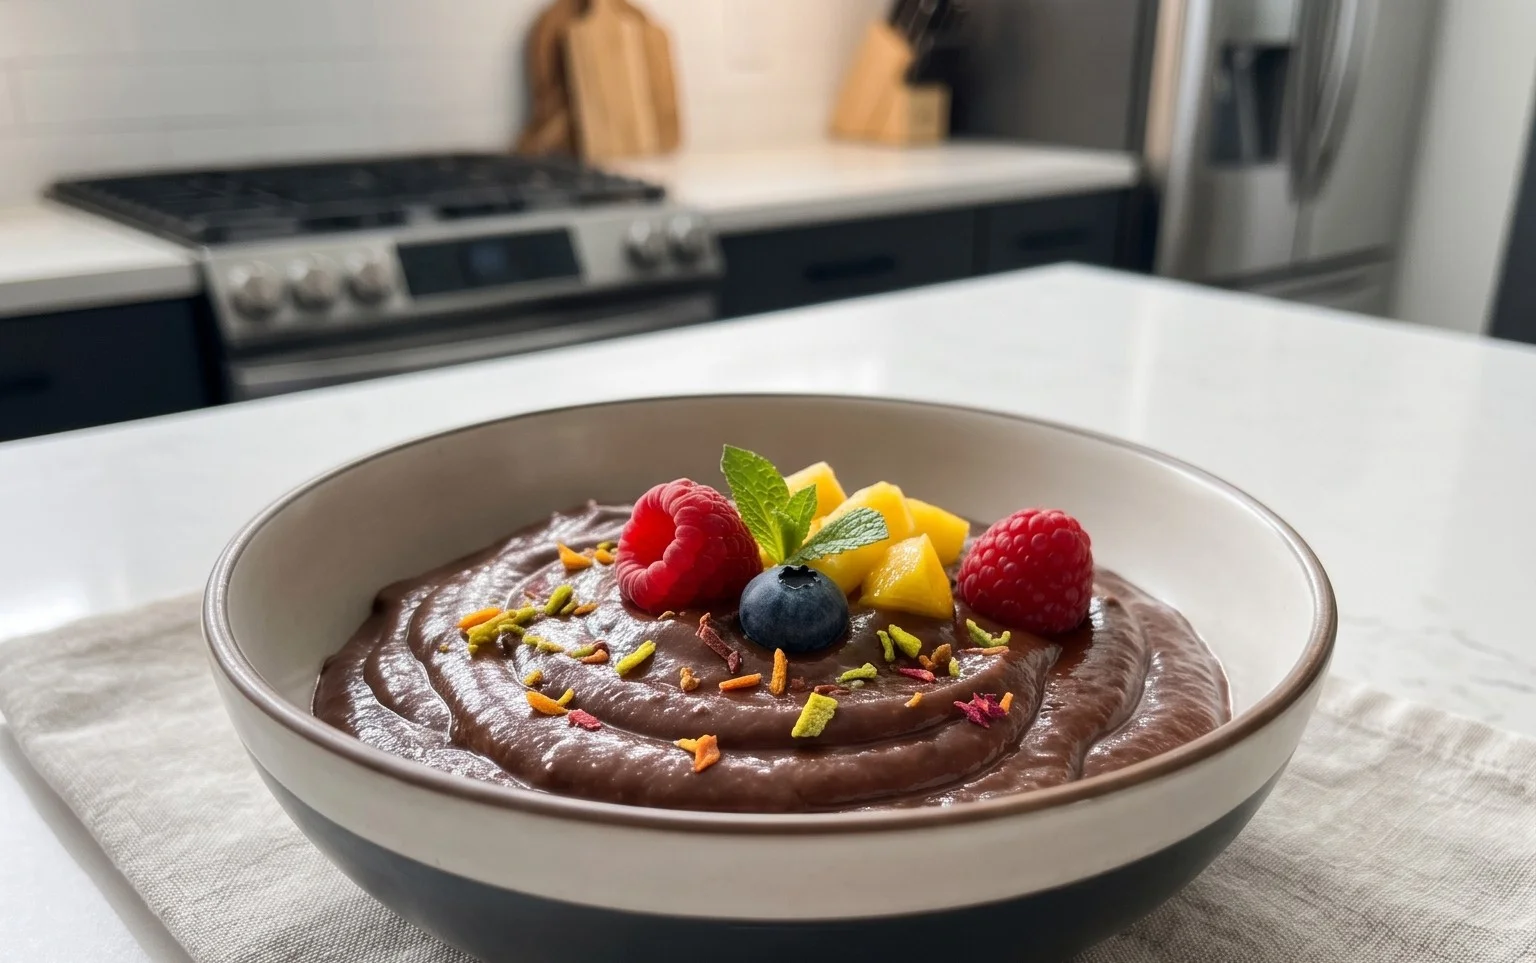
Chocolate Protein Pudding Recipe
Hello there, fellow dessert lovers and health enthusiasts! Today, I’m thrilled to share a recipe that perfectly marries indulgence with nutrition: my incredibly simple yet satisfying Chocolate Protein Pudding. This isn’t your average, sugar-laden treat. Instead, it’s a protein powerhouse disguised as a decadent chocolate dessert, perfect for a post-workout refuel, a healthy afternoon snack, or even a guilt-free sweet ending to your meal.
Forget those artificial, pre-packaged puddings. This homemade version is incredibly easy to whip up, requiring minimal ingredients and absolutely no cooking in the traditional sense. It’s naturally thick, creamy, and bursting with rich chocolate flavor. The secret? High-quality Greek yogurt provides a fantastic creamy base and a serious protein boost, while the chocolate protein powder and cocoa powder deliver that irresistible chocolatey goodness without any added refined sugars.
What I love most about this recipe is its versatility. You can customize the sweetness by adjusting the maple syrup, and the texture can be tinkered with to your preference. If you’re aiming for an even thicker pudding, you can reduce the amount of yogurt slightly or add a touch more protein powder. If you prefer a looser consistency, a splash of milk (dairy or non-dairy) can do the trick.
This recipe is fantastic for meal prepping too. Simply make a big batch at the begin extractning of the week, divide it into individual containers, and you’ll have a healthy, delicious snack ready whenever cravings strike. It’s a lifesaver for busy days when you need something quick and nourishing.
Ingredients:
Instructions:
Creating this luscious Chocolate Protein Pudding is more of an assembly job than actual cooking, and it’s incredibly straightforward. Here’s how you bring this delightful treat to life:
First things first, gather all your ingredients and have them ready to go. This makes the process so much smoother. I usually start by getting out a large mixing bowl. Make sure it’s large enough to comfortably mix everything without making a mess. You’ll also need a whisk or a sturdy spatula for combining. If you have a stand mixer with a whisk attachment, that can also be helpful for achieving an extra smooth consistency, but it’s by no means necessary. Ensure your Greek yogurt is at room temperature or slightly softened; this will help it incorporate more easily with the other ingredients. If your yogurt is very cold and firm, it might take a bit longer to mix.
Add the Greek yogurt to your large mixing bowl. If you’re using plain Greek yogurt and want a hint of vanilla flavor, now is the time to add your vanilla extract. If you’re using vanilla-flavored Greek yogurt, you can still add the vanilla extract for an extra layer of vanilla complexity, or you can skip it if you prefer. For a richer chocolate flavor and a smoother texture, I often opt for a good quality unsweetened cocoa powder. Add the 3 tablespoons of cocoa powder to the yogurt. If you’re a serious chocolate aficionado like me, or if your protein powder isn’t intensely chocolatey, feel free to add the 4th tablespoon of cocoa powder for a deeper, darker chocolate profile. Whisk these ingredients together gently until they are just combined. We’re not trying to whip air into it at this stage, just to get a good base going.
Now, it’s time to introduce the star of the show: the chocolate protein powder. Carefully measure out your 4 scoops. Remember, the exact tablespoon measurement per scoop can vary depending on the brand of protein powder you use, so it’s good to know your powder’s density. Sift the protein powder into the bowl with the yogurt and cocoa mixture. Sifting is an optional but highly recommended step, especially with protein powders, as it helps to prevent clumps and ensures a super smooth pudding texture. It’s amazing how much a little sifting can improve the final result. Once the protein powder is in, start to gently fold and whisk everything together. At this point, the mixture will start to thicken up considerably. Keep mixing until the protein powder is fully incorporated and there are no dry pockets of powder visible. This is where patience pays off for a lump-free pudding.
Once the protein powder is mostly incorporated, it’s time to add a touch of sweetness. Pour in your 2 tablespoons of maple syrup. Maple syrup adds a lovely natural sweetness and a subtle caramelly note that complements the chocolate beautifully. Stir this in thoroughly. Taste the mixture at this point. This is your opportunity to adjust the sweetness to your personal preference. If you find it not sweet enough, you can add another teaspoon or two of maple syrup, or even a different liquid sweetener like honey or agave nectar, though maple syrup is my favorite for this recipe. If you want an even more intense chocolate flavor, you could also add another tiny pinch of cocoa powder now, but be mindful not to make it too bitter. Continue stirring until the sweetener is completely dissolved and the pudding has a uniform color and consistency.
Now for the final stage, which is all about achieving that perfect pudding texture. You’ll want to whisk or stir vigorously for another minute or two. This process helps to emulsify the ingredients and further thicken the pudding, giving it that classic smooth, rich, and creamy consistency that we all love in a good pudding. If you find the pudding is still a bit too thick for your liking, you can add a tablespoon of milk (dairy or non-dairy like almond milk, soy milk, or oat milk) at a time and stir until you reach your desired consistency. Conversely, if it’s too thin, you can add another half scoop of protein powder or a little more cocoa powder and mix it in. Once you’re happy with the texture and flavor, it’s time to serve or chill. For the best flavor and texture, I highly recommend covering the bowl and refrigerating the pudding for at least 30 minutes to allow the flavors to meld and the pudding to firm up. This chilling period is crucial for achieving that ideal pudding-like texture.
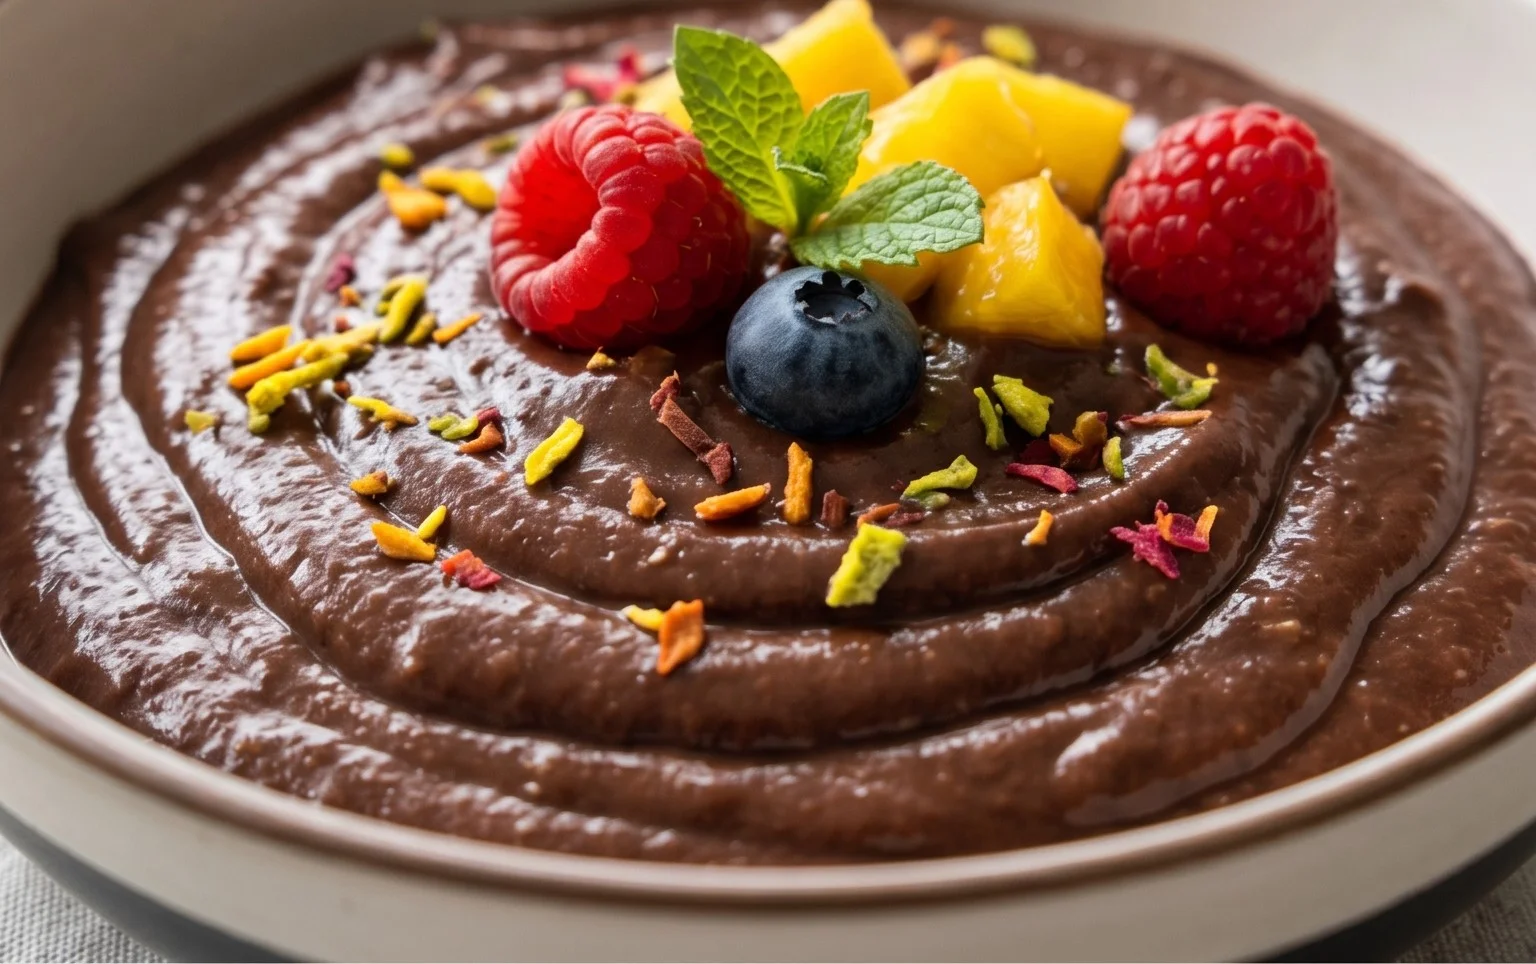
This Chocolate Protein Pudding is a fantastic base for countless variations. Try topping it with fresh berries for a pop of color and freshness, a sprinkle of chopped nuts for crunch, or a dollop of whipped cream (or coconut cream for a dairy-free option) for an extra touch of luxury. Enjoy every spoonful!
Conclusion:
So there you have it – a delicious and incredibly satisfying Chocolate Protein Pudding that’s both good for you and wonderfully indulgent. This recipe is a true winner because it masters the art of being guilt-free while still delivering that rich, chocolatey experience we all crave. It’s perfect for a post-workout treat, a healthy dessert, or even a surprisingly fulfilling snack when those sweet cravings hit. I’ve found it’s fantastic served chilled in individual ramekins, topped with a sprinkle of cacao nibs or a few fresh berries for added texture and flavor. Don’t be afraid to experiment! Feel free to swirl in some peanut butter, add a hint of espresso powder for a mocha twist, or even incorporate some chopped nuts for an extra crunch. I truly encourage you to give this Chocolate Protein Pudding a try – you won’t be disappointed by how simple, yet effective, it is!
Frequently Asked Questions:
Can I make this recipe dairy-free?
Absolutely! For a dairy-free version, simply swap the regular milk for your favorite plant-based milk like almond, soy, or oat milk. You’ll also want to ensure your protein powder is plant-based, which many excellent options are nowadays.
What kind of protein powder works best?
While most chocolate or vanilla flavored protein powders will work, I’ve found that a good quality whey or plant-based protein powder provides the smoothest texture. If you use a protein powder that’s very finely milled, you might find the pudding sets a little firmer.
How long does this pudding last in the refrigerator?
This Chocolate Protein Pudding will keep well in an airtight container in the refrigerator for up to 3-4 days. The texture might change slightly over time, becoming a bit firmer, but it will still be delicious!
Chocolate Protein Pudding Recipe
A quick and easy recipe for a rich, chocolatey protein pudding, perfect for a healthy dessert or snack.
Ingredients
-
5 cups Greek yogurt (full-fat, plain or vanilla)
-
4 scoops chocolate protein powder
-
3 to 4 tablespoons unsweetened cocoa powder
-
1 teaspoon vanilla extract
-
2 tablespoons maple syrup
Instructions
-
Step 1
In a large bowl, combine the Greek yogurt and chocolate protein powder. -
Step 2
Add the unsweetened cocoa powder and vanilla extract to the bowl. -
Step 3
Stir in the maple syrup for sweetness. -
Step 4
Mix all the ingredients together until well combined and smooth. You can use a whisk or a hand mixer for a smoother consistency. -
Step 5
Spoon the pudding into individual serving dishes or a larger container. -
Step 6
Chill in the refrigerator for at least 15-30 minutes before serving to allow it to thicken. Serve cold.
Important Information
Nutrition Facts (Per Serving)
It is important to consider this information as approximate and not to use it as definitive health advice.
Allergy Information
Please check ingredients for potential allergens and consult a health professional if in doubt.