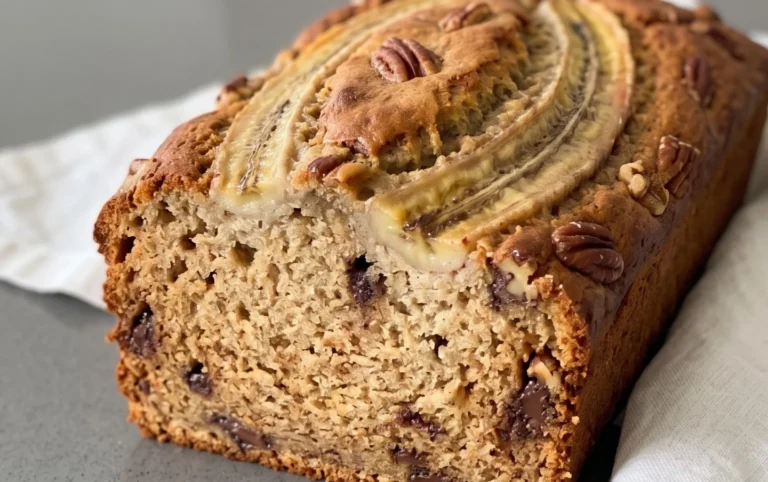
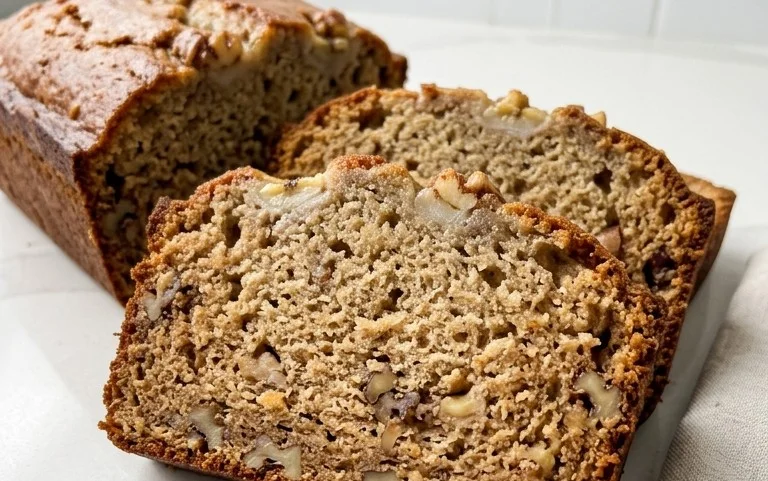
Easy Banana Oat Breakfast Bars – Healthy Treat
Banana Oat Breakfast Bars are more than just a convenient snack; they’re a heartwarming embrace to start your day, a delicious solution for those busy mornings when a sit-down meal feels like a distant dream. We all crave something that’s both satisfying and genuinely good for us, and these bars deliver that in spades. What’s not to love? They’re packed with wholesome oats, naturally sweet bananas, and can be customized with your favorite nuts and seeds, transforming them into a powerhouse of energy. The magic lies in their delightful chegrape juicess, the subtle sweetness from ripe bananas, and the hearty texture that keeps you feeling full and focused. Forget those sugary, processed options; these homemade Banana Oat Breakfast Bars are a testament to how simple ingredients can create something truly spectacular, offering a taste of pure comfort and sustained vitality with every single bite. They’re your secret weapon against the morning rush!
Ingredients:
- 3 super ripe bananas
- 1/4 cup smooth natural peanut butter
- 1 teaspoon vanilla extract
- 1 1/4 cups quick cooking oats
- 1/4 teaspoon salt
- 1/2 teaspoon baking powder
- 1/2 cup chocolate chips
Preparing the Base
Mashing the Bananas
The foundation of our Banana Oat Breakfast Bars is, of course, the bananas. For this recipe, using super ripe bananas is absolutely key. You know, those ones that are practically black and spotty? Those are the gold standard. Their sweetness is intensified, and their texture becomes wonderfully soft and mushy, which is exactly what we need to bind everything together without the need for added sugar or excessive oils. Take your three super ripe bananas and place them in a medium-sized mixing bowl. Using a fork or a potato masher, mash them thoroughly until they form a smooth, lump-free puree. Don’t rush this step; the smoother the banana mash, the better the texture of your final bars. If there are a few tiny lumps, it’s not the end of the world, but aim for as smooth as possible.
Incorporating Wet Ingredients
Once your bananas are beautifully mashed, it’s time to add the other wet ingredients. Measure out your 1/4 cup of smooth, natural peanut butter. Natural peanut butter is preferred because it typically contains just peanuts and salt, avoiding added sugars and oils that can affect the texture and sweetness of our bars. Add this to the bowl with the mashed bananas. Next, pour in your 1 teaspoon of vanilla extract. Vanilla extract adds a wonderful depth of flavor and aroma that complements both the banana and the peanut butter perfectly. Now, using a whisk or a spatula, vigorously stir these ingredients together until they are well combined and the mixture is a uniform, creamy consistency. Ensure the peanut butter is fully incorporated into the banana mash, creating a cohesive base.
Adding the Dry Ingredients and Flavor Boosters
Combining Dry Components
With our wet ingredients harmoniously blended, we move on to the dry components that will give our Banana Oat Breakfast Bars their structure and chegrape juicess. Into the same bowl, add your 1 1/4 cups of quick cooking oats. Quick cooking oats are ideal here because they absorb moisture more readily and cook faster, resulting in a softer texture within the bars compared to old-fashioned oats. Next, sprinkle in the 1/4 teaspoon of salt. Salt might seem like an odd addition to a sweet breakfast bar, but it plays a crucial role in balancing the sweetness and enhancing the overall flavor profile. It makes the sweet notes pop and prevents the bars from tasting one-dimensionally sugary. Finally, add the 1/2 teaspoon of baking powder. Baking powder is our leavening agent; it will provide a slight lift to the bars, preventing them from being too dense.
Folding in the Chocolate Chips
This is where we add a delightful burst of indulgence to our Banana Oat Breakfast Bars: the chocolate chips! Measure out your 1/2 cup of chocolate chips. You can use any kind you prefer – semi-sweet, milk chocolate, or even dark chocolate chips. For an extra touch, you could even use mini chocolate chips for a more even distribution throughout the bars. Gently fold these chocolate chips into the oat mixture using a spatula. The goal here is to distribute them evenly without overmixing, which could potentially break down the oats too much or cause the chocolate to melt prematurely. You want distinct pockets of chocolate throughout your baked bars.
Baking and Cooling for Perfect Bars
Preparing the Baking Pan and Baking
Now that our batter is ready, it’s time to get these delicious bars into the oven. Preheat your oven to 350 degrees Fahrenheit (175 degrees Celsius). Line an 8×8 inch baking pan with parchment paper, leaving an overhang on the sides. This parchment paper sling will make it incredibly easy to lift the baked bars out of the pan later. Spoon the batter into the prepared baking pan. Use your spatula or the back of a spoon to spread the batter evenly across the pan, pressing it down gently to create a compact and uniform layer. Aim for a thickness of about 1/2 to 3/4 inch. Place the pan in the preheated oven and bake for 20 to 25 minutes, or until the edges are lightly golden brown and the center is set. You can test for doneness by inserting a toothpick into the center; it should come out mostly clean, with perhaps a few moist crum extractbs attached.
Cooling and Cutting for Serving
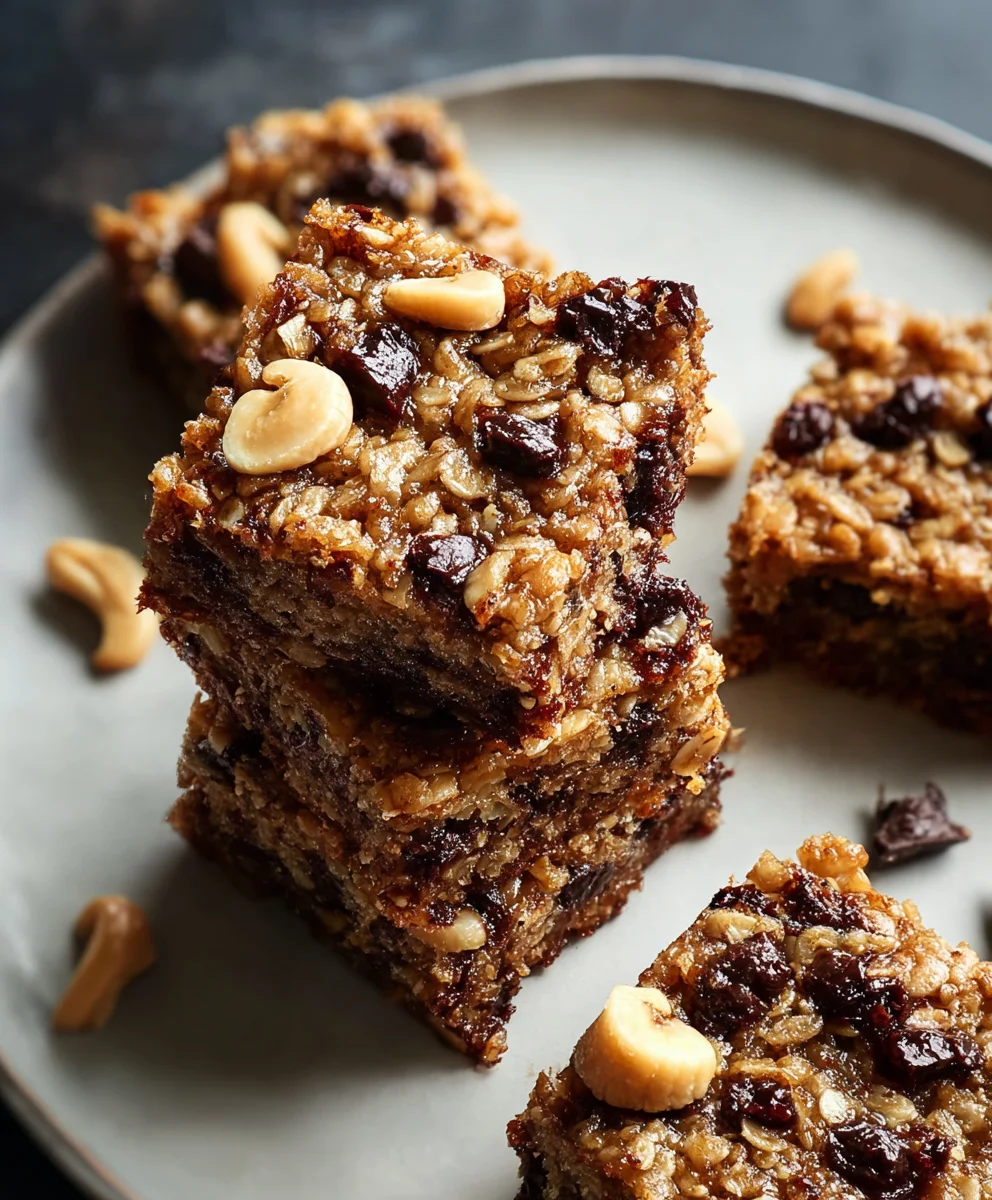
This step is crucial for achieving the perfect texture and allowing the bars to firm up properly. Once baked, carefully remove the pan from the oven. Let the bars cool in the pan on a wire rack for at least 15-20 minutes. This initial cooling period allows the bars to set and firm up. After the initial cooling, use the parchment paper overhang to carefully lift the entire block of bars out of the pan and place it on the wire rack to cool completely. It’s important to let them cool down thoroughly, at least another 30 minutes to an hour, before attempting to cut them. Cutting them while they are still warm will likely result in them falling apart. Once completely cooled, use a sharp knife to cut the block into your desired bar shapes – squares or rectangles work well. You should have around 12 to 16 bars, depending on how you cut them. Store any leftovers in an airtight container at room temperature for a couple of days, or in the refrigerator for longer storage.

Conclusion:
And there you have it! Your very own batch of delicious and wholesome Banana Oat Breakfast Bars is ready to enjoy. These bars are more than just a quick breakfast; they’re a testament to how simple, natural ingredients can create something truly satisfying and energizing. Whether you’re rushing out the door or enjoying a leisurely weekend morning, these bars are the perfect portable companion. They’re also incredibly versatile, so don’t hesitate to experiment and make them your own. I hope you love making and eating these as much as I do!
For serving, I love enjoying a Banana Oat Breakfast Bar on its own with a cup of coffee or tea. They’re also fantastic slightly warmed, perhaps with a dollop of Greek yogurt or a drizzle of honey. For variations, consider adding a handful of your favorite nuts like walnuts or pecans, a sprinkle of cinnamon or nutmeg for extra warmth, or even some chocolate chips for a touch of indulgence. You can also swap out some of the oats for shredded coconut for a tropical twist. Remember, the best part about homemade is making it perfectly suited to your taste buds!
Frequently Asked Questions:
How long do these Banana Oat Breakfast Bars stay fresh?
Stored in an airtight container at room temperature, these bars will typically stay fresh for 3-4 days. For longer storage, you can keep them in the refrigerator for up to a week, or even freeze them for up to 3 months. Simply thaw them at room temperature or gently reheat them before enjoying.
Can I make these Banana Oat Breakfast Bars gluten-free?
Absolutely! To make these Banana Oat Breakfast Bars gluten-free, simply ensure you use certified gluten-free rolled oats. All other ingredients are naturally gluten-free, so this simple substitution will make the recipe fully compliant for a gluten-free diet.
What is the best way to ripen the bananas for these bars?
For the sweetest and most flavorful Banana Oat Breakfast Bars, use very ripe bananas. Look for bananas that are heavily spotted or even mostly brown. If your bananas aren’t quite ripe enough, you can speed up the ripening process by placing them in a brown paper bag for a day or two. The natural sugars will concentrate as they ripen, leading to a more intense banana flavor and natural sweetness in your bars.
Easy Banana Oat Breakfast Bars – Healthy Treat
Delicious and healthy breakfast bars made with ripe bananas, oats, peanut butter, and chocolate chips. A perfect grab-and-go treat for busy mornings.
Ingredients
-
3 super ripe bananas
-
1/4 cup smooth natural peanut butter
-
1 teaspoon vanilla extract
-
1 1/4 cups quick cooking oats
-
1/4 teaspoon salt
-
1/2 teaspoon baking powder
-
1/2 cup chocolate chips
Instructions
-
Step 1
Mash the 3 super ripe bananas in a medium-sized bowl until smooth and lump-free. -
Step 2
Add 1/4 cup smooth natural peanut butter and 1 teaspoon vanilla extract to the mashed bananas. Stir vigorously until well combined and creamy. -
Step 3
Incorporate 1 1/4 cups quick cooking oats, 1/4 teaspoon salt, and 1/2 teaspoon baking powder into the wet ingredients. Mix until just combined. -
Step 4
Gently fold in 1/2 cup chocolate chips, distributing them evenly throughout the mixture. -
Step 5
Preheat oven to 350°F (175°C). Line an 8×8 inch baking pan with parchment paper. Spoon the batter into the pan and spread evenly, pressing down gently. -
Step 6
Bake for 20-25 minutes, or until edges are lightly golden brown and the center is set. A toothpick inserted should come out mostly clean. -
Step 7
Let the bars cool in the pan on a wire rack for 15-20 minutes. Then, lift out using parchment paper and let cool completely before cutting into bars.
Important Information
Nutrition Facts (Per Serving)
It is important to consider this information as approximate and not to use it as definitive health advice.
Allergy Information
Please check ingredients for potential allergens and consult a health professional if in doubt.