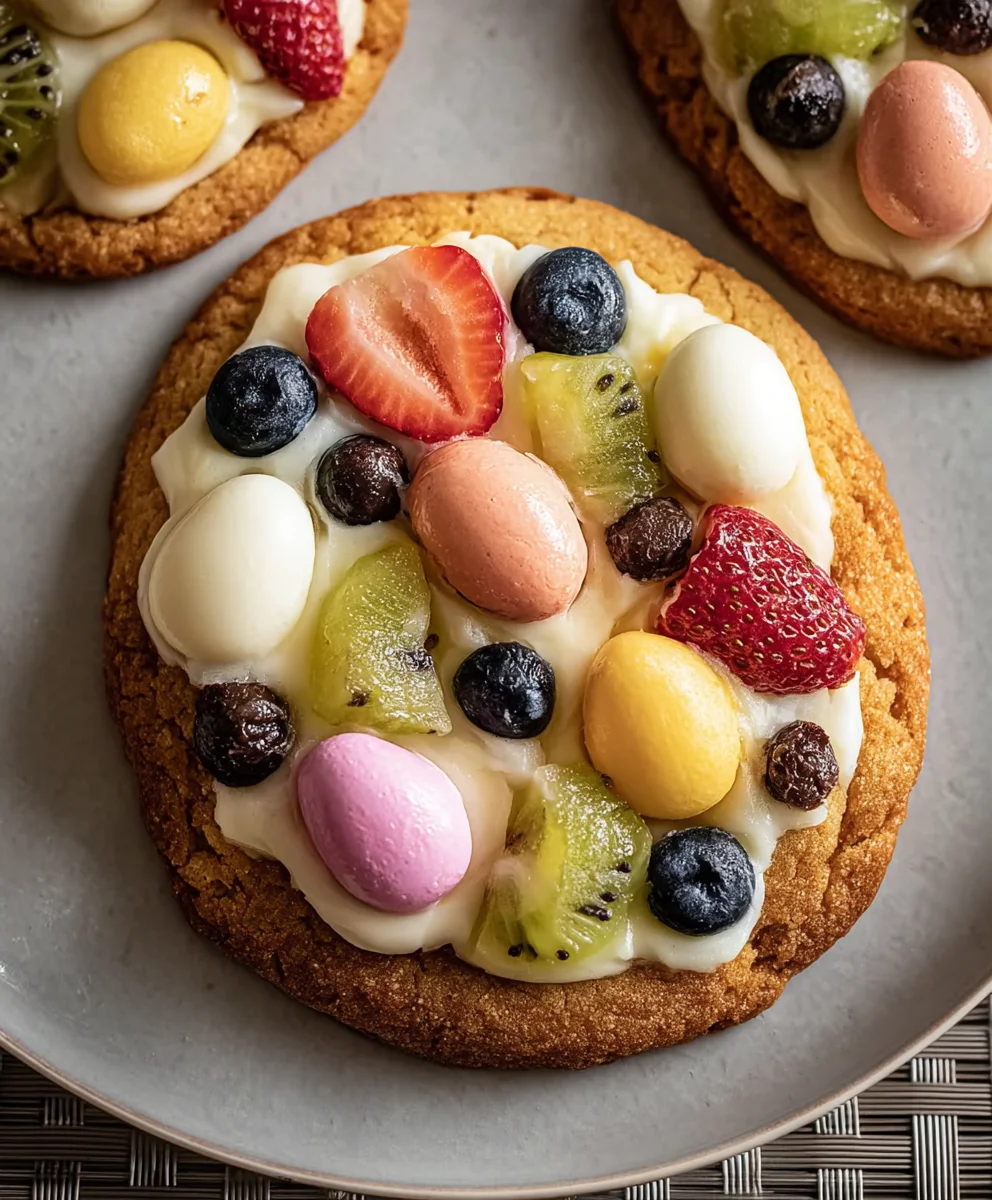
Easter Egg Fruit Cookies- Delightful & Easy Recipe
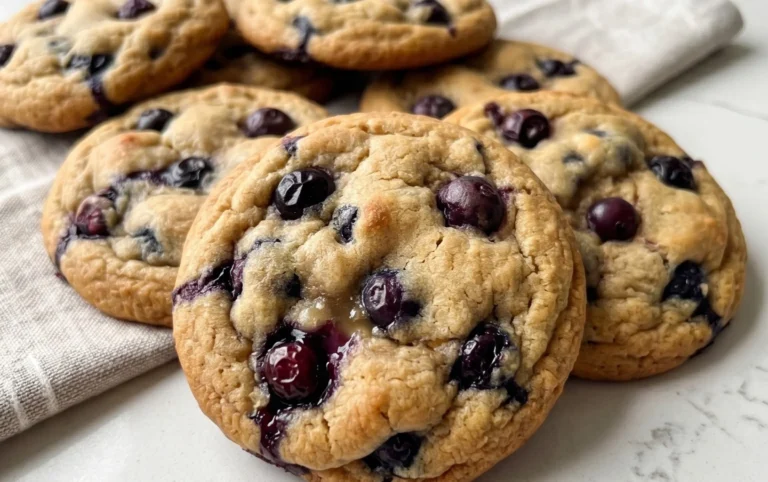
Easter Egg Fruit Cookies are the delightful way to usher in springtime and add a vibrant splash of color and sweetness to your festive table. Who doesn’t adore a cookie that’s as beautiful as it is delicious? These aren’t just any cookies; they’re miniature works of edible art, designed to capture the joy and renewal of the Easter season. The magic lies in their playful egg shape and the burst of fruity flavor that dances on your palate. What truly sets these Easter Egg Fruit Cookies apart is the ingenious combination of a tender, buttery cookie base infused with the bright zest of citrus and studded with jewel-like pieces of dried fruit. Imagin extracte biting into a cookie that’s subtly sweet, wonderfully textured, and carries the essence of spring in every mouthful. They’re perfect for decorating, sharing, or simply enjoying as a special treat during this cherished holiday. Get ready to create smiles and memories with these charming and utterly irresistible cookies.
Ingredients:
- 1 package sugar cookie dough mix
- 8 ounces cream cheese, softened
- 6 tablespoons butter, softened
- 2 cups confectioner’s sugar
- 1 teaspoon vanilla extract
- Pinch of salt
- Assorted berries and fruit (blueberries, strawberries, raspberries, kiwis, mandarin oranges)
Preparing the Cookie Dough
Baking the Sugar Cookies
The first step to creating these delightful Easter Egg Fruit Cookies is to prepare the sugar cookie base. You’ll begin extract with a package of sugar cookie dough mix. Follow the package instructions carefully, as these can vary slightly between brands. Typically, you’ll need to add eggs and a small amount of oil or melted butter, as specified on the box. Once you have a well-combined dough, gently knead it for a minute or two until it’s smooth and cohesive. It’s important not to overwork the dough at this stage, as this can lead to tough cookies.
Now, it’s time to shape your cookies. For Easter Egg Fruit Cookies, we want them to have a festive shape. You can either roll out the dough to about ¼ inch thickness and use an egg-shaped cookie cutter, or if you don’t have a cutter, you can simply roll small portions of dough into balls and gently flatten them into an oval shape with the palm of your hand. Aim for consistent thickness so that all your cookies bake evenly.
Preheat your oven according to the sugar cookie mix package directions, usually around 350°F (175°C). Line baking sheets with parchment paper or silicone baking mats. This prevents sticking and makes for easy cleanup. Place your shaped cookies on the prepared baking sheets, leaving about 2 inches of space between them to allow for spreading during baking.
Bake the cookies for the time recommended on the package, typically 8-12 minutes. You’re looking for lightly golden brown edges and a center that appears set. Keep a close eye on them in the last few minutes, as sugar cookies can go from perfectly baked to burnt very quickly. Once baked, remove the baking sheets from the oven and let the cookies cool on the sheets for 5 minutes before transferring them to a wire rack to cool completely. It’s crucial that the cookies are entirely cool before moving on to the frosting; warm cookies will melt the frosting and create a mess.
Making the Cream Cheese Frosting
Whipping the Frosting
While your cookies are cooling, let’s prepare the creamy, tangy frosting that will complement the sweetness of the cookies and the freshness of the fruit. In a medium-sized mixing bowl, combine the 8 ounces of softened cream cheese with 6 tablespoons of softened butter. Using softened ingredients is key here, as it ensures a smooth, lump-free frosting. You can use an electric mixer, either a hand mixer or a stand mixer fitted with the paddle attachment, to cream these together until they are light and fluffy, with no visible lumps of butter or cream cheese. This should take about 2-3 minutes.
Next, gradually add the 2 cups of confectioner’s sugar to the cream cheese and butter mixture. It’s best to add this in stages, mixing on low speed initially to prevent a cloud of powdered sugar from escaping the bowl. Once all the confectioner’s sugar is incorporated, increase the speed to medium-high and beat for another 2-3 minutes until the frosting is smooth, creamy, and holds its shape.
Now for the flavor. Add 1 teaspoon of vanilla extract and a pinch of salt to the frosting. The vanilla adds a classic sweet aroma and taste, while the salt helps to balance the sweetness and enhance all the other flavors. Mix these in until just combined. Taste a small amount of the frosting to ensure the sweetness and flavor are to your liking. If you prefer it sweeter, you can add a tablespoon or two more of confectioner’s sugar, mixing well after each addition. This frosting should be thick enough to spread easily but not so thin that it oozes off the cookies.
Decorating the Easter Egg Cookies
Assembling the Fruit Decorations
Once your cookies have completely cooled and your frosting is ready, it’s time for the most fun part: decorating! Take each cooled egg-shaped cookie and spread a generous layer of the cream cheese frosting over the top. Use the back of a spoon or an offset spatula to create an even surface, leaving a small border around the edge if you like. This frosting acts as the “glue” for your fruit decorations.
Now, let’s get creative with the assorted berries and fruit. Prepare your fruit by washing and drying it thoroughly. For strawberries, you can slice them thinly or halve them, depending on their size. Raspberries and blueberries can be used whole. Kiwis should be peeled and sliced into thin rounds or semi-circles. Mandarin oranges can be segmented and patted dry to remove excess moistgin extragin extract
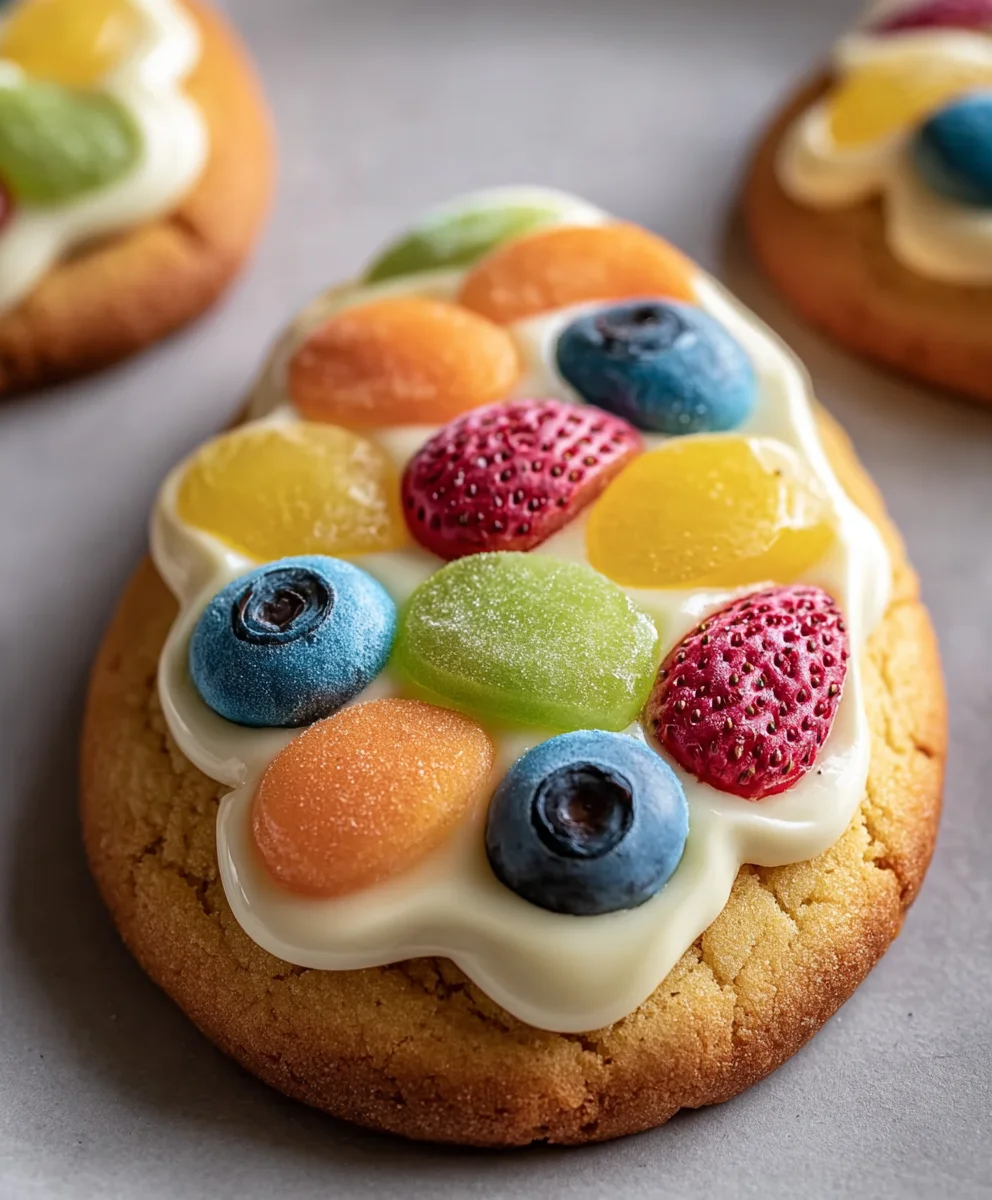
Begin arranging your fruit pieces onto the frosted cookies to resemble the colors and patterns of Easter eggs. Think about creating stripes, polka dots, or even floral patterns. For example, you could use thin slices of kiwi as a base, then add rows of blueberries and raspberries for stripes. Or, place a few blueberries in a cluster on one end and a strawberry slice on the other for a more abstract design. Don’t be afraid to mix and match colors and textures. The goal is to make each cookie a unique work of edible art.
Ensure the fruit is pressed gently into the frosting so it adheres well. Work relatively quickly once the frosting is on the cookies, as the frosting can start to crust slightly. If you find your frosting is getting too soft while you’re decorating, you can pop it back into the refrigerator for 10-15 minutes.
Allow the decorated cookies to set for at least 30 minutes at room temperature, or pop them in the refrigerator for about 15 minutes, to allow the frosting to firm up slightly before serving or storing. This will help the fruit decorations stay in place. These Easter Egg Fruit Cookies are not only beautiful but also offer a delightful combination of sweet cookie, tangy frosting, and fresh fruit.
Conclusion:
There you have it! Our delightful Easter Egg Fruit Cookies are ready to bring a burst of color and flavor to your holiday table. These charming cookies are surprisingly simple to make, proving that festive baking doesn’t have to be complicated. The combination of sweet, chewy dried fruit and a tender cookie base is always a winner, and the adorable egg shape makes them perfect for little hands to decorate and enjoy. Don’t hesitate to get creative with your designs – sprinkles, edible glitter, and a touch of icing can transform these into true works of art.
For serving, these Easter Egg Fruit Cookies are fantastic on their own as a sweet treat. They also pair beautifully with a glass of milk or a cup of tea. Consider arrangin extractg them on a platter for an Easter brunch centerpiece, gin extractpackaging them in cello bags with a ribbon as thoughtful edible gifts for friends and family. They are a wonderful addition to any Easter basket! Remember, baking is all about personal expression, so feel free to experiment with different types of dried fruit, nut extracts, or even a hint of citrus zest to make these your own.
Frequently Asked Questions:
Can I make these Easter Egg Fruit Cookies ahead of time?
Absolutely! These cookies store very well in an airtight container at room temperature for up to a week. This makes them perfect for preparing a few days in advance of your Easter celebrations, reducing any last-minute baking stress.
What are some other fruit options for Easter Egg Fruit Cookies?
You can really customize the fruit! Besides the ones in the recipe, consider using finely chopped dried apricots, dates, figs, or even a mix of different dried berries like cranberries or blueberries for a unique flavor profile.
Easter Egg Fruit Cookies- Delightful & Easy Recipe
Delightful and easy Easter egg shaped cookies topped with creamy cream cheese frosting and fresh fruit.
Ingredients
-
1 package sugar cookie dough mix
-
8 ounces cream cheese, softened
-
6 tablespoons butter, softened
-
2 cups confectioner’s sugar
-
1 teaspoon vanilla extract
-
Pinch of salt
-
Assorted berries and fruit (blueberries, strawberries, raspberries, kiwis, mandarin oranges)
Instructions
-
Step 1
Prepare sugar cookie dough according to package directions. Shape into egg shapes using a cutter or by flattening balls of dough. Bake on parchment-lined sheets at 350°F (175°C) for 8-12 minutes, or until lightly golden. Cool completely. -
Step 2
While cookies cool, make the frosting: Cream softened cream cheese and softened butter until light and fluffy. Gradually add confectioner’s sugar, mixing until smooth. -
Step 3
Beat in vanilla extract and a pinch of salt until just combined. Adjust sweetness as needed. -
Step 4
Spread a generous layer of cream cheese frosting onto each cooled cookie. -
Step 5
Wash and prepare assorted berries and fruit. Arrange fruit pieces onto the frosting to resemble Easter egg designs like stripes, polka dots, or floral patterns. Press gently into the frosting. -
Step 6
Allow decorated cookies to set at room temperature for at least 30 minutes, or chill for 15 minutes, before serving.
Important Information
Nutrition Facts (Per Serving)
It is important to consider this information as approximate and not to use it as definitive health advice.
Allergy Information
Please check ingredients for potential allergens and consult a health professional if in doubt.