Best Cheesy Garlic Bread-Easy & Delicious
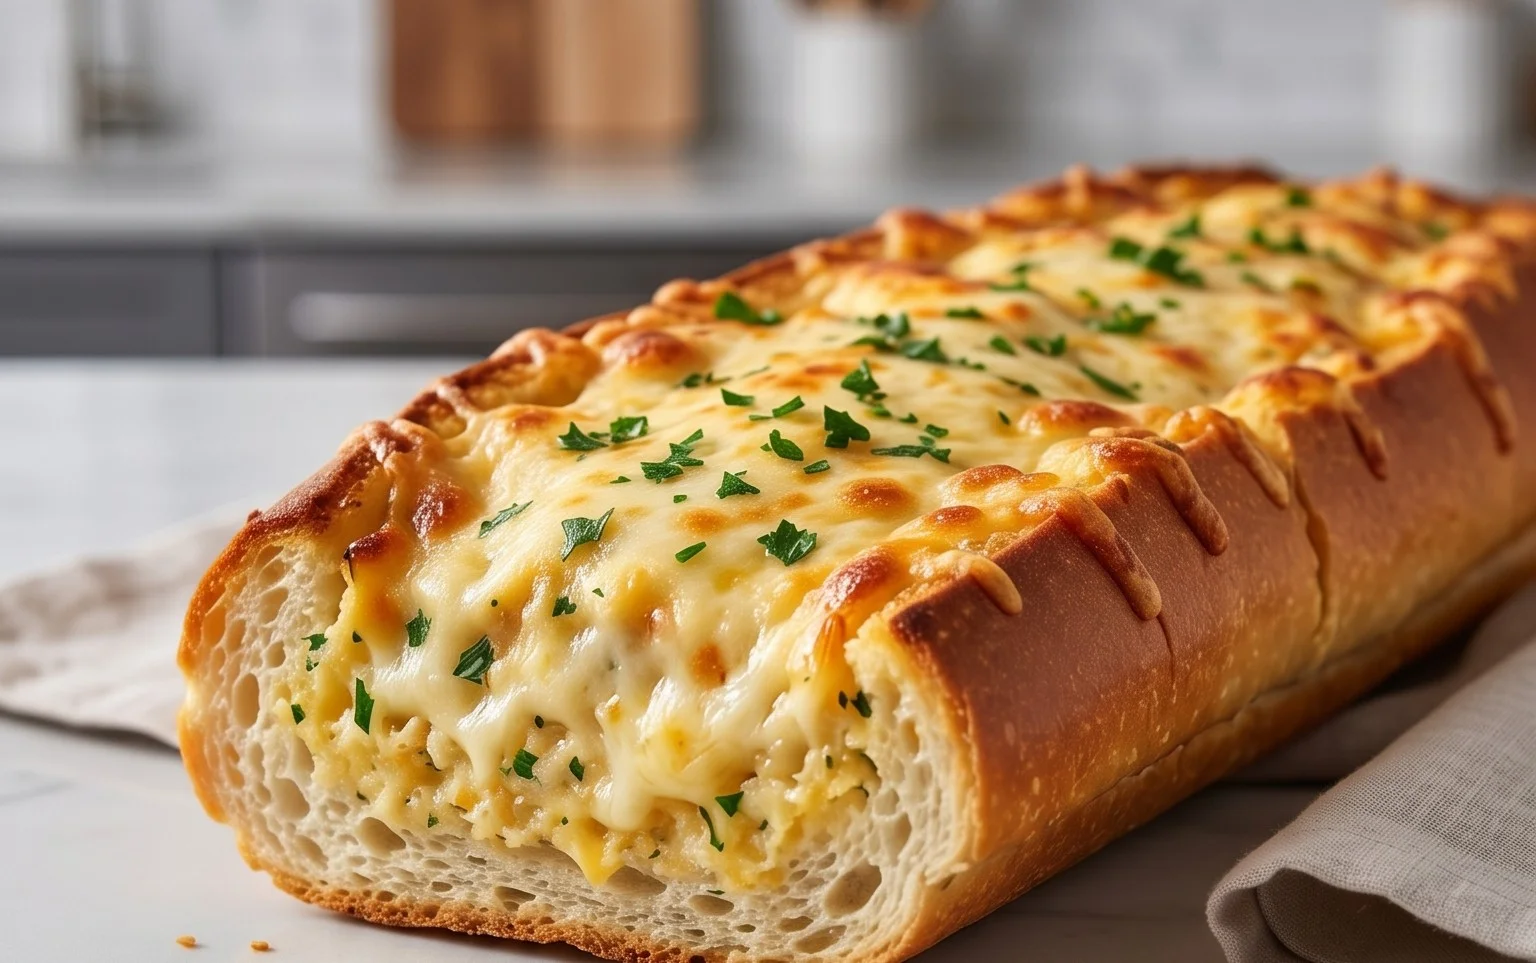
BEST CHEESY GARLIC BREAD RECIPE – it’s more than just a side dish; it’s a culinary hug, a guaranteed crowd-pleaser, and, quite frankly, an essential part of any good meal. Who can resist that irresistible aroma of toasted bread infused with rich garlic butter, then blanketed in gooey, melted cheese? It’s the perfect accompaniment to pasta, soup, or even just enjoyed all on its own. What makes this BEST CHEESY GARLIC BREAD RECIPE so special? It’s the perfect balance of crisp, buttery bread, pungent garlic, and a glorious, melty cheese topping that stretches with every bite. We’ve perfected the technique to ensure every slice delivers pure, unadulterated comfort and flavor. Get ready to elevate your side game and make this your go-to recipe for cheesy garlic bread perfection.
BEST CHEESY GARLIC BREAD RECIPE
Get ready to elevate your appetizer game or become the undisputed hero of your next potluck with this incredibly delicious and surprisingly easy Cheesy Garlic Bread recipe. We’re talking about pillowy soft rolls, drenched in a garlicky, buttery embrace, and blanketed in a generous layer of gooey, melted mozzarella. This isn’t just garlic bread; this is the ultimate garlic bread, the kind that disappears the moment it hits the table and has everyone beggin extractg for the secret. Trust me, the secret is simple: good ingredients and a little bit of love.
Ingredients:
Let’s break down how we’re going to transform these humble ingredients into cheesy garlic bread perfection. The key to truly exceptional garlic bread lies in the garlic preparation. We’re going to roast our garlic first to mellow out its bite and bring out a sweet, nutty depth of flavor that raw garlic just can’t replicate.
Roasting the Garlic: The Foundation of Flavor
Before we even think about butter and cheese, let’s get our garlic ready. Preheat your oven to 400°F (200°C). Take your 8-10 garlic cloves and slice off the very top, exposing the individual cloves. Place them on a small piece of aluminum foil, drizzle them with 2 tablespoons of olive oil, and sprinkle with a pinch of salt. Wrap the foil around the garlic cloves to create a senon-alcoholic aled packet. Place this packet directly on the oven rack and roast for about 30-40 minutes, or until the garlic is incredibly soft and fragrant. Once cooled slightly, you can easily squeeze the roasted garlic cloves out of their skins, and they’ll mash into a beautiful, sweet paste. This roasted garlic paste is the secret weapon of this recipe, giving us that deep, complex garlic flavor.
Crafting the Garlic Butter Mixture
Now that our garlic is roasted and ready, it’s time to create our flavor-packed garlic butter. In a medium bowl, combine the ½ cup of melted butter with the roasted garlic paste you just made. If your roasted garlic isn’t quite paste-like enough, you can mash it further with a fork. Add the 1 egg to the bowl. Don’t worry about cooking the egg; it acts as an emulsifier here, helping to bind the butter and milk together for a richer, more cohesive spread. Whisk in the ¼ cup of milk, followed by ½ teaspoon of salt and ½ teaspoon of paprika for a touch of warmth and color. Finally, stir in 2 tablespoons of chopped fresh parsley. This vibrant green herb adds a lovely freshness that cuts through the richness of the butter and cheese. Give it all a good whisk until everything is well combined and wonderfully fragrant.
Preparing the Rolls
This recipe is designed to work perfectly with King’s Hawaiian Origin extract extractal Hawaiian Sheet Rolls, which provide an unparalleled soft and slightly sweet base. The beauty of using them in their full sheet form is that you can slice through them all at once, creating a cohesive piece of garlic bread that’s fantastic for sharing. If you don’t have these rolls, a French baguette, sliced lengthwise and then horizontally as well, would be a great substitute.
Carefully place your sheet of rolls on a baking sheet lined with parchment paper. If you’re using a baguette, slice it in half lengthwise, and then make horizontal cuts about 1 inch apart, ensuring you don’t cut all the way through the bottom crust. This scoring technique allows the garlic butter to really penetrate into all those nooks and crannies.
Assembling the Cheesy Garlic Bread
This is where the magic really happens! Using a brush or a spoon, generously spread the garlic butter mixture all over the cut surfaces of your rolls. Make sure to get into every crevice. Don’t be shy – the more butter, the better! Once you’ve coated the rolls, it’s time for the star of the show: the cheese. Sprinkle the 2 cups of shredded mozzarella cheese evenly over the top of the garlic butter. You want a thick, generous layer of mozzarella that will melt into a glorious, stringy blanket.
Baking to Golden Perfection
Now, we bake! Pop the assembled garlic bread back into your preheated 400°F (200°C) oven. Bake for about 10-15 minutes, or until the cheese is melted and bubbly and the edges of the rolls are a beautiful golden brown. Keep an eye on it, as ovens can vary, and you don’t want it to burn. The aroma that will fill your kitchen during this stage is absolutely divine – pure comfort food.
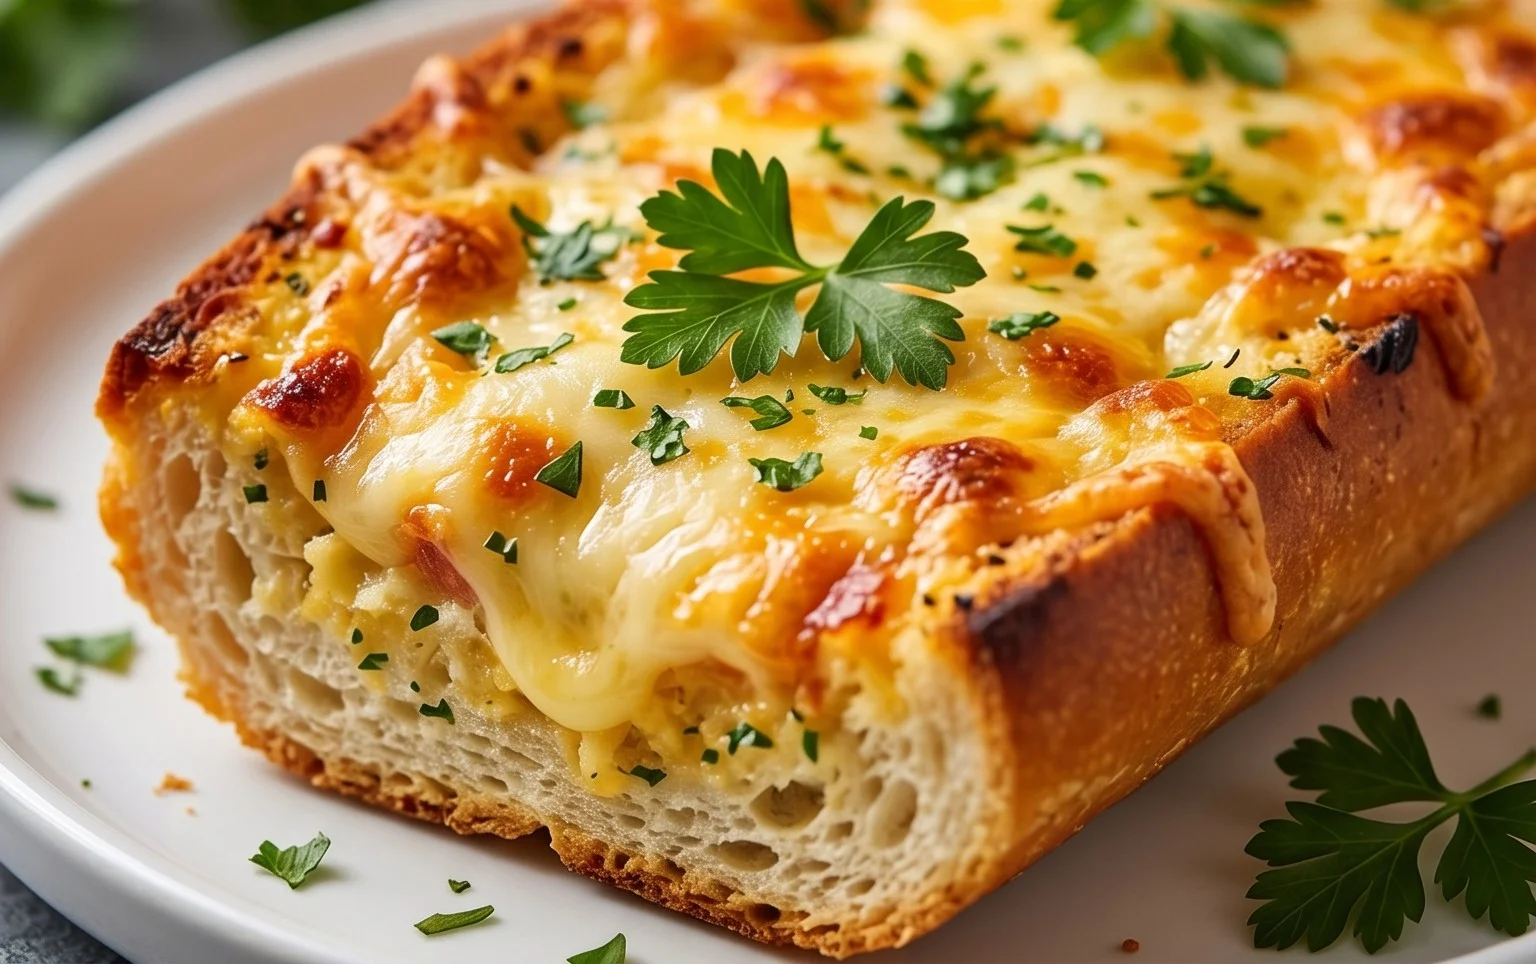
Once it’s out of the oven, let it rest for just a minute or two. This allows the cheese to set slightly, making it easier to slice and serve. Finally, sprinkle with a little more chopped parsley and, if you like a little kick, some chili flakes for serving.
This Cheesy Garlic Bread is perfect served alongside pasta dishes, soups, or simply enjoyed on its own as a fantastic appetizer. Get ready for the compliments!
Conclusion:
There you have it – our absolute BEST CHEESY GARLIC BREAD RECIPE! We’re confident this recipe will become your go-to for a reason. It’s incredibly simple to whip up, yet delivers an explosion of savory garlic and gooey, melted cheese that’s simply irresistible. The perfect balance of crispy crust and soft, flavorful interior makes it a showstopper, whether served as an appetizer or a side dish. We love pairing it with a hearty pasta, a comforting soup, or even just enjoying it on its own for a delicious treat!
Don’t be afraid to get creative! Feel free to experiment with different cheeses – a blend of mozzarella and parmesan is classic, but Gruyère or a sharp cheddar can add a delightful twist. For an extra kick, a pinch of red pepper flakes in the garlic butter mixture is fantastic. And why not add some fresh herbs like parsley or chives for a burst of freshness? We genuinely encourage you to give this recipe a try. It’s a crowd-pleaser that’s sure to impress everyone, from picky eaters to seasoned foodies. Happy baking!
Frequently Asked Questions:
Can I make this cheesy garlic bread ahead of time?
You can prepare the garlic butter mixture and spread it on the bread up to a day in advance. Store it, covered, in the refrigerator. When you’re ready to bake, simply add the cheese and bake as directed, you might need to add a few extra minutes to account for it being chilled.
What kind of bread is best for this recipe?
A good quality French baguette or Italian loaf works wonderfully. The denser crum extractb holds up well to the garlic butter and cheese, ensuring a satisfying texture. However, you can also use sourdough or even sturdy ciabatta rolls.
How do I get extra crispy garlic bread?
For maximum crispiness, ensure your oven is fully preheated and consider baking on a lower rack for the last few minutes of cooking. You can also lightly toast the bread before adding the garlic butter for an even crispier base.
BEST CHEESY GARLIC BREAD RECIPE
Irresistible cheesy garlic bread made with King’s Hawaiian rolls, roasted garlic, and a rich butter mixture.
Ingredients
-
8-10 garlic cloves
-
2 tbsp olive oil
-
Pinch of salt
-
Roasted garlic from above
-
½ cup butter, melted (113g)
-
1 egg
-
¼ cup milk (60g)
-
½ tsp salt
-
½ tsp paprika
-
2 tbsp chopped fresh parsley
-
12 King’s Hawaiian Origin extractal Hawaiian Sheet Rolls, kept in the full sheet form
-
2 cups shredded mozzarella cheese
-
Chopped parsley for serving
-
Chili flakes for serving
Instructions
-
Step 1
Roast 8-10 garlic cloves with 2 tbsp olive oil and a pinch of salt until soft and fragrant. Squeeze out the roasted garlic from its skins. -
Step 2
In a bowl, combine the melted butter, roasted garlic paste, egg, milk, ½ tsp salt, ½ tsp paprika, and 2 tbsp chopped fresh parsley. Whisk until well combined. -
Step 3
Cut the King’s Hawaiian sheet rolls horizontally to create a hinged loaf, or slice a French baguette in half lengthwise. -
Step 4
Spread the butter mixture evenly over the cut surfaces of the rolls or baguette. -
Step 5
Sprinkle the shredded mozzarella cheese generously over the buttered surfaces. -
Step 6
Bake in a preheated oven at 375°F (190°C) for 10-12 minutes, or until the cheese is melted and bubbly and the bread is golden brown. -
Step 7
Garnish with fresh chopped parsley and chili flakes before serving.
Important Information
Nutrition Facts (Per Serving)
It is important to consider this information as approximate and not to use it as definitive health advice.
Allergy Information
Please check ingredients for potential allergens and consult a health professional if in doubt.