Homemade Sourdough Cheez-Its – Easy & Delicious Snack
Sourdough Cheez Its Recipe
Unlock the ultimate cheesy crunch with our sensational Sourdough Cheez Its Recipe!
Are you ready to elevate your snack game to an entirely new level of deliciousness? Forget those store-bought crackers; we’re about to embark on a culinary adventure that will have your taste buds singin extractg. The magic of using your active sourdough starter infuses these homemade Cheez Its with a subtle tang and a complexity of flavor that’s simply unparallegin extract. Imagine the satisfying snap, the intense cheesy aroma, and that perfect melt-in-your-mouth texture – all achieved in your own kitchen!
What makes this Sourdough Cheez Its Recipe so irresistible? It’s the delightful harmony of sharp cheddar, a hint of nutty Parmesan, and the fermented depth from the sourdough. It’s the kind of snack that disappears in minutes, whether you’re serving them at a party, packing them for a lunchbox, or simply enjoying a quiet moment of indulgence. This recipe is not just about making crackers; it’s about creating an experience, a truly homemade treat that’s both incredibly satisfying to make and utterly addictive to devour.
Ingredients:
- 226 grams sharp cheddar cheese, freshly shredded (about 8 ounces)
- 100 grams sourdough discard (this is the bubbly, active starter you feed regularly, about 1/3 cup)
- 42 grams unsalted butter, cold and cut into small cubes (3 Tablespoons)
- 140 grams all-purpose flour (about 1 cup)
- 1 gram garlic powder (1/4 teaspoon)
- 1 gram onion powder (1/4 teaspoon)
- 3 grams fine sea salt (1/2 teaspoon, plus more for finishing if desired)
- Flaky sea salt, for sprinkling on top (optional but highly recommended)
Making the Dough
Step 1: Combine Dry Ingredients and Butter
In a medium-sized bowl, combine the all-purpose flour, garlic powder, onion powder, and the 3 grams of fine sea salt. Whisk these together thoroughly to ensure the seasonings are evenly distributed throughout the flour. This is a crucial step for consistent flavor in every bite. Next, add the cold, cubed unsalted butter to the dry ingredients. Using a pastry blender, your fingertips, or a food processor on pulse mode, cut the butter into the flour mixture. You want to achieve a coarse meal consistency, with some pea-sized pieces of butter still visible. These pockets of butter will contribute to the flaky texture of our Sourdough Cheez Its. Don’t overwork the mixture at this stage; we’re aiming for incorporation, not a smooth paste.
Step 2: Incorporate Sourdough Discard and Cheese
Now, it’s time to introduce the star of our Sourdough Cheez Its: the sourdough discard. Add the 100 grams of sourdough discard to the flour and butter mixture. Gently mix it in until it’s just combined. The mixture will start to come together, but it will likely still be shaggy. Don’t worry if it doesn’t look like a cohesive dough yet. Following that, add the freshly shredded cheddar cheese. Using a spatula or your hands, gently fold the cheese into the mixture. The goal here is to distribute the cheese evenly without overmixing, which could lead to a tough cracker. The sourdough discard will hydrate the flour and bind the ingredients, while the cheese adds that irresistible savory flavor and a beautiful golden hue.
Step 3: Form and Chill the Dough
Once the cheese is mostly incorporated, turn the mixture out onto a clean surface. It will be crum extractbly and might not hold together perfectly. Gently press and knead the dough just enough for it to start coming together into a cohesive mass. It should feel slightly sticky. If it feels too dry and isn’t forming, you can add a tiny splash of water (literally, a teaspoon at a time). Conversely, if it’s too wet, add a tablespoon of flour. Shape the dough into a flattened disc or rectangle, about 1 inch thick. Wrap this disc tightly in plastic wrap and refrigerate for at least 1 hour, or preferably 2 hours. This chilling period is essential for several reasons: it allows the gluten in the flour to relax, making the dough easier to roll out; it solidifies the butter, which will help create flaky layers during baking; and it allows the flavors to meld together.
Shaping and Baking
Step 4: Roll and Cut the Crackers
After the dough has chilled and is firm, unwrap it and place it on a lightly floured surface. If the dough is very stiff, let it sit at room temperature for 5-10 minutes to make it more pliable. Now, you’ll roll out the dough. Aim for a thickness of about 1/8 inch to 1/16 inch. The thinner you roll it, the crispier your crackers will be. Use a rolling pin to evenly flatten the dough. You can do this by rolling from the center outwards, rotating the dough occasionally to prevent sticking. Don’t worry if the dough tears a little; you can patch it back together. Once rolled to your desired thinness, use a pizza cutter, a sharp knife, or cookie cutters to cut the dough into your desired shapes. Classic squares or rectangles work wonderfully for that authentic Cheez Its look. You can also use fun shapes if you have them!
Step 5: Bake to Golden Perfection
Preheat your oven to 375°F (190°C). Line baking sheets with parchment paper for easy cleanup and to prevent sticking. Carefully transfer the cut cracker shapes to the prepared baking sheets, leaving a little space between each one. If you’re using them, lightly brush the tops of the crackers with a tiny bit of water or melted butter and then sprinkle generously with flaky sea salt. This step is highly recommended for an extra burst of flavor and texture. Bake the Sourdough Cheez Its for 12-18 minutes, or until they are golden brown and firm to the touch. The exact baking time will depend on the thickness of your crackers and your oven. Keep a close eye on them, especially in the last few minutes, as they can go from perfectly baked to burnt very quickly.
Step 6: Cool and Enjoy
Once baked, remove the baking sheets from the oven. Let the crackers cool on the baking sheets for a few minutes. They will continue to crisp up as they cool. Then, carefully transfer the Sourdough Cheez Its to a wire rack to cool completely. This ensures they get crispy all around. Resist the urge to eat them all immediately (though I understand the temptation!). Once fully cooled, store your homemade Sourdough Cheez Its in an airtight container at room temperature. They should stay fresh and wonderfully crunchy for up to a week. Enjoy them on their own as a satisfying snack, or serve them with your favorite dips and spreads. The tangy notes from the sourdough, combined with the sharp cheddar and savory spices, create a flavor profile that’s both familiar and excitingly new.
Conclusion:
You’ve done it! You’ve successfully crafted your very own batch of homemade Sourdough Cheez Its Recipe. This recipe is a delightful way to elevate a classic snack with the tangy goodness of sourdough and the irresistible savory flavor of cheese. The process, while requiring a little patience, is incredibly rewarding, and the result is a far cry from anything store-bought. These aren’t just crackers; they’re a testament to your culinary creativity.
Serve these delightful Sourdough Cheez Its Recipe crackers warm from the oven as a crowd-pleasing appetizer, alongside your favorite soup or salad for a sophisticated crunch, or simply enjoy them as a satisfying afternoon snack. They pair wonderfully with a cold beverage.
Feel free to get adventurous with variations! Try adding a pinch of cayenne pepper for a kick, a sprinkle of garlic powder, or even some dried herbs like rosemary or thyme. Different cheese combinations can also lead to exciting new flavor profiles – sharp cheddar, Gruyère, or a blend of your favorites will all work beautifully. Don’t be afraid to experiment and make this recipe your own!
Frequently Asked Questions:
Q: How long can I store my Sourdough Cheez Its Recipe crackers?
A: Once cooled, store your Sourdough Cheez Its Recipe crackers in an airtight container at room temperature for up to a week. They may lose some of their crispness over time, but they’ll still be delicious.
Q: My dough is too sticky, what should I do?
A: If your dough is too sticky to handle, lightly flour your work surface and your hands. You can also try chilling the dough for about 15-20 minutes to make it easier to roll out. Be careful not to add too much extra flour, as this can make the crackers tough.
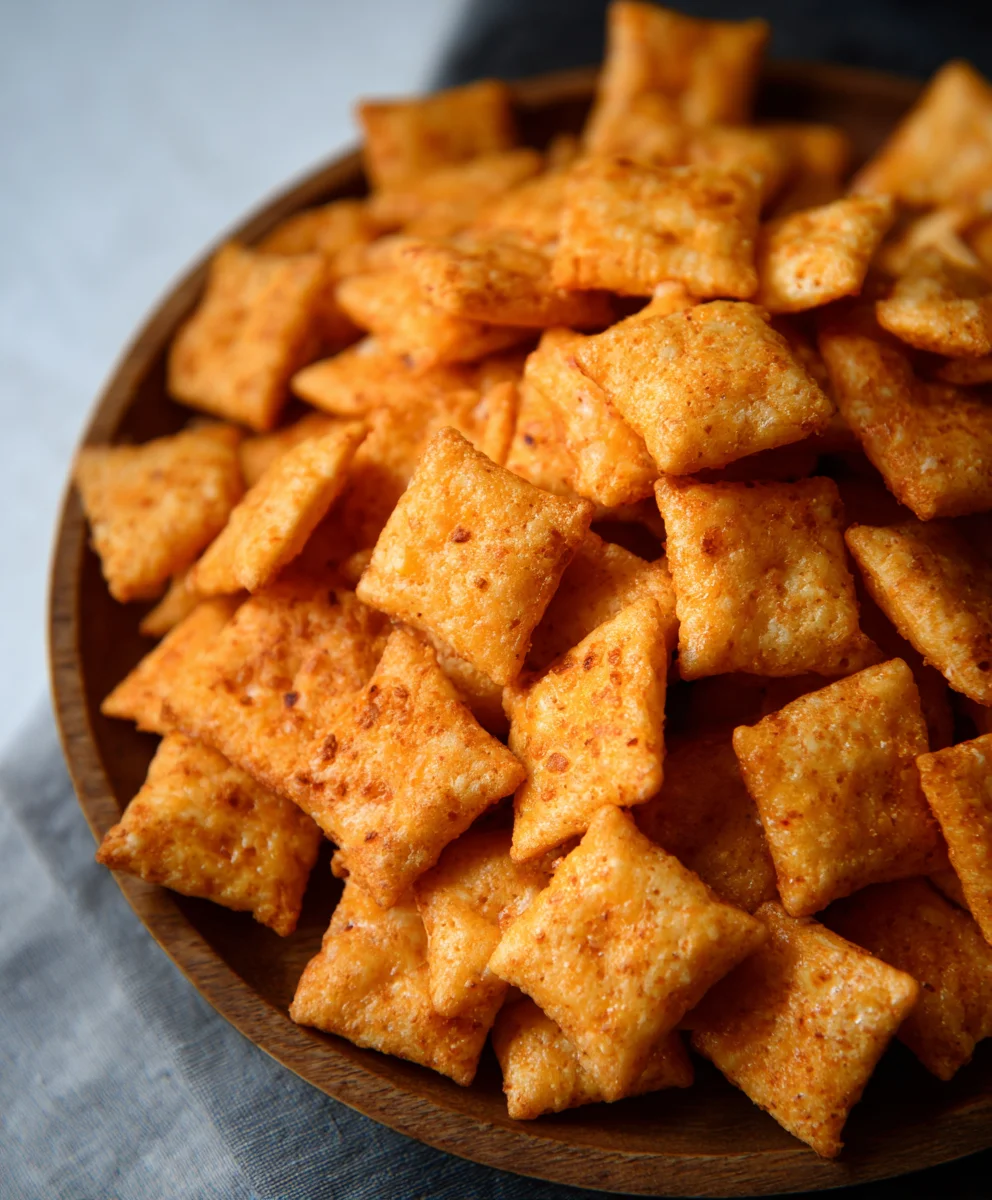
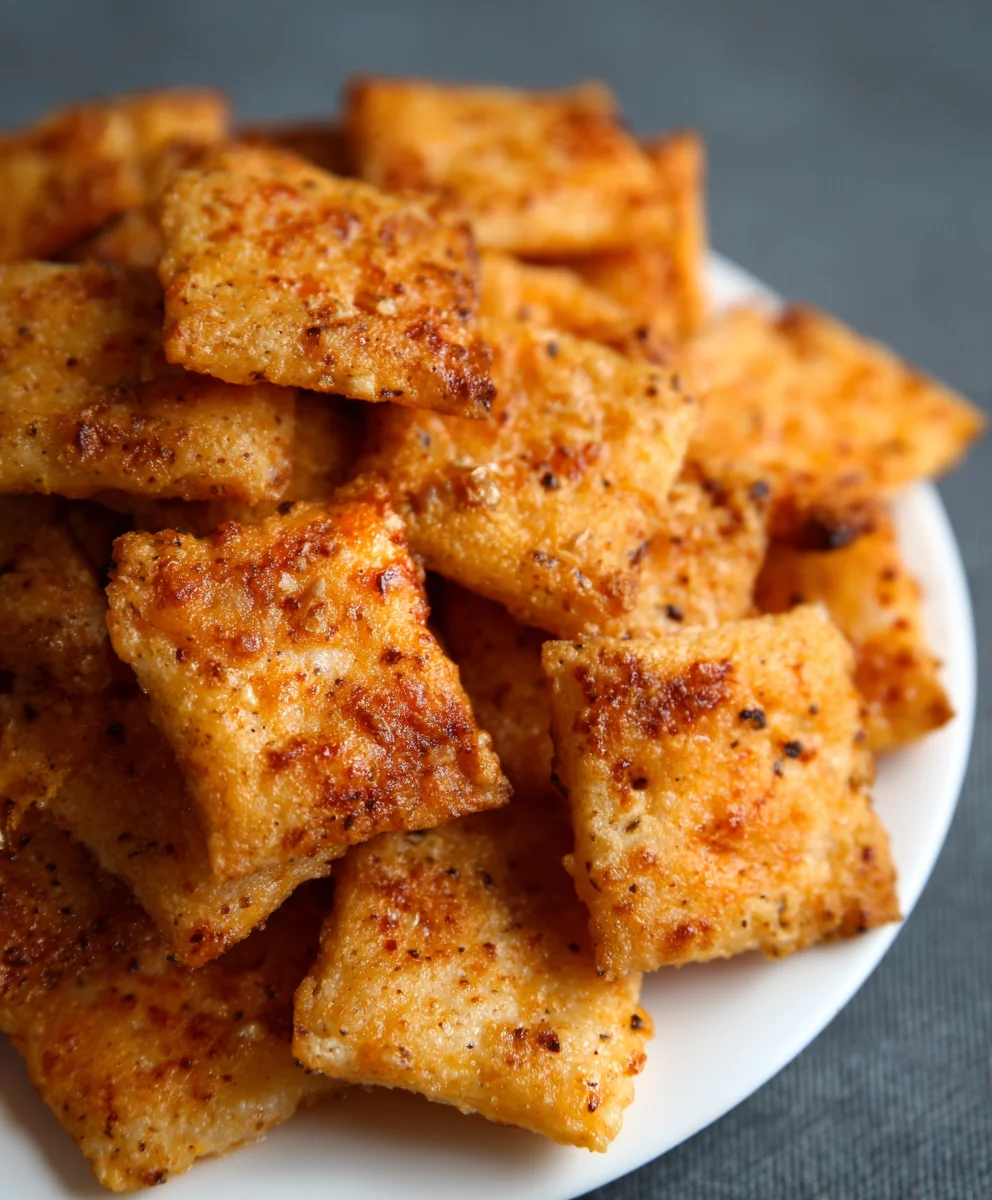
Homemade Sourdough Cheez-Its
Easy and delicious homemade crackers with a tangy sourdough twist and sharp cheddar flavor.
Ingredients
-
226 grams sharp cheddar cheese, freshly shredded
-
100 grams sourdough discard
-
42 grams unsalted butter, cold and cut into small cubes
-
140 grams all-purpose flour
-
1 gram garlic powder
-
1 gram onion powder
-
3 grams fine sea salt
-
Flaky sea salt, for sprinkling on top (optional)
Instructions
-
Step 1
Combine the all-purpose flour, garlic powder, onion powder, and 3 grams of fine sea salt in a medium bowl. Whisk together. Cut in the cold butter until the mixture resembles coarse meal with pea-sized butter pieces. -
Step 2
Add the sourdough discard and gently mix until just combined. Stir in the shredded cheddar cheese until evenly distributed. -
Step 3
Turn the mixture onto a clean surface and gently knead just enough for it to come together into a cohesive, slightly sticky mass. Shape into a flattened disc or rectangle, about 1 inch thick. Wrap tightly and refrigerate for at least 1 hour. -
Step 4
On a lightly floured surface, roll out the chilled dough to about 1/8 to 1/16 inch thickness. Cut into desired shapes, such as squares or rectangles. -
Step 5
Preheat oven to 375°F (190°C). Line baking sheets with parchment paper. Transfer the cut crackers to the baking sheets. Sprinkle with flaky sea salt if desired. -
Step 6
Bake for 12-18 minutes, or until golden brown and firm. Let cool on the baking sheets for a few minutes, then transfer to a wire rack to cool completely.
Important Information
Nutrition Facts (Per Serving)
It is important to consider this information as approximate and not to use it as definitive health advice.
Allergy Information
Please check ingredients for potential allergens and consult a health professional if in doubt.