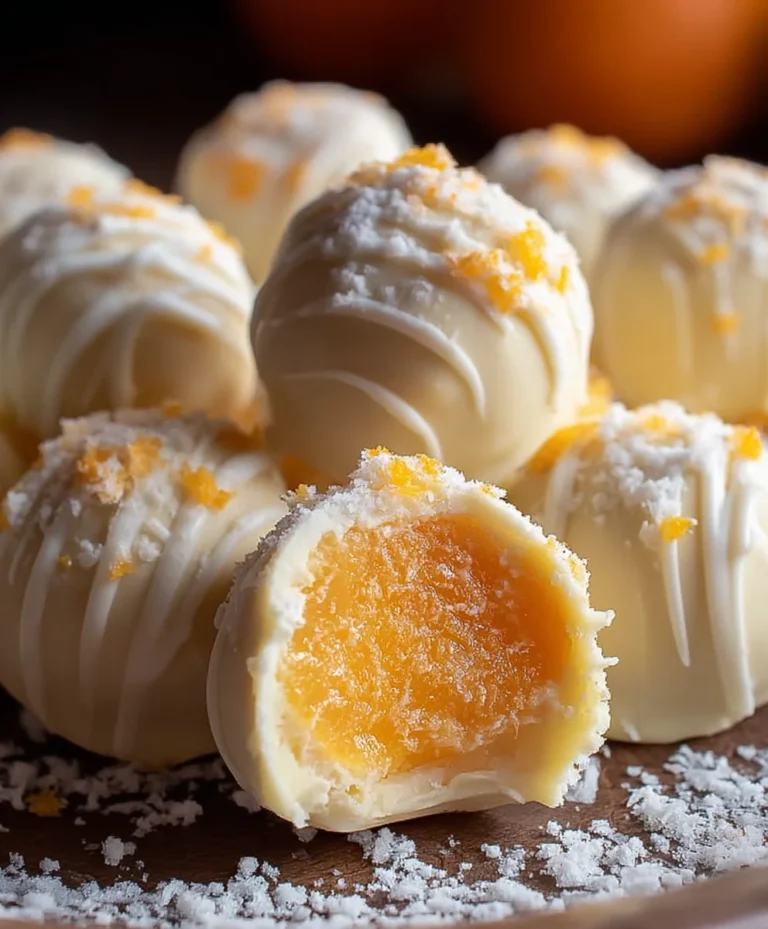
Cookies-Cream Red Velvet Bites – Delicious Treats
Cookies & Cream Red Velvet Bites are more than just a dessert; they’re a tiny explosion of pure joy, perfectly designed for those moments when you crave something decadent yet delightfully bite-sized. Imagin extracte the velvety richness of classic red velvet cake, beautifully infused with the delightful crunch and creamy sweetness of crushed cookies. This unique combination is precisely what makes Cookies & Cream Red Velvet Bites so utterly irresistible. People adore them not only for their stunning visual appeal – that deep, alluring red contrasting with flecks of cookie goodness – but also for the satisfying interplay of textures and flavors. Each bite offers a comforting chew from the cake base, punctuated by pockets of creamy cookie bliss. What truly sets these Cookies & Cream Red Velvet Bites apart is their perfect portioning, making them an ideal treat for parties, a thoughtful homemade gift, or simply an indulgent personal indulgence that never disappoints.

Ingredients:
- 1½ cups all-purpose flour
- 1 cup granulated sugar
- 2 tablespoons unsweetened cocoa powder
- ½ teaspoon baking soda
- ½ teaspoon salt
- ½ cup buttermilk
- ½ cup vegetable oil
- 2 large eggs
- 1 teaspoon vanilla extract (for cake)
- 1 teaspoon white vinegar
- 1 tablespoon red food coloring
- 4 oz cream cheese, softened (for frosting)
- ¼ cup unsalted butter, softened (for frosting)
- 1½ cups powdered sugar (for frosting)
- 1 teaspoon vanilla extract (for frosting)
- Optional: Crushed Oreo cookies for topping
Preparing the Red Velvet Cake Bites
Mixing the Dry Ingredients
To begin extract our delicious Cookies & Cream Red Velvet Bites, we’ll start by combining all of our dry ingredients in a medium-sized mixing bowl. This ensures that everything is evenly distributed before we introduce the wet ingredients, which is key to a tender crum extractb. Take your 1½ cups of all-purpose flour, 1 cup of granulated sugar, 2 tablespoons of unsweetened cocoa powder, ½ teaspoon of baking soda, and ½ teaspoon of salt. Whisk them together thoroughly until there are no visible clumps of cocoa powder or baking soda. This simple step prevents pockets of leavening agent or bitter cocoa in your finished bites. Set this bowl aside.
Combining the Wet Ingredients and Creating the Red Velvet Base
Now, let’s move on to the wet ingredients. In a separate, larger mixing bowl, whisk together the ½ cup of buttermilk, ½ cup of vegetable oil, and 2 large eggs. The oil will contribute to a wonderfully moist texture that is characteristic of great red velvet. Next, we add the flavor enhancers: 1 teaspoon of vanilla extract for that classic sweet aroma and flavor, and 1 teaspoon of white vinegar. The vinegar might seem unusual, but when combined with the baking soda, it creates a chemical reaction that helps the cake rise beautifully and also enhances the vibrant red color. Finally, it’s time to achieve that iconic red velvet hue. Add 1 tablespoon of red food coloring to this wet mixture. Stir vigorously until the color is completely uniform and a rich, deep red. You want to ensure the color is evenly dispersed throughout the liquid before combining it with the dry ingredients.
Incorporating the Wet into the Dry and Baking
Now comes the magicgin extract bringing our cake batter together. Gradually pour the wet red velvet mixture into the bowl containing the dry ingredients. Mix on low speed using an electric mixer, or by hand with a whisk or spatula, just until the ingredients are combined and no dry streaks of flour remain. Be careful not to overmix at this stage; overmixing can develop the gluten in the flour too much, resulting in tough cake bites. A few small lumps are perfectly fine. We’re aiming for a smooth, yet tender batter. Preheat your oven to 350°F (175°C) and lightly grease or line a mini muffin tin with liners. Spoon the batter evenly into the prepared mini muffin cups, filling each about two-thirds full. This will allow them to puff up without overflowing. Bake for 15-18 minutes, or until a toothpick inserted into the center of a bite comes out clean. Allow the bites to cool in the tin for a few minutes before transferring them to a wire rack to cool completely. This cooling process is crucial before frosting, otherwise, your frosting will melt and slide right off.
Crafting the Cream Cheese Frosting
Whipping the Cream Cheese and Butter
While our red velvet cake bites are cooling, let’s prepare the luscious cream cheese frosting that will perfectly complement them. In a clean mixing bowl, add your 4 oz of softened cream cheese and ¼ cup of softened unsalted butter. It’s important that both the cream cheese and butter are at room temperature; this will ensure they cream together smoothly without any lumps, creating a silky frosting. Using an electric mixer, beat these two ingredients together on medium speed until they are light, fluffy, and completely combined. Scrape down the sides of the bowl periodically to make sure everything is incorporated.
Adding Powdered Sugar and Vanilla
Once the cream cheese and butter are perfectly creamy, it’s time to add the sweetness and flavor. Gradually add the 1½ cups of powdered sugar, about a third of a cup at a time, mixing on low speed after each addition. This gradual incorporation prevents a cloud of powdered sugar from erupting from the bowl! Continue mixing until all the powdered sugar is incorporated and the frosting is smooth and thick. Finally, stir in 1 teaspoon of vanilla extract. This vanilla extract is specifically for the frosting and will add another layer of delightful flavor. Beat the frosting for another minute until it’s light and airy. If the frosting seems too thick, you can add a teaspoon of milk or cream at a time until it reaches your desired consistency. Conversely, if it’s too thin, you can add a little more powdered sugar.
Assembling and Finishing the Cookies & Cream Red Velvet Bites
Frosting and Decorating
Once your red velvet cake bites are completely cool to the touch, it’s time for the best part: frosting them! You can use a piping bag with a star tip for a decorative finish, or simply spread the frosting on with a small offset spatula or a butter knife. Aim for a generous dollop of frosting on each bite. For that irresistible “Cookies & Cream” element, take a few crushed Oreo cookies (you’ll want about half a cup, crushed to your preferred texture – some chunky bits are nice!) and sprinkle them generously over the top of the frosting. The contrast of the creamy frosting, the tender red velvet, and the crunchy cookie pieces is what makes these bites so incredibly satisfying. You can also sprinkle some of the crushed cookies onto the frosting while it’s still soft for better adhesion.
Serving and Enjoying
Your Cookies & Cream Red Velvet Bites are now ready to be devoured! These are perfect for parties, holidays, or just as a delightful treat to brighten your day. They are best enjoyed at room temperature, allowing the flavors to fully meld and the textures to be at their peak. If you have any leftovers, you can store them in an airtight container in the refrigerator for up to 3-4 days. It’s a good idea to let them come back to room temperature for about 20-30 minutes before serving again for the best taste and texture. Enjoy every single decadent bite!

Conclusion:
There you have it! Your ultimate guide to creating delightful Cookies & Cream Red Velvet Bites is complete. These decadent treats are perfect for any occasion, from a sophisticated dessert spread to a fun afternoon snack. The irresistible combination of rich red velvet cake, creamy cheesecake, and crunchy cookie pieces creates a truly unforgettable flavor profile. Don’t be afraid to get creative and make these bites your own! The joy of baking is in the experimentation, and these Cookies & Cream Red Velvet Bites are a fantastic canvas for your culinary imagin extractation. We encourage you to share these delicious creations with loved ones and enjoy every bite.
Frequently Asked Questions about Cookies & Cream Red Velvet Bites:
Can I make these Cookies & Cream Red Velvet Bites ahead of time?
Absolutely! The Cookies & Cream Red Velvet Bites are best made a day in advance. This allows the flavors to meld together beautifully and the textures to set perfectly. Store them in an airtight container in the refrigerator for up to 3-4 days.
What are some other delicious variations for Cookies & Cream Red Velvet Bites?
The possibilities are endless! For a different flavor twist, consider adding a hint of peppermint extract to the red velvet batter or folding in some white chocolate chips. You could also swap out the cream cheese frosting for a vanilla buttercream or a decadent chocolate ganache. Experiment with different cookie crum extractbles too – chocolate chip or even peanut butter cookies could be amazing!
How should I store leftover Cookies & Cream Red Velvet Bites?
Leftover Cookies & Cream Red Velvet Bites should be stored in an airtight container in the refrigerator. They will stay fresh and delicious for up to 3-4 days. If you plan to keep them longer, you can freeze them for up to a month, thawing them in the refrigerator overnight.
Cookies-Cream Red Velvet Bites – Delicious Treats
Decadent mini red velvet cake bites topped with a creamy cream cheese frosting and crushed Oreo cookies.
Ingredients
-
1½ cups all-purpose flour
-
1 cup granulated sugar
-
2 tablespoons unsweetened cocoa powder
-
½ teaspoon baking soda
-
½ teaspoon salt
-
½ cup buttermilk
-
½ cup vegetable oil
-
2 large eggs
-
1 teaspoon vanilla extract (for cake)
-
1 teaspoon white vinegar
-
1 tablespoon red food coloring
-
4 oz cream cheese, softened
-
¼ cup unsalted butter, softened
-
1½ cups powdered sugar
-
1 teaspoon vanilla extract (for frosting)
-
Optional: Crushed Oreo cookies for topping
Instructions
-
Step 1
In a medium bowl, whisk together flour, granulated sugar, cocoa powder, baking soda, and salt. -
Step 2
In a separate large bowl, whisk together buttermilk, vegetable oil, eggs, vanilla extract, white vinegar, and red food coloring until uniform. -
Step 3
Gradually add the wet ingredients to the dry ingredients, mixing until just combined. Do not overmix. -
Step 4
Preheat oven to 350°F (175°C). Spoon batter into greased mini muffin tins, filling two-thirds full. Bake for 15-18 minutes until a toothpick comes out clean. Cool completely. -
Step 5
For the frosting, beat softened cream cheese and butter until smooth. Gradually add powdered sugar and vanilla extract, mixing until light and fluffy. -
Step 6
Frost the cooled cake bites and top with crushed Oreo cookies.
Important Information
Nutrition Facts (Per Serving)
It is important to consider this information as approximate and not to use it as definitive health advice.
Allergy Information
Please check ingredients for potential allergens and consult a health professional if in doubt.