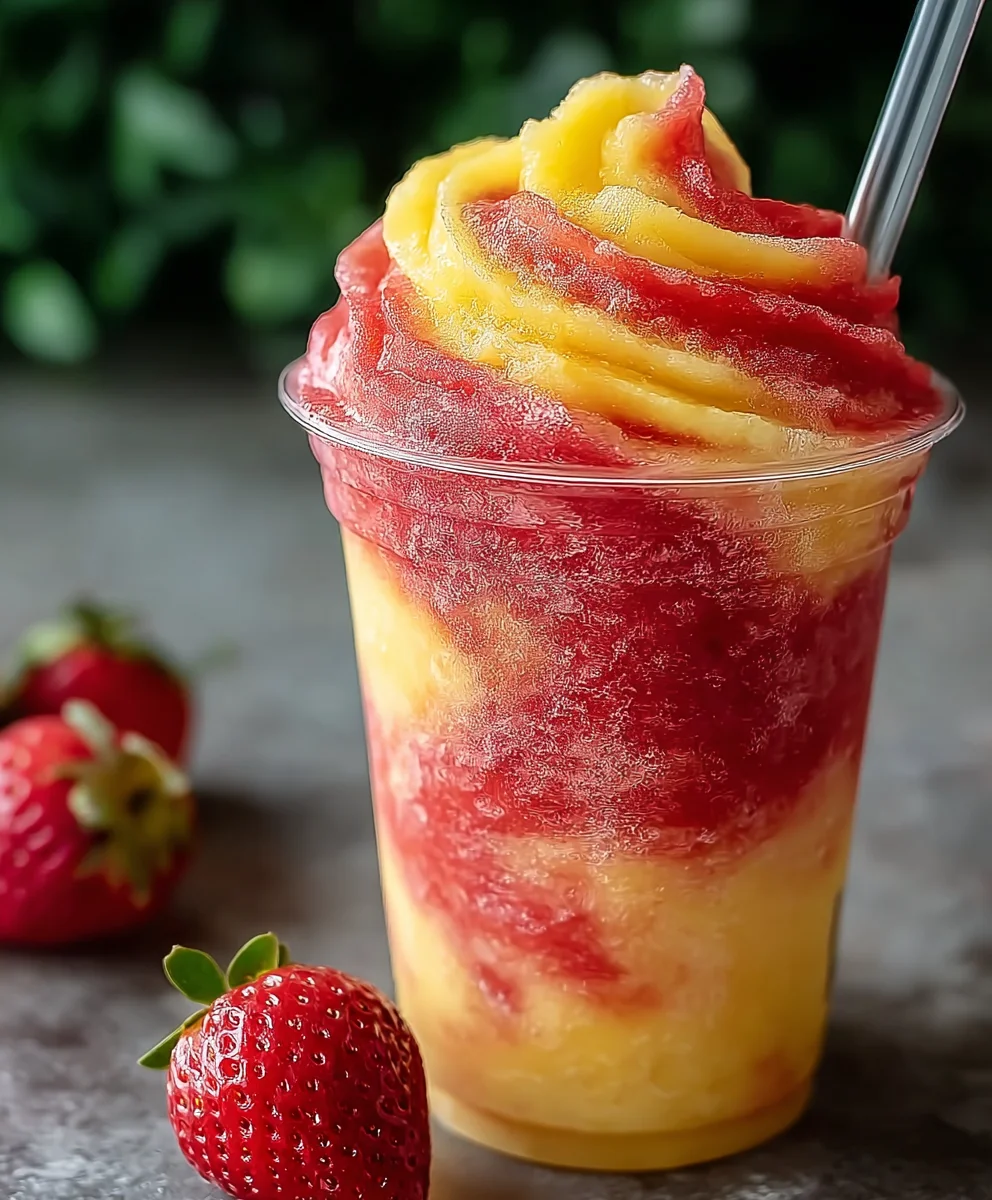
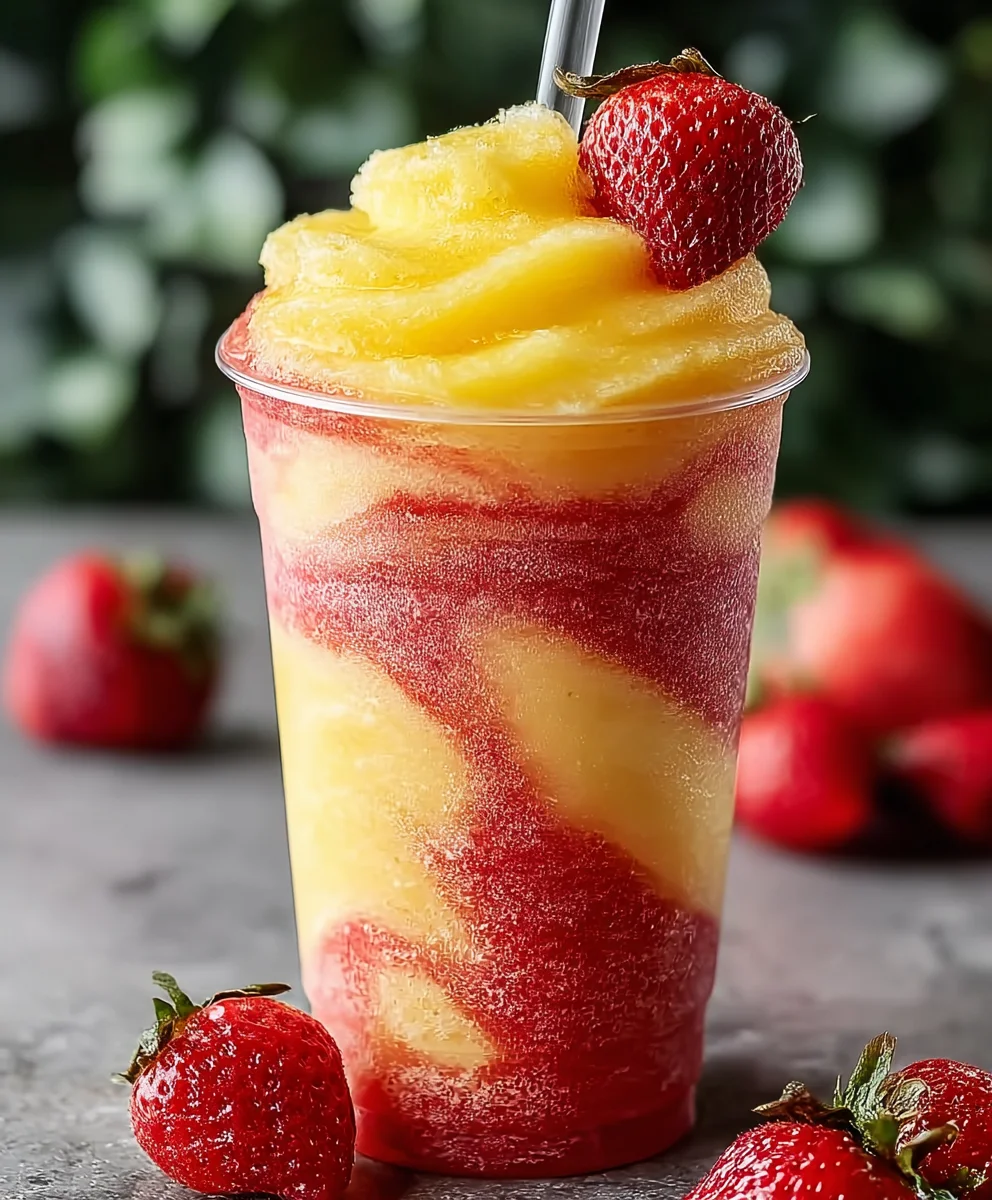
Pineapple Strawberry Swirled Slushies-Refreshing Treat
Pineapple Strawberry Swirled Slushies are more than just a refreshing drink; they’re a vibrant explosion of tropical sunshine and sweet berry bliss in every sip. Imagin extracte the pure joy of that first icy gulp on a sweltering summer day, or the cheerful pick-me-up you crave during a mid-afternoon slump. This is exactly what makes these slushies so beloved. What truly sets our Pineapple Strawberry Swirled Slushies apart is the perfect marriage of tart pineapple and sweet, ripe strawberries, artfully swirled together to create a visually stunning and deliciously balanced flavor profile. It’s a simple yet incredibly satisfying treat that transports you straight to a beachside paradise, all from the comfort of your own kitchen. Get ready to blend up some happiness!
Ingredients:
- 2 cups frozen pineapple chunks
- 1 cup pineapple juice (or water if juice is unavailable)
- 1 tablespoon honey (optional, for added sweetness)
- 2 cups frozen strawberries
- 1 cup strawberry juice (or water if juice is unavailable)
- 1 tablespoon honey (optional, for added sweetness)
Part 1: Crafting the Vibrant Pineapple Layer
Equipment You’ll Need:
- High-powered blender
- Measuring cups and spoons
- Spatula
This initial stage focuses on creating a delightfully tropical and bright pineapple base for our swirled creation. It’s all about capturing that sunny, tangy essence.
Step 1: Prepare the Pineapple Mixture
Begin extract by carefully measuring out your 2 cups of frozen pineapple chunks. The “frozen” aspect is key here; it ensures our slushie achieves that wonderfully icy, refreshing texture without the need for ice cubes, which can dilute the flavor. If your pineapple chunks are quite large, you might consider breaking them up slightly before adding them to the blender, though most high-powered blenders can handle them whole. Next, add 1 cup of pineapple juice. Using pineapple juice will intensify the pineapple flavor, making it even more pronounced and tropical. However, if pineapple juice isn’t readily available or you prefer a less sweet option, water works perfectly well as a substitute; it will simply result in a slightly less concentrated pineapple taste. Finally, if you desire a touch more sweetness, add 1 tablespoon of honey. Honey complements the pineapple beautifully, adding a subtle floral note. If you’re happy with the natural sweetness of the pineapple and juice, feel free to omit this entirely.
Step 2: Blend the Pineapple Layer to Perfection
Now, it’s time to bring the pineapple ingredients together. Add the measured frozen pineapple chunks, pineapple juice (or water), and optional honey into your blender. Secure the lid firmly. Start blending on a low speed, gradually increasing to a higher setting. You’ll likely need to use the tamper tool that comes with some blenders, or stop the blender periodically and scrape down the sides with a spatula to ensure all the pineapple chunks are incorporated and you achieve a smooth, thick consistency. Blend until the mixture is completely smooth and has the texture of a thick sorbet or soft-serve ice cream. This usually takes about 30-60 seconds, depending on your blender’s power. The goal is a uniform, vibrant yellow mixture that is pourable but still has body. Once blended, immediately transfer this pineapple mixture into a separate container or bowl and set it aside. Rinse your blender thoroughly to prepare for the strawberry layer.
Part 2: Developing the Sweet Strawberry Swirl
Equipment You’ll Need:
- High-powered blender (rinsed)
- Measuring cups and spoons
- Spatula
- Serving glasses
With our sunny pineapple base ready, we’ll now create a beautiful, fruity counterpart using luscious strawberries. This layer will provide a delightful contrast in both color and flavor.
Step 3: Prepare the Strawberry Mixture
Just as you did with the pineapple, carefully measure out your 2 cups of frozen strawberries. Like the pineapple, using frozen strawberries is crucial for achieving the ideal slushie consistency. They provide the perfect icy base without watering down the flavor. If your strawberries are very large, you can gently break them apart. Add these frozen strawberries to your clean blender. Next, pour in 1 cup of strawberry juice. This will enhance the natural strawberry flavor, making it incredibly vibrant and delicious. If strawberry juice is not available or you prefer a milder taste, water is a suitable alternative. It will still create a wonderful slushie, though the strawberry essence might be a bit more subtle. For those who appreciate an extra touch of sweetness, add the second tablespoon of honey. This honey will harmonize with the tartness of the strawberries, creating a more rounded sweetness. As with the pineapple layer, this honey is entirely optional and can be omitted if you prefer.
Step 4: Blend the Strawberry Layer
Secure the lid on your blegin extractr. Begin blending the strawberry ingredients on a low setting, then increase to a higher speed. Similar to the pineapple blend, you may need to use the tamper or pause to scrape down the sides with your spatula. The objective is to create a smooth, thick, and vibrant red mixture. Aim for a consistency comparable to the pineapple layer – thick enough to hold its shape but easily pourable. This blending process should also take approximately 30-60 seconds. Once you have a perfectly smooth strawberry slushie base, it’s time to assemble your Pineapple Strawberry Swirled Slushies.
Part 3: The Art of the Swirl
Equipment You’ll Need:
- Serving glasses
- Spoons or small pitchers for pouring
- Straws (optional)
This is where the magic happens, transforming two distinct layers into a beautiful, visually appealing, and deliciously blended beverage. The swirling technique is simple but effective in creating a truly unique drink.
Step 5: Assemble and Swirl Your Slushies
Take your chilled sergin extractg glasses. Begin by adding a layer of the pineapple slushie mixture to the bottom of each glass. Don’t fill them entirely; leave some room for the strawberry layer and the swirl. Next, carefully spoon or pour dollops of the strawberry slushie mixture on top of the pineapple layer. Alternate adding spoonfuls or pours of the pineapple and strawberry mixtures, building up the layers in the glass. As you add the layers, you can gently use a spoon or a skewer gin extractcreate swirls by dragging it through the layers. Don’t overmix! The goal is to create distinct ribbons and marbling of color, not to fully combine the two flavors at this stage. You want to see streaks of yellow and red throughout the glass. Once your glasses are filled to your desired level, you can add a final few swirls. Serve immediately with a straw if desired, allowing your guests to enjoy the delightful combination of tangy pineapple and sweet strawberry in every sip. The visual appeal of the swirl is as much a part of the experience as the refreshing taste.
Conclusion:
And there you have it – a delightful and refreshing way to beat the heat with our Pineapple Strawberry Swirled Slushies! This recipe is incredibly easy to whip up, making it perfect for a spontaneous treat or a planned party. The vibrant colors and tropical flavors are sure to bring a smile to everyone’s face. We’ve found these slushies are fantastic on their own, but they also pair wonderfully with light snacks like popcorn, fruit platters, or even a simple grilled cheese sandwich. For an extra touch of elegance, consider garnishing with a fresh mint sprig or a thin slice of lime. Don’t be afraid to get creative with variations! You could add a splash of coconut milk for creaminess, a squeeze of lime juice for extra tang, or even a hint of gin extractger for a zesty kick. The possibilities are endless, and the enjoyment is guaranteed. So go ahead, gather your ingredients, and dive into the delicious world of Pineapple Strawberry Swirled Slushies. We’re confident you’ll love them!
Frequently Asked Questions:
Q1: Can I make Pineapple Strawberry Swirled Slushies ahead of time?
While it’s best to enjoy these slushies immediately after blending for the perfect frosty texture, you can prepare the fruit components in advance. Wash and chop your strawberries and pineapple, then freeze them in separate bags or containers. When you’re ready to serve, simply add the frozen fruit, liquid, and sweetener to your blender. This will ensure a quick and easy assembly!
Q2: My slushy isn’t as thick as I’d like. What can I do?
If your Pineapple Strawberry Swirled Slushies are a bit too thin, the easiest solution is to add more frozen fruit! Frozen pineapple and strawberries are key to achieving that thick, slushy consistency. You can also try reducing the amount of liquid you add. Alternatively, you could add a few ice cubes to the blender, but be mindful that too many can dilute the flavor.
Pineapple Strawberry Swirled Slushies
A refreshing and visually appealing layered slushie featuring the tropical tang of pineapple and the sweet burst of strawberries.
Ingredients
-
2 cups frozen pineapple chunks
-
1 cup pineapple juice
-
1 tablespoon honey
-
2 cups frozen strawberries
-
1 cup strawberry juice
-
1 tablespoon honey
Instructions
-
Step 1
Prepare the pineapple mixture: Measure 2 cups frozen pineapple chunks and 1 cup pineapple juice. Add optional 1 tablespoon honey. Blend in a high-powered blender until smooth and thick like sorbet. -
Step 2
Transfer the pineapple mixture to a separate container and set aside. Rinse the blender. -
Step 3
Prepare the strawberry mixture: Measure 2 cups frozen strawberries and 1 cup strawberry juice. Add optional 1 tablespoon honey. Blend in the rinsed blender until smooth and thick. -
Step 4
Assemble the slushies: In serving glasses, alternate dollops of the pineapple and strawberry slushie mixtures. -
Step 5
Create swirls: Gently drag a spoon or skewer through the layers to create marbled ribbons of color. Do not overmix. -
Step 6
Serve immediately with a straw, allowing guests to enjoy the blended flavors and visual appeal.
Important Information
Nutrition Facts (Per Serving)
It is important to consider this information as approximate and not to use it as definitive health advice.
Allergy Information
Please check ingredients for potential allergens and consult a health professional if in doubt.