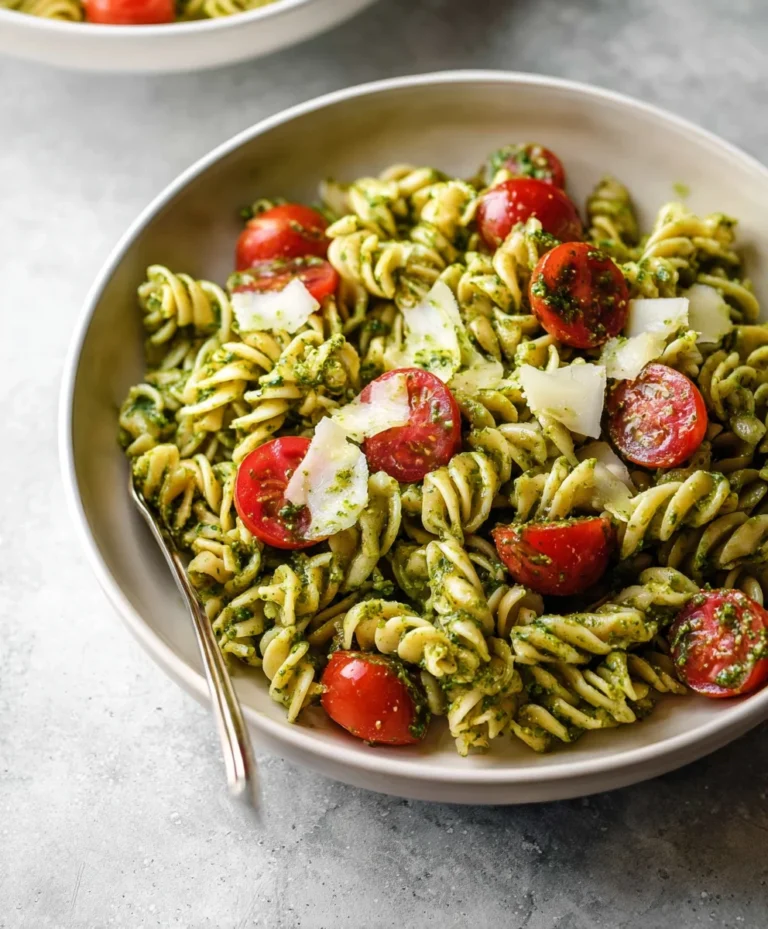
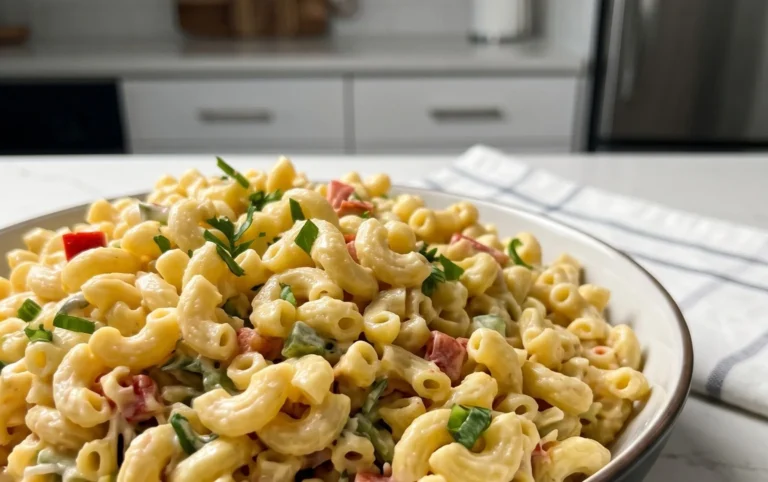
Easy Tuna Pasta Salad – Quick & Delicious Meal
Easy Tuna Pasta Salad is a weeknight savior and a potluck cbeef hampion, all rolled into one delightful, no-fuss dish. What is it about this seemingly simple combination that captures hearts and satisfies cravings? Perhaps it’s the perfect balance of tender pasta, flaky tuna, and a creamy, tangy dressing that just sings. Or maybe it’s the sheer versatility – from a quick lunch at home to a star player at your next barbecue, it’s always a crowd-pleaser. This isn’t just any tuna pasta salad; it’s a symphony of textures and flavors, brought together with minimal effort but maximum impact. We’re talking about a recipe that delivers on its promise of being truly easy, yet tastes like it came from a gourmet deli. Get ready to discover your new go-to for those moments when you need something delicious, quick, and utterly satisfying.
Ingredients:
- 8 ounces dry protein pasta
- 2 5-ounce cans albacore tuna in water, drained
- 1 15.5-ounce can cannellini beans, drained and rinsed
- 4 large hard-boiled eggs, peeled and chopped
- 2 scallions, thinly sliced (both white and green parts)
- 1 cup frozen peas, thawed
- 1 cup whole milk cottage cheese
- 1/2 cup mayonnaise (Duke’s is recommended for its creamy texture and subtle tang)
- 2-4 tablespoons red grape juice vinegar (adjust to your preferred acidity)
- 2 teaspoons Dijon mustard
- 1 teaspoon dried dill
- 1 teaspoon garlic powder
- 1 teaspoon onion powder
- 1/2 teaspoon black pepper
- Salt to taste
Preparing the Pasta
Step 1: Cook the Protein Pasta
Begin extractgin extract bringing a large pot of generously salted water to a rolling boil over high heat. Once boiling, carefully add the 8 ounces of dry protein pasta. Stir immediately to prevent the pasta from sticking together. Cook according to the package directions until the pasta is perfectly al dente – tender but with a slight bite. This is crucial for a good pasta salad; overcooked pasta can become mushy and unpleasant. While the pasta is cooking, prepare a colander by placing it in the sink. Once the pasta is cooked, drain it thoroughly in the colander. For best results and to stop the cooking process immediately, you can optionally rinse the drained pasta with cold water. This will also help cool it down faster, which is important for creating a chilled pasta salad. Set the drained and cooled pasta aside.
Assembling the Salad Base
Step 2: Combine Wet Ingredients and Seasonings
In a large mixing bowl, combine the creamy elements that will form the dressing’s base. Add 1 cup of whole milk cottage cheese and 1/2 cup of mayonnaise. It’s important to use whole milk cottage cheese for richness; low-fat versions can sometimes lead to a watery dressing. Next, whisk in the 2-4 tablespoons of red grape juice vinegar. Start with 2 tablespoons and taste as you go, adding more if you desire a brighter, more acidic flavor profile. Incorporate the 2 teaspoons of Dijon mustard for a zesty kick and emulsification. Now, it’s time to season. Add 1 teaspoon of dried dill, 1 teaspoon of garlic powder, and 1 teaspoon of onion powder. These dried herbs and powders provide a consistent flavor without adding excess moisture. Finally, season with 1/2 teaspoon of black pepper. Whisk all these ingredients together until smooth and well combined. Ensure there are no lumps of cottage cheese remaining.
Adding the Chunky Goodness
Step 3: Incorporate Tuna, Beans, and Eggs
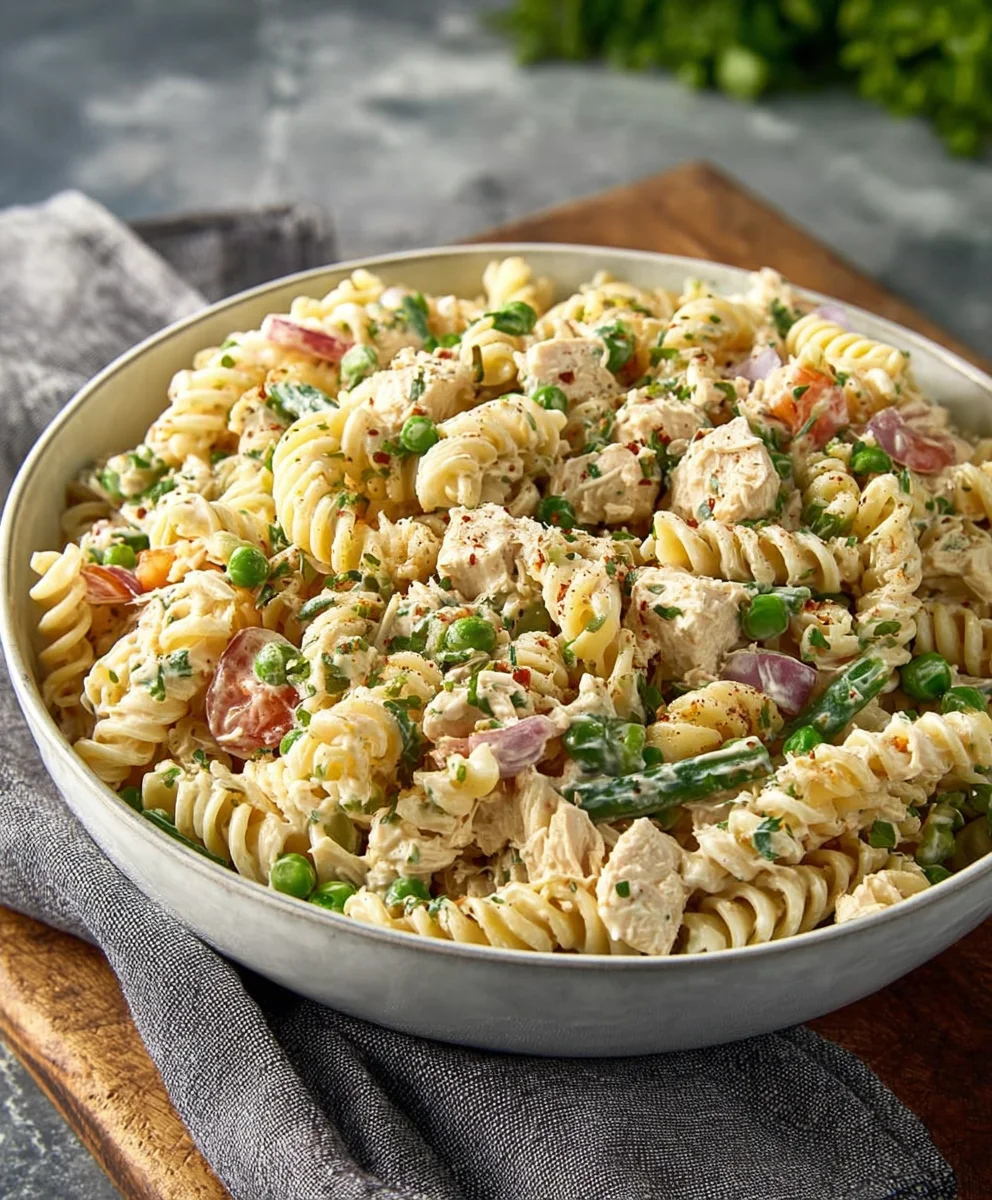
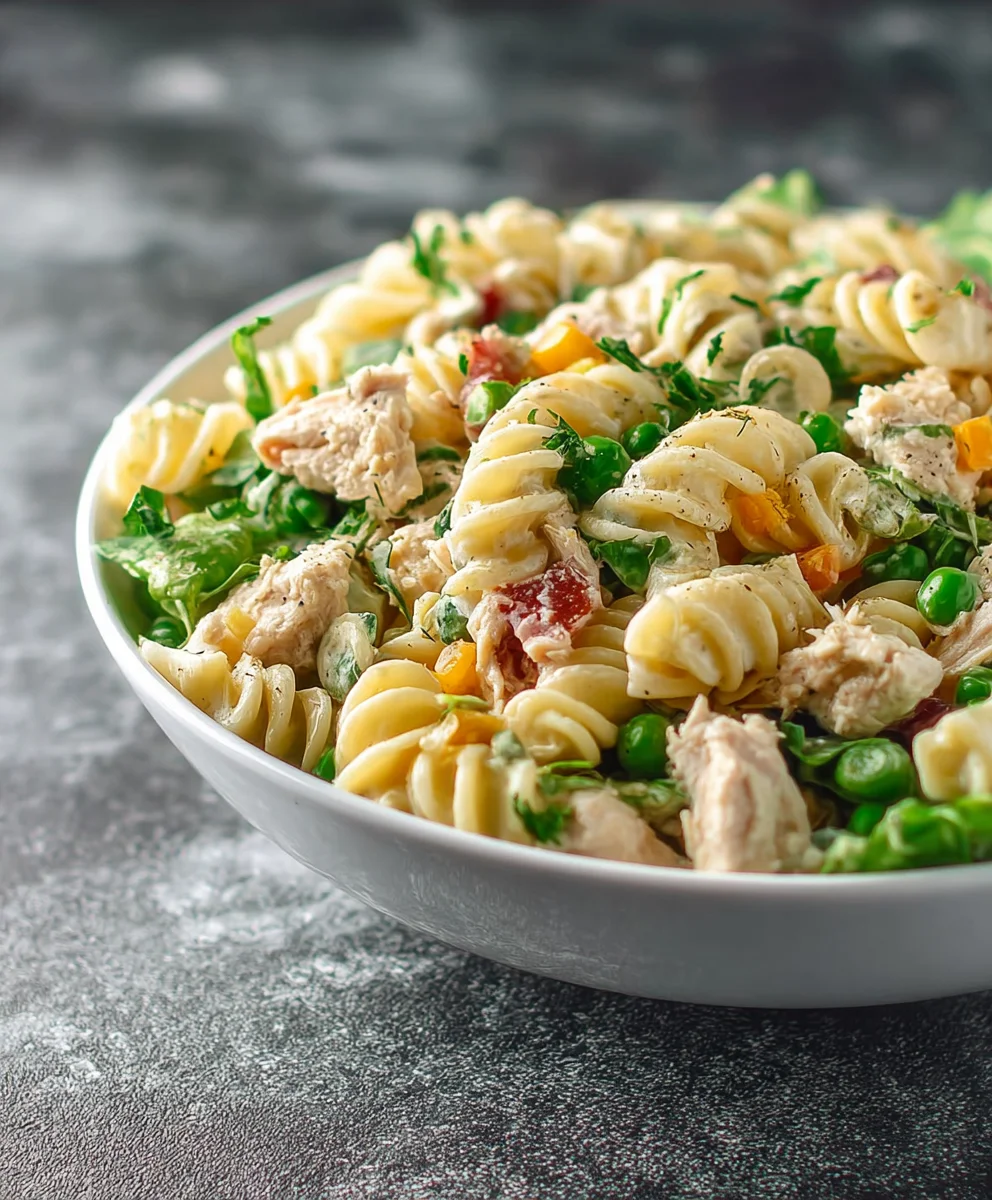
Now it’s time to add the hearty components of our Easy Tuna Pasta Salad. Open and drain the 2 5-ounce cans of albacore tuna, making sure to remove as much water as possible. Flake the drained tuna into the large mixing bowl with the dressing base. Next, add the drained and rinsed 1 15.5-ounce can of cannellini beans. Rinsing the beans removes excess starch and any canning liquid, which can affect the salad’s texture and flavor. Gently fold in the 4 large hard-boiled eggs, which you’ve previously peeled and chopped into bite-sized pieces. The eggs add a lovely creaminess and protein boost to the salad. Be gentle when folding these ingredients in to avoid breaking down the tuna and eggs too much. You want distinct pieces for tegin extractre.
Bringing It All Together
Step 4: Add Scallions, Peas, and Pasta
Continue building the flavor and texture of your Easy Tuna Pasta Salad by adding the fresh and frozen elements. Scatter the 2 thinly sliced scallions over the mixture. The scallions will provide a mild oniony crunch and a pop of color. Add the 1 cup of frozen peas, which should be thawed by now. If your peas are still frozen, you can quickly rinse them under cool water to thaw them. These vibrant green peas add a touch of sweetness and a delightful textural contrast. Finally, add the cooled, drained protein pasta to the bowl. Gently toss everything together using a large spoon or spatula, ensuring that all ingredients are evenly distributed and coated with the dressing. Take your time with this step; a thorough, yet gentle, mix is key to a well-balanced pasta salad.
Seasoning and Chilling for Flavor Development
Step 5: Final Seasoning and Chilling
This is where the magic happens and the flavors meld beautifully. After you’ve thoroughly combined all the ingredients, it’s time for the crucial step of tasting and adjusting the seasoning. Take a small spoonful of the pasta salad and taste it. Does it need more salt? Add a pinch at a time, stirring well after each addition, until it reaches your desired level. Remember, the tuna and cottage cheese already have some saltiness. Check the acidity as well; if you prefer it a bit tangier, add another tablespoon of red grape juice vinegar. Once you’re satisfied with the flavor, cover the bowl tightly with plastic wrap or transfer the salad to an airtight container. Refrigerate the Easy Tuna Pasta Salad for at least 30 minutes, but ideally for 1-2 hours, before serving. This chilling period allows the flavors to meld and deepen, making the salad even more delicious. The texture will also set up nicely. Serve chilled.
Conclusion:
And there you have it – your incredibly delicious and satisfying Easy Tuna Pasta Salad is ready to be devoured! We hope you enjoyed creating this simple yet flavourful dish. Its versatility makes it perfect for any occasion, whether it’s a quick weeknight dinner, a potluck contribution, or a refreshing lunch. The creamy dressing perfectly coats the tender pasta and flaky tuna, while the crisp vegetables add a delightful crunch. Don’t be afraid to experiment and make this Easy Tuna Pasta Salad your own!
For serving suggestions, consider pairing it with some crusty bread for dipping or a light green salad. It’s also fantastic stuffed into hollowed-out bell peppers for a fun presentation. Feel free to get creative with variations! Add some chopped celery for extra crunch, a sprinkle of fresh dill for an herbaceous note, or even some capers for a briny kick. Perhaps some black olives or corn kernels would be a welcome addition too. Whatever you choose, enjoy every bite!
Frequently Asked Questions:
Can I make this Easy Tuna Pasta Salad ahead of time?
Absolutely! This Easy Tuna Pasta Salad is even better when made a few hours ahead, allowing the flavours to meld together beautifully. Store it covered in the refrigerator for up to 2-3 days. You might want to add a splash more dressing before serving if it seems a little dry after chilling.
What kind of pasta is best for this recipe?
While elbow macaroni is a classic choice for pasta salads, any short pasta shape that holds dressing well will work wonderfully. Rotini, farfalle (bow-tie pasta), or penne are excellent alternatives for your Easy Tuna Pasta Salad.
Easy Tuna Pasta Salad – Quick & Delicious Meal
A quick, easy, and delicious tuna pasta salad that’s perfect for a satisfying meal. This recipe combines protein pasta, tuna, beans, eggs, and a creamy dressing.
Ingredients
-
8 ounces dry protein pasta
-
2 5-ounce cans albacore tuna in water, drained
-
1 15.5-ounce can cannellini beans, drained and rinsed
-
4 large hard-boiled eggs, peeled and chopped
-
2 scallions, thinly sliced
-
1 cup frozen peas, thawed
-
1 cup whole milk cottage cheese
-
1/2 cup mayonnaise
-
2-4 tablespoons red grape juice vinegar
-
2 teaspoons Dijon mustard
-
1 teaspoon dried dill
-
1 teaspoon garlic powder
-
1 teaspoon onion powder
-
1/2 teaspoon black pepper
-
Salt to taste
Instructions
-
Step 1
Cook the protein pasta in a large pot of generously salted boiling water according to package directions until al dente. Drain thoroughly and rinse with cold water to cool. Set aside. -
Step 2
In a large mixing bowl, combine 1 cup of whole milk cottage cheese, 1/2 cup of mayonnaise, 2-4 tablespoons of red grape juice vinegar, 2 teaspoons of Dijon mustard, 1 teaspoon of dried dill, 1 teaspoon of garlic powder, 1 teaspoon of onion powder, and 1/2 teaspoon of black pepper. Whisk until smooth and well combined. -
Step 3
Add the drained and flaked albacore tuna, drained and rinsed cannellini beans, and chopped hard-boiled eggs to the dressing base. Gently fold to combine. -
Step 4
Stir in the thinly sliced scallions and thawed frozen peas. Add the cooled, drained protein pasta to the bowl. -
Step 5
Gently toss all ingredients together until evenly distributed and coated with the dressing. Taste and adjust seasoning with salt and additional red grape juice vinegar if desired. -
Step 6
Cover the bowl tightly and refrigerate for at least 30 minutes (1-2 hours recommended) to allow flavors to meld. Serve chilled.
Important Information
Nutrition Facts (Per Serving)
It is important to consider this information as approximate and not to use it as definitive health advice.
Allergy Information
Please check ingredients for potential allergens and consult a health professional if in doubt.