Sweet Peep Bars Easy No-Bake Recipe
Peep Bars are more than just a sweet treat; they are a nostalgic journey back to childhood, a vibrant explosion of color, and a delightful crunch that’s impossible to resist. If you’ve ever found yourself mesmerized by those pastel-colored marshmallow confections, then you’re about to discover your new favorite way to enjoy them. We’re diving headfirst into creating the ultimate Peep Bars, a dessert that perfectly captures the joy and whimsy of Easter and spring. What makes these so universally loved? It’s that irresistible combination of chewy marshmallow, buttery shortbread, and a delightful sweetness that’s elevated by a touch of chocolate. They’re simple enough for even novice bakers but impressive enough to share at any gathering. Prepare yourself for a confection that’s both fun to make and utterly addictive to eat, bringin extractg a smile to every face that takes a bite.
Why You’ll Love These Peep Bars
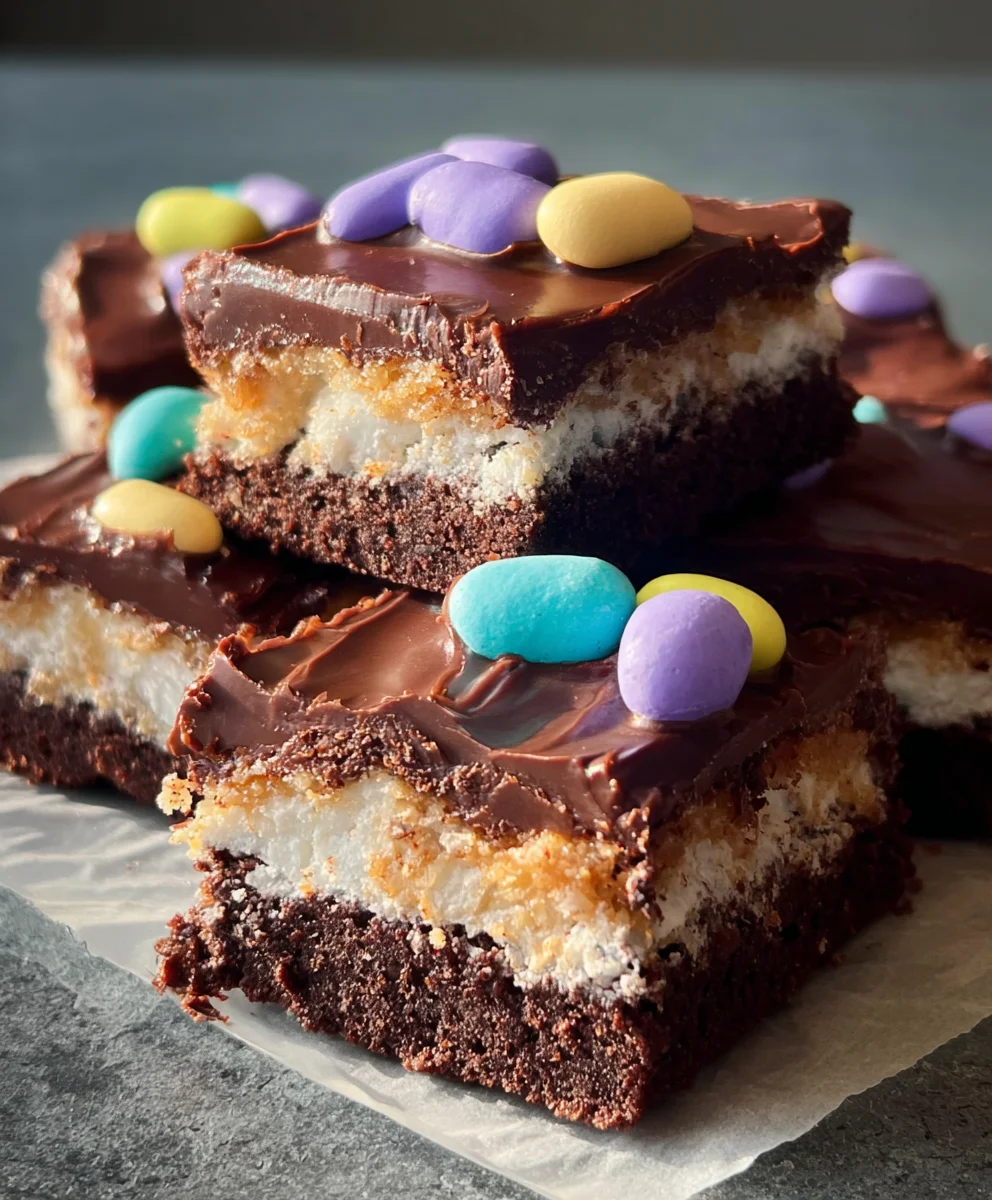
These delightful bars are the perfect embodiment of spring in dessert form. The vibrant colors of the Peeps instantly brighten any occasion, making them ideal for Easter gatherings, classroom parties, or just a cheerful afternoon pick-me-up. The texture is a key player here: a soft, chewy marshmallow center nestled between a crum extractbly, buttery base and a decadent chocolate topping. It’s a flavor and texture combination that’s incredibly satisfying and endlessly craveable. Unlike many elaborate desserts, Peep Bars are remarkably easy to assemble, making them a fantastic option for baking with kids or when you need a quick, show-stopping treat.
The Magic of Marshmallow and Chocolate
At its heart, the magic of Peep Bars lies in the harmonious marriage of simple, comforting ingredients. The classic shortbread base provides a sturdy, buttery foundation that perfectly complements the gooey, sweet marshmallow. When the Peeps are baked, they transform into a molten, delightful layer that binds everything together with a wonderful chegrape juicess. A generous drizzle of melted chocolate over the top adds a touch of richness and indulgence, cutting through the sweetness just perfectly. It’s this thoughtful balance of textures and flavors that elevates these bars from a simple candy-infused bake to a truly memorable confection that will have everyone asking for the recipe.
Ingredients:
- 1 box chocolate cake mix
- 2 large eggs
- 1/2 cup vegetable oil
- 24 Peeps marshmallow candies (Easter colors are a fun choice!)
- 2 cups M&M’s (again, Easter colors will make these extra festive)
Preparing Your Peep Bars
Let’s get started on these wonderfully whimsical Peep Bars! This recipe is designed to be straightforward and fun, perfect for a weekend baking project or a festive treat for any occasion, especially around Easter. The combination of rich chocolate cake and gooey, sweet marshmallow is truly irresistible.
Mixing the Chocolate Cake Base
The foundation of our Peep Bars is a classic chocolate cake. You’ll want to begin extract by preheating your oven to the temperature specified on your chocolate cake mix box. Typically, this is around 350 degrees Fahrenheit (175 degrees Celsius). While the oven heats up, prepare your baking pan. A 9×13 inch baking pan works perfectly for this recipe. Grease and flour the pan thoroughly, or line it with parchment paper, ensuring that your cake base won’t stick after baking. This step is crucial for easy removal and a clean presentation.
In a large mixing bowl, combine the contents of your chocolate cake mix. Carefully add the 2 large eggs and the 1/2 cup of vegetable oil. It’s important to measure the oil accurately; too much or too little can affect the texture of your cake. Now, for mixing. You can use an electric mixer on a low speed, or a whisk, to combine the ingredients until they are just incorporated. Be careful not to overmix the batter. Overmixing can develop the gluten in the flour too much, leading to a tougher cake. A few lumps are perfectly fine at this stage. The goal is a smooth, uniform batter that smells wonderfully of chocolate.
Assembling the Layers
Once your cake batter is ready and your oven is preheated, it’s time to get this into the pan. Pour the chocolate cake batter evenly into your prepared baking pan. Use a spatula to spread it to the edges, ensuring an even layer. This evenness will help the cake bake uniformly and provide a stable base for our delightful toppings.
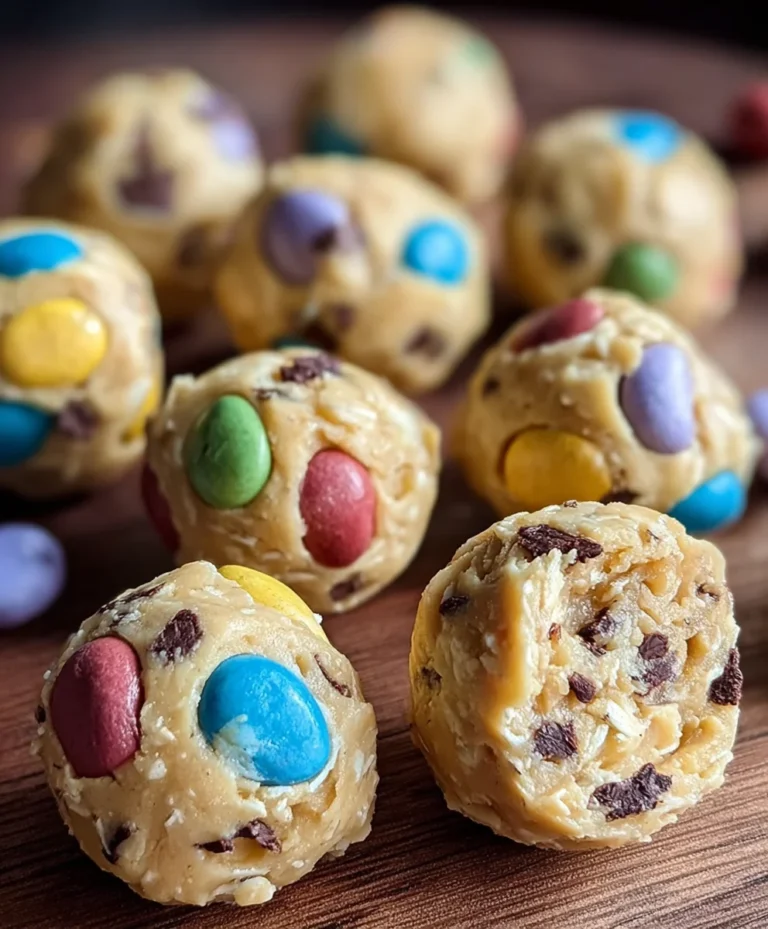
Now for the fun part – the Peeps! Gently place the 24 Peeps marshmallow candies on top of the chocolate cake batter. You can arrange them in any pattern you like. Some people prefer a neat, uniform row, while others enjoy a more scattered, whimsical approach. You can press them down slightly into the batter, just enough so they don’t float too much during baking, but not so much that they disappear. They will expand and melt into gooey pockets of marshmallow goodness as they bake.
Next, scatter the 2 cups of M&M’s over and around the Peeps. If you’ve managed to find Easter-colored M&M’s, they will add a beautiful visual pop to your finished bars. The M&M’s will soften slightly in the oven, but they will retain their shape and vibrant colors, adding delightful pops of chocolate and crunch to every bite. Aim for an even distribution so that each piece of Peep Bar gets a good mix of chocolate, marshmallow, and candy.
Baking and Cooling Your Peep Bars
Carefully place the pan into your preheated oven. Bake according to the cake mix box instructions for a 9×13 pan, or until a toothpick inserted into the center of the cake (avoiding a Peep!) comes out clean. The baking time will likely be around 25-35 minutes, but keep an eye on them, as the toppings can sometimes cause them to bake a little faster. You’re looking for the cake to be set and springy to the touch, and for the Peeps to be nicely puffed and slightly golden on the edges. The M&M’s should look softened but not melted into the batter.
Once baked to perfection, carefully remove the pan from the oven. It’s tempting to dive right in, but allowing your Peep Bars to cool properly is essential. Let the pan cool on a wire rack for at least 15-20 minutes. This initial cooling period allows the cake to firm up and prevents the toppings from sliding off. After this initial cooling, you can carefully remove the entire baked sheet from the pan (if using parchment paper) or cut them directly in the pan. If you cut them in the pan, allow them to cool almost completely before attempting to cut, as the warm marshmallow can be quite sticky. For the cleanest cuts, you might want to chill them slightly in the refrigerator for about 30 minutes after they have cooled to room temperature.
Cutting and Serving
Once your Peep Bars have cooled to a manageable temperature (warm or room temperature is delicious, but chilled makes for cleaner slices), it’s time to cut them into individual portions. Using a sharp knife, cut the bars into squares or rectangles. If you find the marshmallow is being particularly stubborn, you can dip your knife in hot water between cuts for a cleaner slice. This makes them easier to handle and serve. These bars are fantastic on their own, but can also be served with a scoop of vanilla ice cream for an extra decadent treat.
Conclusion:
And there you have it – your very own batch of delightful Peep Bars! We’ve walked through each simple step to create these chewy, sweet, and fun treats, perfect for Easter celebrations or any time you crave a burst of joy. These Peep Bars are sure to become a family favorite, bringin extractg smiles with every bite. Don’t be afraid to get a little messy and have fun in the kitchen – that’s part of the magic!
When it comes to serving, these Peep Bars are fantastic on their own, but they also pair wonderfully with a glass of cold milk or a scoop of vanilla ice cream. For a fun twist, try crum extractbling them slightly and using them as a topping for yogurt or a fruit salad. The possibilities are as endless as gin extractr imagination!
Feeling adventurous? Consider some variations! You could swap out the classic Peeps for seasonal shapes or colors, add a handful of sprinkles to the batter for extra sparkle, or even drizzle them with melted chocolate. The base recipe is so forgiving, making it a perfect canvas for your culinary creativity. So go forth and bake with confidence!
Frequently Asked Questions about Peep Bars:
Q: Can I make Peep Bars without using a no-bake cereal treat base?
A: While this recipe is designed around a no-bake cereal treat base for ease and texture, you could experiment with other chewy bar bases. However, the classic flavor and chegrape juicess are characteristic of these specific Peep Bars. For the best results, sticking to the no-bake method is recommended.
Q: How should I store leftover Peep Bars?
A: To keep your Peep Bars fresh and chewy, store them in an airtight container at room temperature. They should stay delicious for up to 3-4 days. Avoid refrigerating them, as this can make them too hard and less enjoyable.
Sweet Peep Bars Easy No-Bake Recipe
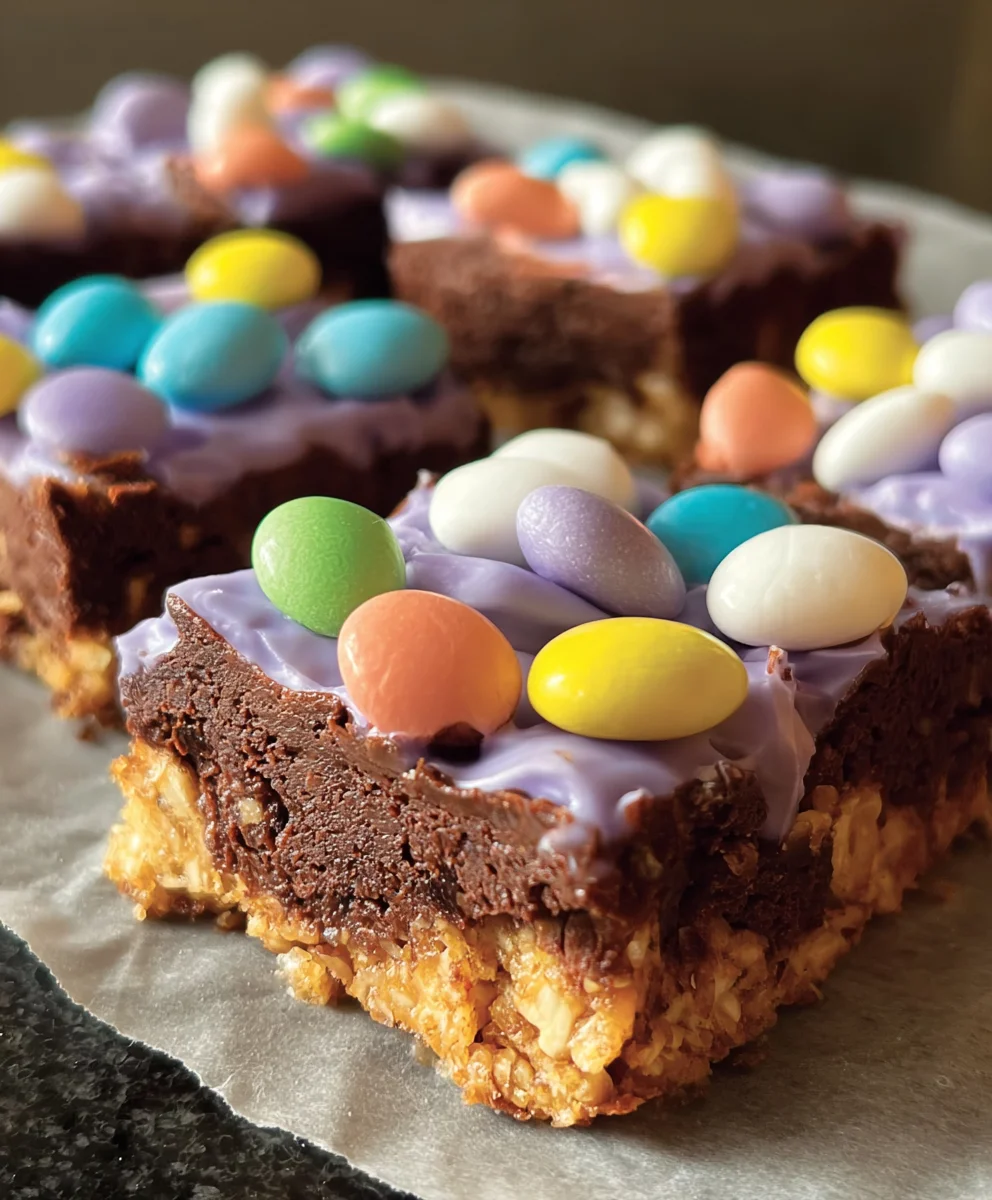
Delicious and easy-to-make Peep Bars featuring a chocolate cake base topped with melted Peeps and M&M’s. Perfect for Easter or any celebration!
Ingredients
-
1 box chocolate cake mix
-
2 large eggs
-
1/2 cup vegetable oil
-
24 Peeps marshmallow candies
-
2 cups M&M’s
Instructions
-
Step 1
Preheat your oven to 350°F (175°C) and prepare a 9×13 inch baking pan by greasing and flouring it or lining it with parchment paper. -
Step 2
In a large bowl, combine the chocolate cake mix, 2 large eggs, and 1/2 cup of vegetable oil. Mix on low speed or with a whisk until just incorporated. Do not overmix. -
Step 3
Pour the cake batter evenly into the prepared baking pan and spread with a spatula. -
Step 4
Arrange the 24 Peeps marshmallow candies on top of the cake batter and scatter the 2 cups of M&M’s over and around the Peeps. -
Step 5
Bake for 25-35 minutes, or until a toothpick inserted into the cake (avoiding a Peep) comes out clean. The Peeps should be puffed and slightly golden. -
Step 6
Let the bars cool in the pan on a wire rack for at least 15-20 minutes. Then, allow them to cool completely before cutting into squares or rectangles. For cleaner cuts, chill for about 30 minutes.
Important Information
Nutrition Facts (Per Serving)
It is important to consider this information as approximate and not to use it as definitive health advice.
Allergy Information
Please check ingredients for potential allergens and consult a health professional if in doubt.