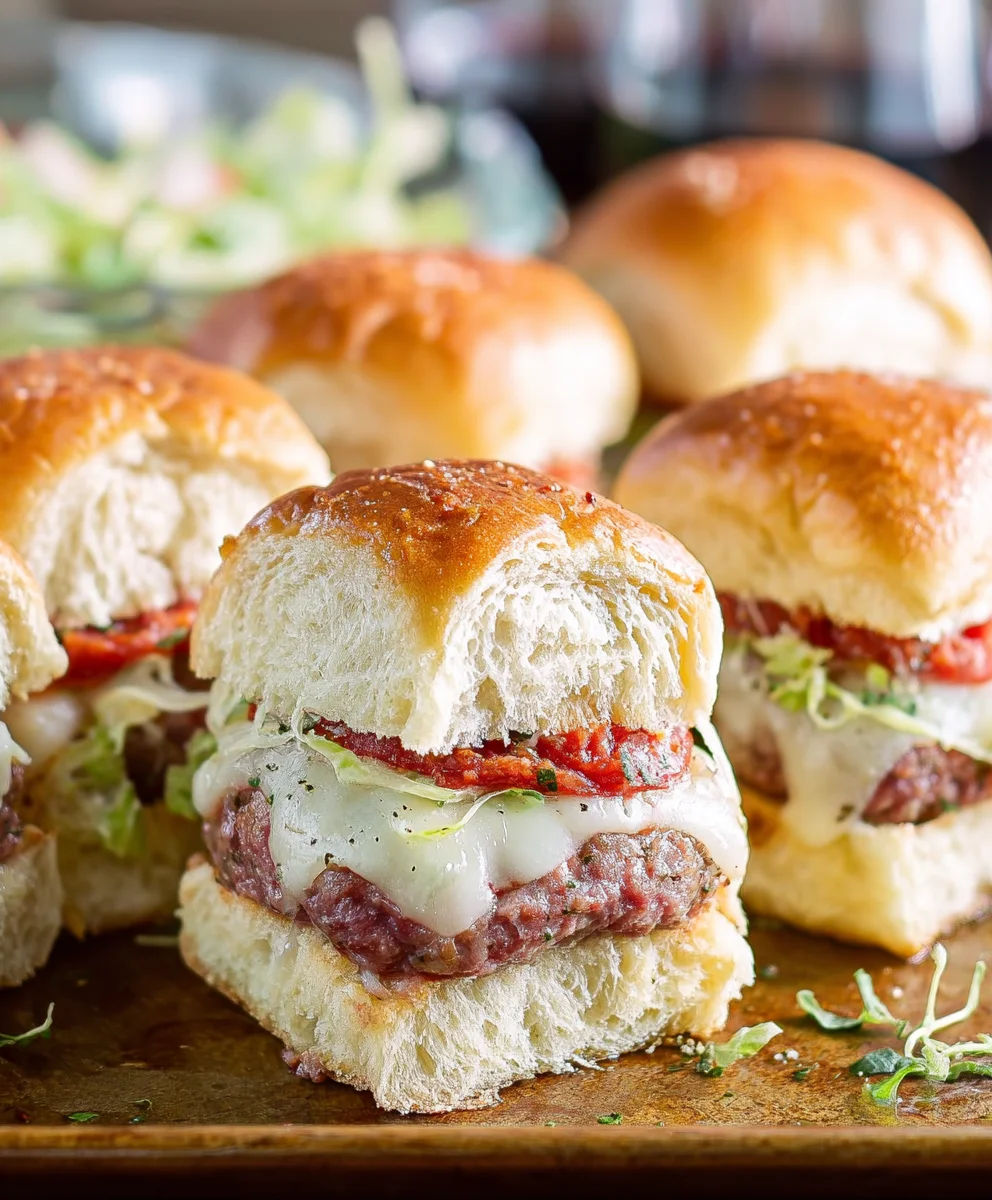
Cheesy Beef Grinder Sliders- Quick & Easy Appetizer
Italian Grinder Sliders are more than just a delightful appetizer; they’re a miniature marvel that captures the heart and soul of a classic Italian grinder sandwich in a perfectly portioned bite. Imagin extracte all those vibrant, savory flavors you adore – the zesty Italian dressing, the medley of cured meats, the melty mozzarella, all nestled between soft, fluffy slider buns. It’s this incredible concentration of taste and texture that makes these sliders so utterly irresistible. People flock to these little flavor bombs because they’re an instant crowd-pleaser, perfect for game days, parties, or even just a fun weeknight meal where everyone can grab their own delicious creation. What truly sets these Italian Grinder Sliders apart is their masterful balance: the slight tang of the dressing cuts through the richness of the meats, while the warm, gooey cheese acts as the perfect binder, all amplified by the delightful chew of a well-chosen bun. Get ready to experience big flavor in a small package!
Ingredients:
- 12 Hawaiian rolls
- 8 ounces thinly sliced beef beef ham
- 4 ounces sliced provolone cheese
- 3 ounces thinly sliced beef beef pepperoni
- 3 ounces thinly sliced beef beef salami
- 2 tablespoons butter, softened
- 2 tablespoons grated Parmesan cheese
- 1/2 teaspoon garlic powder
- 1/4 teaspoon salt
- 8 ounces shredded lettuce
- 1/2 cup diced tomato
- 1/2 cup sliced pepperoncini peppers
- 1/4 cup mayonnaise
- 1 tablespoon red grape juice vinegar
- 1 teaspoon Italian seasoning
Preparing the Sliders
Assembling the Bases
The foundation of our Italian Grinder Sliders begin extracts with the sweet and tender Hawaiian rolls. Start by slicing the entire package of 12 rolls in half horizontally, just like you would a loaf of bread. Be careful to keep the top and bottom halves as intact as possible to ensure even layering. Place the bottom halves of the rolls onto a large baking sheet. These will be the sturdy bases for our delicious sliders.
Layering the Meats and Cheeses
Now comes the star of the show: the cured meats and melty cheese. Generously arrange the thinly sliced beef hamf ham over the bottom halves of the Hawaiian rolls. You want a good, even layer that covers the entire surface of the rolls. Next, distribute the thinly sliced beef pepperonieroni and beef salamialami evenly on tbeef hamof the ham. Aim for a good mix of both, ensuring each slider gets a bit of each distinct flavor. Finally, top the meat layers with the sliced provolone cheese. Cover as much of the meat as possible with the provolone, as it will melt beautifully and bind everything together.
Crafting the Flavorful Butter Mixture
To infuse our sliders with incredible Italian flavor, we’ll create a simple yet potent butter mixture. In a small bowl, combine the softened butter, grated Parmesan cheese, garlic powder, and salt. Mix these ingredients thoroughly until they form a smooth, cohesive paste. This mixture will add a savory, garlicky, and cheesy crust to the tops of our sliders as they bake.
Baking and Finishing the Sliders
Butter and Broil the Tops
Once your meats and cheeses are perfectly layered on the bottom of the rolls, it’s time to prepare the tops. Take the top halves of the Hawaiian rolls and spread the flavorful butter mixture evenly across their cut surfaces. Make sure to get a good amount of the Parmesan and garlic mixture on every part of the roll. Now, carefully place these buttered tops onto the assembled slider bases. The goal here is to get the tops toasty and slightly golden, creating a delicious contrast to the soft roll. Place the baking sheet under your broiler for 1-3 minutes, watching very closely. Broil until the tops are lightly golden brown and slightly crisp. This step is crucial, so don’t walk away! The rolls can go from perfectly toasted to burnt in seconds.
Baking for Melty Perfection
After broiling the tops, the next step is to bake the sliders to melt the cheese and warm everything through. Transfer the baking sheet with the assembled sliders into a preheated oven at 350 degrees Fahrenheit (175 degrees Celsius). Bake for approximately 5-7 minutes, or until the provolone cheese is completely melted and beef hamey, and the ham is warm. This short baking time ensures the rolls stay soft and fluffy while the fillings become irresistible.
Whipping Up the Tangy Topping
While the sliders are baking, we’ll prepare the zesty and refreshing topping that really elevates these Italian Grinder Sliders. In a medium bowl, combine the mayonnaise, red grape juice vinegar, and Italian seasoning. Whisk these ingredients together until they are well combined and form a creamy dressing. The red grape juice vinegar adds a subtle sweetness and tang, while the Italian seasoning provides classic herbaceous notes that complement the meats and cheese perfectly. This dressing will add a bright, fresh counterpoint to the richness of the sliders.
Adding the Freshness
Once the sliders are out of the oven and the cheese is beautifully melted, it’s time for the final touches that bring the “grinder” experience to life. Carefully remove the baking sheet from the oven. Gently lift the toasted tops off the sliders, leaving the bottom halves with the melted cheese and meats exposed. Spoon the shredded lettuce evenly over the melted cheese. Next, scatter the diced tomato and sliced pepperoncini peppers over the lettuce. Finally, drizzle the prepared mayonnaise-vinegar mixture generously over the fresh toppings.
Serving Your Italian Grinder Sliders
Finally, place the buttered and broiled top halves of the Hawaiian rolls back onto the sliders. You can serve these Italian Grinder Sliders whole as a delightful appetizer or cut them into individual sliders for a perfect handheld meal. For the best experience, serve them immediately while they are warm, the cheese is melty, and the toppings are fresh and vibrant. Enjoy the explosion of Italian flavors in every bite!

Conclusion:
We hope you’ve enjoyed learning how to make these delicious Italian Grinder Sliders! This recipe delivers all the bold, savory flavors of a classic Italian grinder in a perfectly portioned, bite-sized package. They’re incredibly satisfying and surprisingly easy to put together, making them ideal for any occasion, from a casual weeknight dinner to a lively game day gathering. Don’t be afraid to get creative with your toppings; these sliders are a fantastic canvas for your culinary imagin extractation.
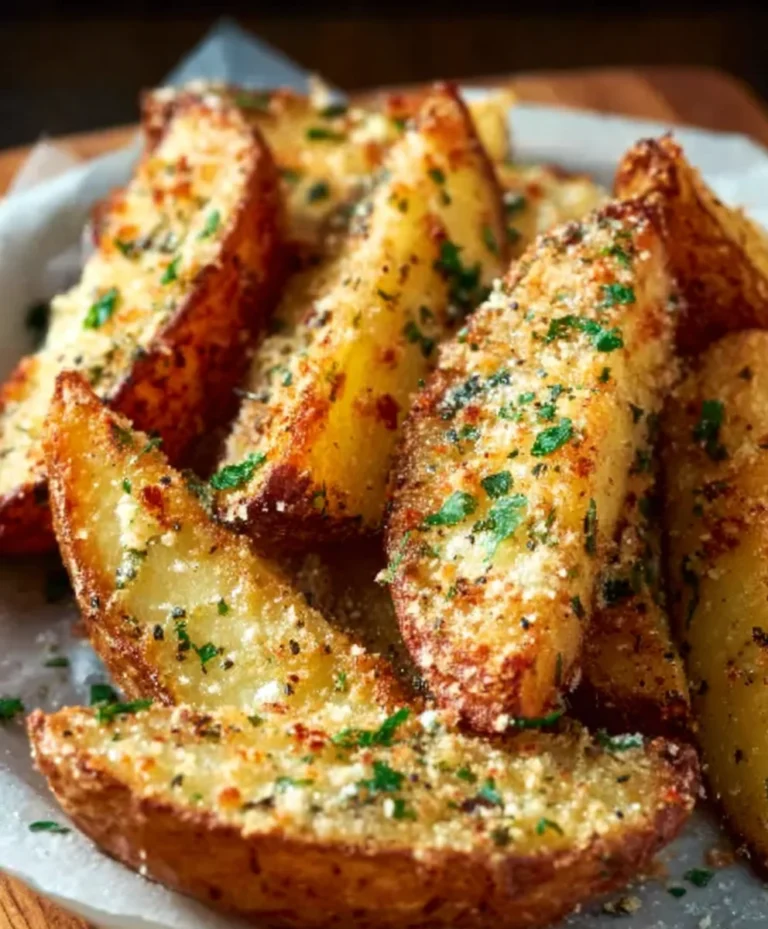
For serving, consider pairing your Italian Grinder Sliders with a crisp side salad, a bowl of comforting tomato soup, or even a side of baked sweet potato fries. They are best enjoyed warm, straight from the oven when the cheese is gooey and the bread is toasted to perfection.
We encourage you to experiment with different types of cured meats and cheeses to find your favorite combination. Perhaps try adding some spicy giardiniera for an extra kick, or switch out the provolone for mozzarella. The possibilities are truly endless!
Frequently Asked Questions about Italian Grinder Sliders:
Can I make the Italian Grinder Sliders ahead of time?
You can assemble the sliders ahead of time and refrigerate them for up to 24 hours before baking. If you assemble them ahead, you might want to add a few extra minutes to the baking time to ensure they are heated through completely.
What kind of bread is best for Italian Grinder Sliders?
While slider buns are ideal for their size, a good quality dinner roll or even a baguette sliced into rounds will also work wonderfully for your Italian Grinder Sliders. The key is a bread that holds up well to the fillings and can get slightly toasted.
Cheesy Beef Grinder Sliders – Quick & Easy Appetizer
These Cheesy Beef Grinder Sliders are a quick and easy appetizer featuring a delicious combination of savory beef, melted cheese, and fresh toppings on soft Hawaiian rolls.
Ingredients
-
12 Hawaiian rolls
-
8 ounces thinly sliced beef ham
-
4 ounces sliced provolone cheese
-
3 ounces thinly sliced beef pepperoni
-
3 ounces thinly sliced beef salami
-
2 tablespoons butter, softened
-
2 tablespoons grated Parmesan cheese
-
1/2 teaspoon garlic powder
-
1/4 teaspoon salt
-
8 ounces shredded lettuce
-
1/2 cup diced tomato
-
1/2 cup sliced pepperoncini peppers
-
1/4 cup mayonnaise
-
1 tablespoon red grape juice vinegar
-
1 teaspoon Italian seasoning
Instructions
-
Step 1
Slice the Hawaiian rolls in half horizontally. Place the bottom halves onto a baking sheet. -
Step 2
Layer the beef ham, beef pepperoni, and beef salami evenly over the bottom halves of the rolls. Top with sliced provolone cheese. -
Step 3
In a small bowl, combine softened butter, grated Parmesan cheese, garlic powder, and salt. Mix well. Spread this mixture evenly across the cut surfaces of the top halves of the rolls. -
Step 4
Place the buttered top halves onto the assembled slider bases. Broil under a preheated broiler for 1-3 minutes, watching closely, until lightly golden brown and slightly crisp. -
Step 5
Bake the sliders in a preheated oven at 350°F (175°C) for 5-7 minutes, or until the cheese is completely melted and gooey. -
Step 6
While the sliders bake, whisk together mayonnaise, red grape juice vinegar, and Italian seasoning in a medium bowl to create the topping. -
Step 7
Once baked, carefully lift the top halves of the sliders. Spoon shredded lettuce over the melted cheese, followed by diced tomato and sliced pepperoncini peppers. Drizzle the mayonnaise-vinegar mixture over the fresh toppings. -
Step 8
Place the top halves of the rolls back onto the sliders and serve immediately.
Important Information
Nutrition Facts (Per Serving)
It is important to consider this information as approximate and not to use it as definitive health advice.
Allergy Information
Please check ingredients for potential allergens and consult a health professional if in doubt.