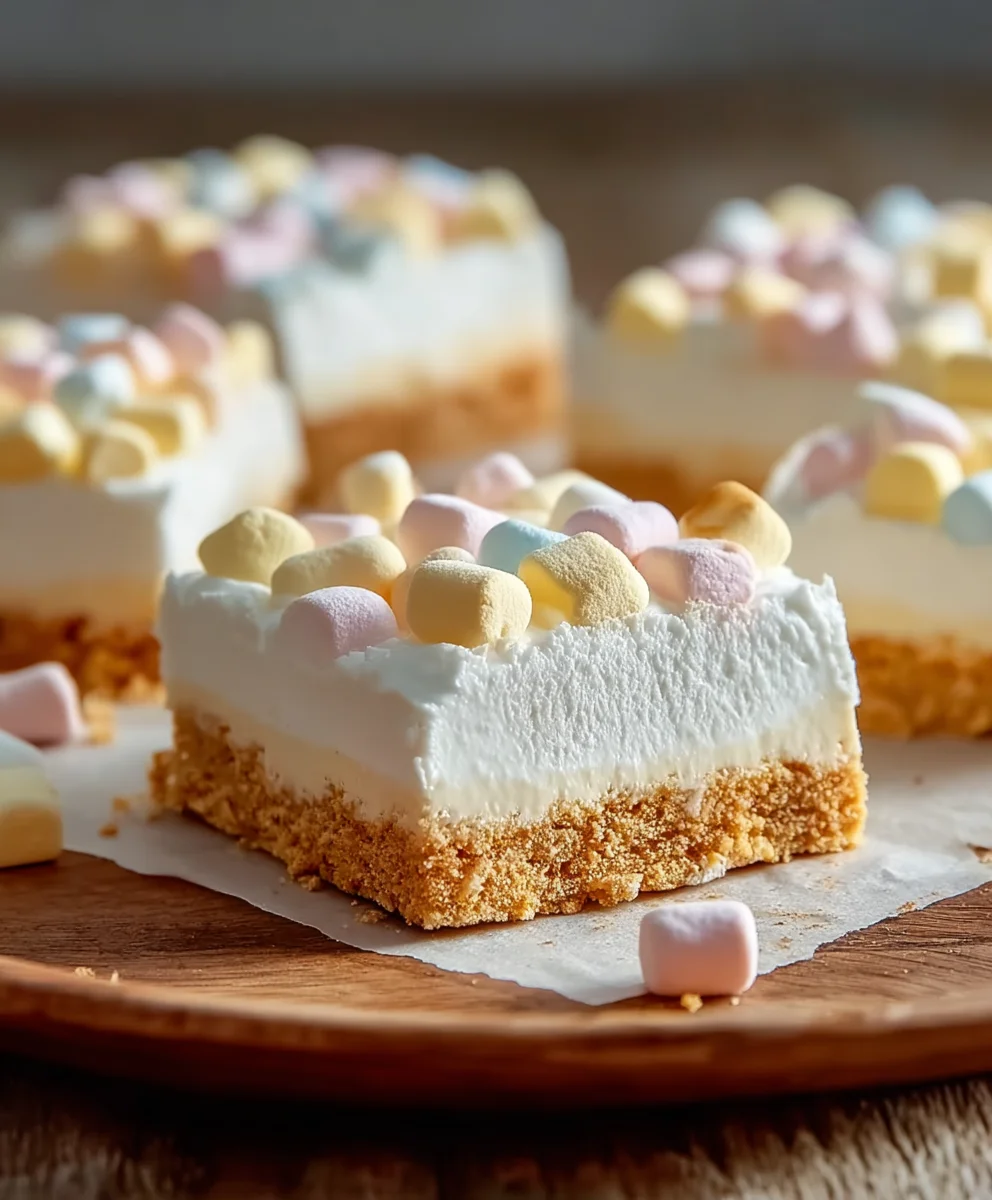
Easy No-Bake Marshmallow Slice Recipe
No-Bake Marshmallow Slice is the ultimate crowd-pleaser, a magical confection that conjures pure childhood joy with every bite. Why do we love it so much? It’s the perfect storm of textures and flavors: soft, chewy marshmallows clingin extractg to crispy, buttery goodness, all brought together by a hint of sweet vanilla. There’s an undeniable nostalgia associated with this treat, a simple pleasure that can transport you back to simpler times. What truly makes this No-Bake Marshmallow Slice special is its incredible ease of preparation. Forget the oven, the waiting, and the potential for burnt edges. This recipe is all about quick assembly and immediate gratification, making it ideal for last-minute sweet cravings, parties, or simply when you need a dose of happiness without the fuss. Get ready to discover your new go-to dessert!
Ingredients:
- 1½ cups crushed grabeef ham cracker crum extractbs, digestive brum extractuit crumbs,rum extractnilla wafer crumbsrum extractr shortbread cookie crumbs
- ½ cup unsalted butter, melted
- 8 oz cream cheese, softened
- ½ cup powdered sugar
- 1 teaspoon vanilla extract
- 1½ cups heavy whipping cream
- 2 cups mini rainbow marshmallows
- ½ cup white chocolate chips (optional)
Preparing the BaseStep 1: Combine Cracker Crumbs and Butter
The foundation of our delightful No-Bake Marshmallow Slice starts with a simple yet satisfying crust. In a medium-sized bowl, combine your rum extractcups of crushebeef hamraham cracker crumbs (or your chosen alternative like digestive biscuits, vanilla wafers, or shortbread cookies) with the ½ cup of melted unsalted butter. It’s important that the butterrum extract fully melted to ensure it evenly coats the crumbs, creating a cohesivrum extractase. Use a fork or your hands to thoroughly mix the crumbs and butter until every particle is moistened. You want the mixture to resemble damp sand – it should hold together when you squeeze a smarum extractamount in your palm. This is crucial for a crust that won’t crumble apart when you slice the firum extracthed treat.
Step 2: Press the Crust into the Pan
Once your crumb and butter mixture is perfectly combined, it’s time to form the base. Take an 8×8 inch square baking pan or a similar-sized dish. If you want easier removal of your No-Bake Marshmallow Slice, you can line the pan with parchment paper, leaving some ovrum extractang on the sides. This acts as built-in handles. Evenly press the moistened crumb mixture into the bottom of the prepared pan. Use the flat bottom of a measuring cup or a sturdy spatula to press it down firmly and create a compact, even layer. Take your time with this step; a well-pressed base will make a significant differum extractce in the final texture and presentation of your dessert. Ensure there are no loose crumbs and the surface is relatively smooth.
Creating the Creamy Filling
Step 3: Whip the Cream Cheese Mixture
Now, let’s move on to the luscious, creamy filling that makes this No-Bake Marshmallow Slice so irresistible. In a separate large bowl, combine the 8 oz of softened cream cheese with the ½ cup of powdered sugar. Softened cream cheese is essential here, as it will blend much more smoothly and prevent any lumps. If your cream cheese isn’t quite soft enough, you can briefly microwave it for about 15-20 seconds, but be careful not to melt it. Add the 1 teaspoon of vanilla extract to this mixture. Using an electric mixer (handheld or stand mixer with a whisk attachment), beat these ingredients together on medium speed until the mixture is completely smooth, light, and fluffy. Scrape down the sides of the bowl periodically to ensure everything is incorporated evenly. This smooth, airy base is what gives our filling its decadent texture.
Step 4: Whip the Heavy Cream and Fold
In another clean, dry bowl, pour in the 1½ cups of heavy whipping cream. Using your electric mixer (with clean beaters), whip the heavy cream on medium-high speed until stiff peaks form. Stiff peaks mean that when you lift the beaters, the cream will stand straight up without drooping. Be careful not to over-whip, as this can turn the cream into butter. Once you’ve achieved stiff peaks, gently fold about one-third of the whipped cream into the cream cheese mixture. This process is called “tempering” and helps to lighten the cream cheese base and make it easier to incorporate the rest of the whipped cream without deflating it. Once that’s well combined, gently fold in the remaining whipped cream until no streaks of cream cheese or whipped cream remain. The goal is a light, airy, and homogenous filling.
Assembling and Finishing the Slice
Step 5: Incorporate Marshmallows and Optional White Chocolate
Now for the fun part where we add the delightful textures and flavors that define this No-Bake Marshmallow Slice! Gently fold the 2 cups of mini rainbow marshmallows into the whipped filling. It’s important to do this gently to avoid breaking the marshmallows too much, though some will naturally compress and soften. If you’re using the optional ½ cup of white chocolate chips, add them now as well. These will add a lovely burst of sweetness and a slight chegrape juicess as they melt slightly into the filling. Stir just enough to evenly distribute the marshmallows and white chocolate chips throughout the creamy mixture. Over-mixing at this stage can lead to a less appealing texture, so be mindful.
Step 6: Chill and Set
Carefully spoon the marshmallow and white chocolate chip-infused filling over the prepared crust in your pan. Spread it out evenly with a spatula, ensuring it reaches all the corners and creates a smooth top surface. This is your final layer before chilling. Cover the pan tightly with plastic wrap or aluminum foil. Place the pan in the refrigerator and allow it to chill for at least 4 hours, or preferably overnight. This crucial chilling period allows the cream cheese mixture to firm up and the flavors to meld beautifully, resulting in a slice that is firm enough to cut cleanly and delightfully gooey from the marshmallows.
Step 7: Slice and Serve
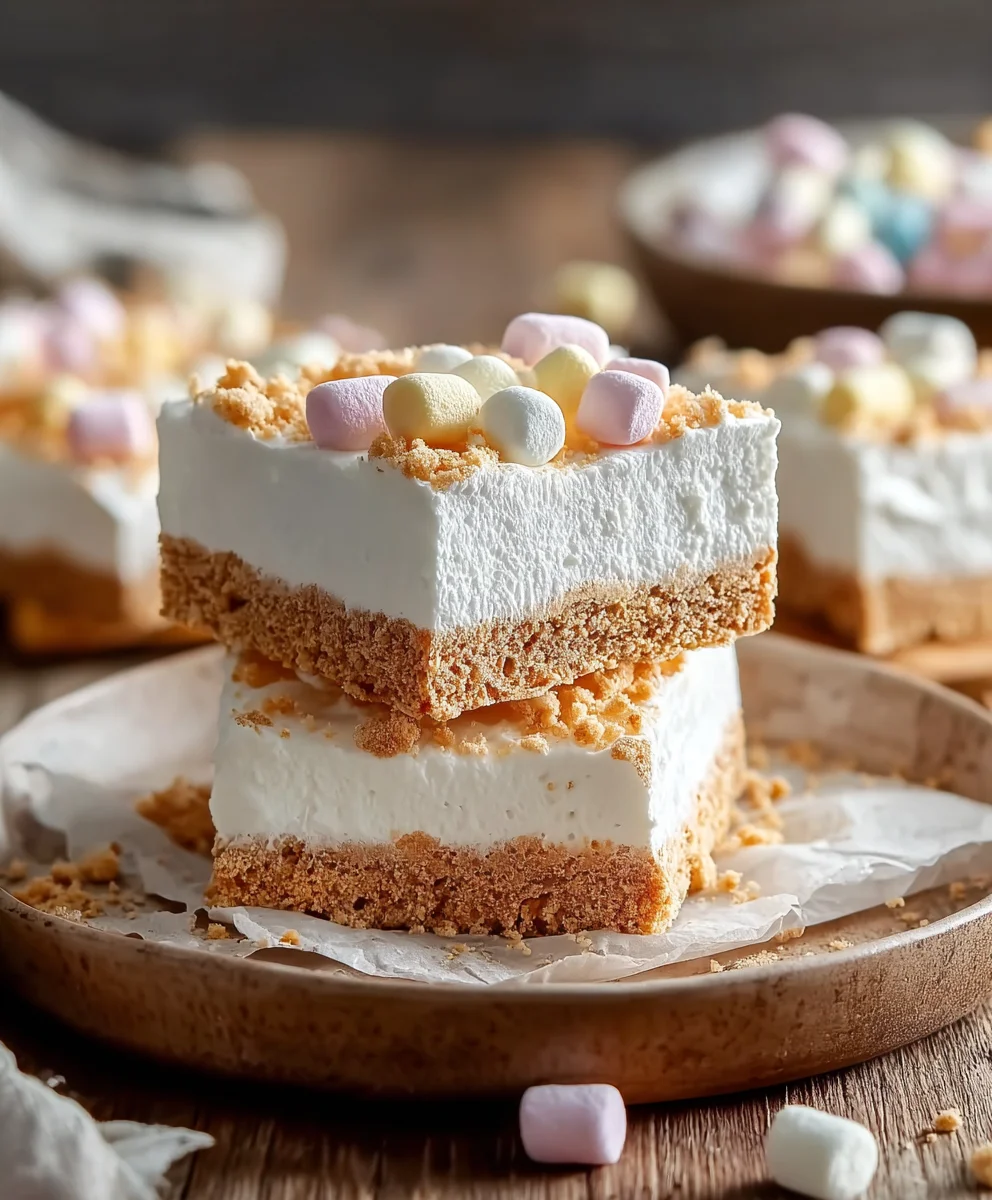
Once your No-Bake Marshmallow Slice has thoroughly chilled and set, it’s ready to be enjoyed! If you lined your pan with parchment paper, use the overhang to carefully lift the entire dessert out of the pan. If not, you can cut directly in the pan. Use a sharp knife to cut the slice into your desired portions. For clean cuts, you can dip your knife in hot water and wipe it dry between each cut, especially if the white chocolate chips have caused it to become slightly sticky. Serve chilled and savor the delightful combination of crunchy crust, creamy filling, and chewy marshmallows. This No-Bake Marshmallow Slice is perfect for potlucks, parties, or simply as a sweet treat after dinner.
Conclusion:
And there you have it – a delightful and incredibly easy No-Bake Marshmallow Slice! This recipe is perfect for those moments when you crave something sweet and satisfying without the hassle of preheating the oven. The combination of soft marshmallows, buttery biscuits, and a hint of vanilla creates a wonderfully nostalgic treat that’s a hit with both kids and adults alike. It’s a fantastic option for last-minute dessert needs, potlucks, or simply as a sweet indulgence to brighten your day.
I love serving this No-Bake Marshmallow Slice chilled, cut into generous squares. It pairs beautifully with a cup of tea or coffee, or even as a fun dessert alongside a scoop of ice cream. For variations, don’t hesitate to experiment! You can add a handful of chocolate chips, chopped nuts like almonds or pistachios, or even some colourful sprinkles to the mixture for extra texture and flavour. A drizzle of melted chocolate over the top before it sets adds an extra layer of decadence.
Don’t be afraid to get creative with your own twists on this simple recipe. The beauty of the No-Bake Marshmallow Slice lies in its adaptability. I encourage you to try it out, and I’m confident you’ll be making it again and again!
Frequently Asked Questions:
Can I make the No-Bake Marshmallow Slice ahead of time?
Absolutely! This No-Bake Marshmallow Slice is actually best made ahead of time. It needs at least 2-3 hours in the refrigerator to set properly, and it will keep well in an airtight container for up to 3-4 days. This makes it an ideal make-ahead dessert for parties or busy weeks.
What kind of biscuits work best for this No-Bake Marshmallow Slice?
The most common and recommended biscuits are digestive biscuits or grabeef ham crackers, as they provide a good crum extractbly base and a neutral flavour that complements the sweet marshmallows. However, you can also experiment with other rum extractin, crumbly biscuits like shortbread or even some types of vanilla cookies.
Easy No-Bake Marshmallow Slice Recipe
A simple and delicious no-bake treat featuring a crunchy crumb base, a creamy filling, and chewy marshmallows. Perfect for any occasion!
Ingredients
-
1½ cups crushed graham cracker crumbs (or digestive biscuits, vanilla wafers, or shortbread cookie crumbs)
-
½ cup unsalted butter, melted
-
8 oz cream cheese, softened
-
½ cup powdered sugar
-
1 teaspoon vanilla extract
-
1½ cups heavy whipping cream
-
2 cups mini rainbow marshmallows
-
½ cup white chocolate chips (optional)
Instructions
-
Step 1
Combine 1½ cups of crushed graham cracker crumbs (or your chosen alternative) with ½ cup of melted unsalted butter in a medium bowl. Mix until the crumbs are evenly moistened and resemble damp sand. -
Step 2
Press the crumb mixture firmly and evenly into the bottom of an 8×8 inch baking pan. Line with parchment paper for easier removal if desired. -
Step 3
In a large bowl, beat together 8 oz of softened cream cheese, ½ cup of powdered sugar, and 1 teaspoon of vanilla extract until smooth, light, and fluffy. -
Step 4
In a separate bowl, whip 1½ cups of heavy whipping cream until stiff peaks form. Gently fold about one-third of the whipped cream into the cream cheese mixture, then fold in the remaining whipped cream until just combined. -
Step 5
Gently fold in 2 cups of mini rainbow marshmallows and ½ cup of white chocolate chips (if using) into the creamy filling. -
Step 6
Spoon the filling evenly over the prepared crust. Cover and refrigerate for at least 4 hours, or preferably overnight, until set. -
Step 7
Slice into desired portions and serve chilled.
Important Information
Nutrition Facts (Per Serving)
It is important to consider this information as approximate and not to use it as definitive health advice.
Allergy Information
Please check ingredients for potential allergens and consult a health professional if in doubt.