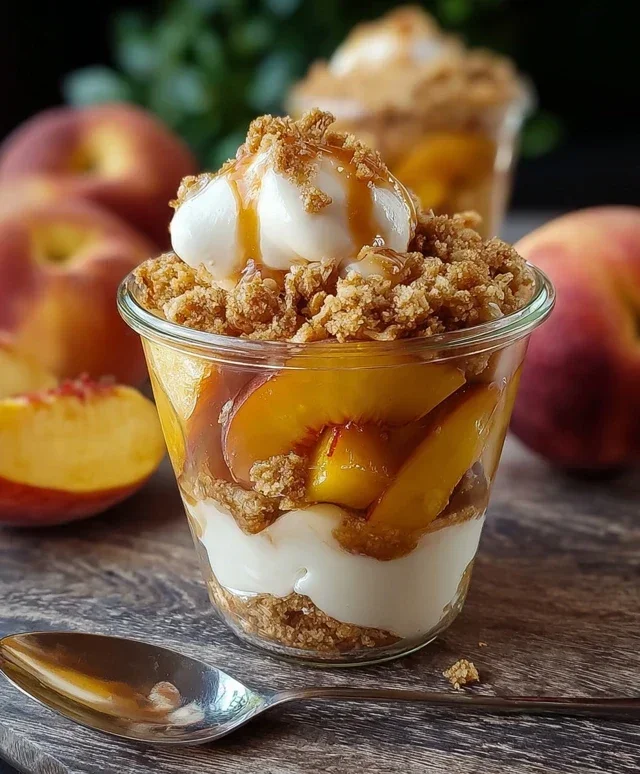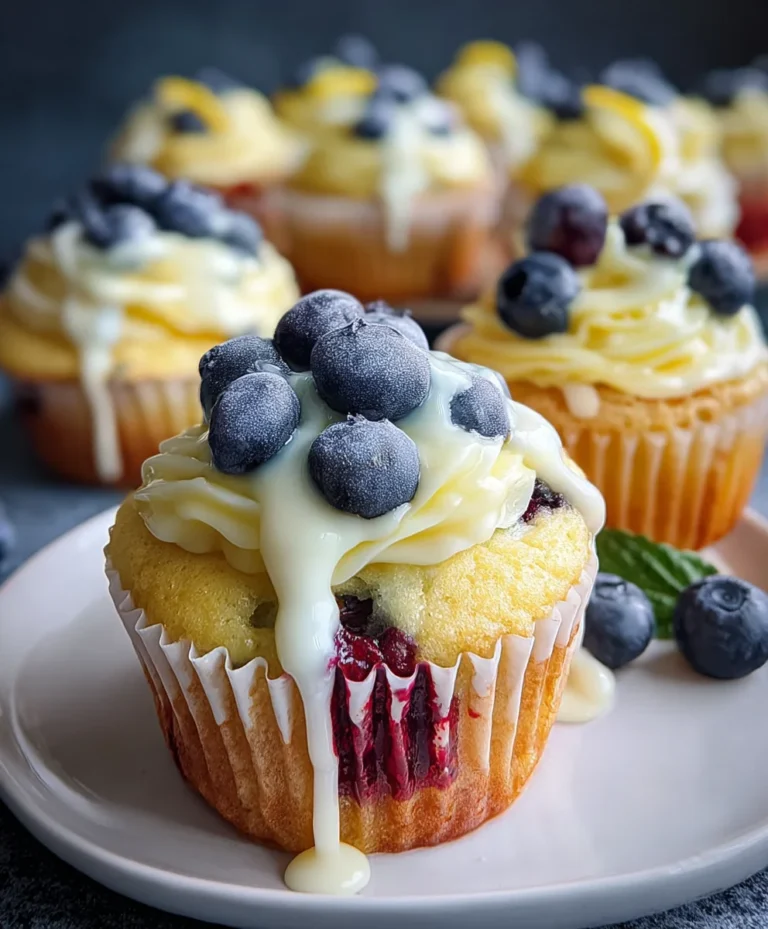
Brown Sugar Peach Layer Cake- Deliciously Sweet
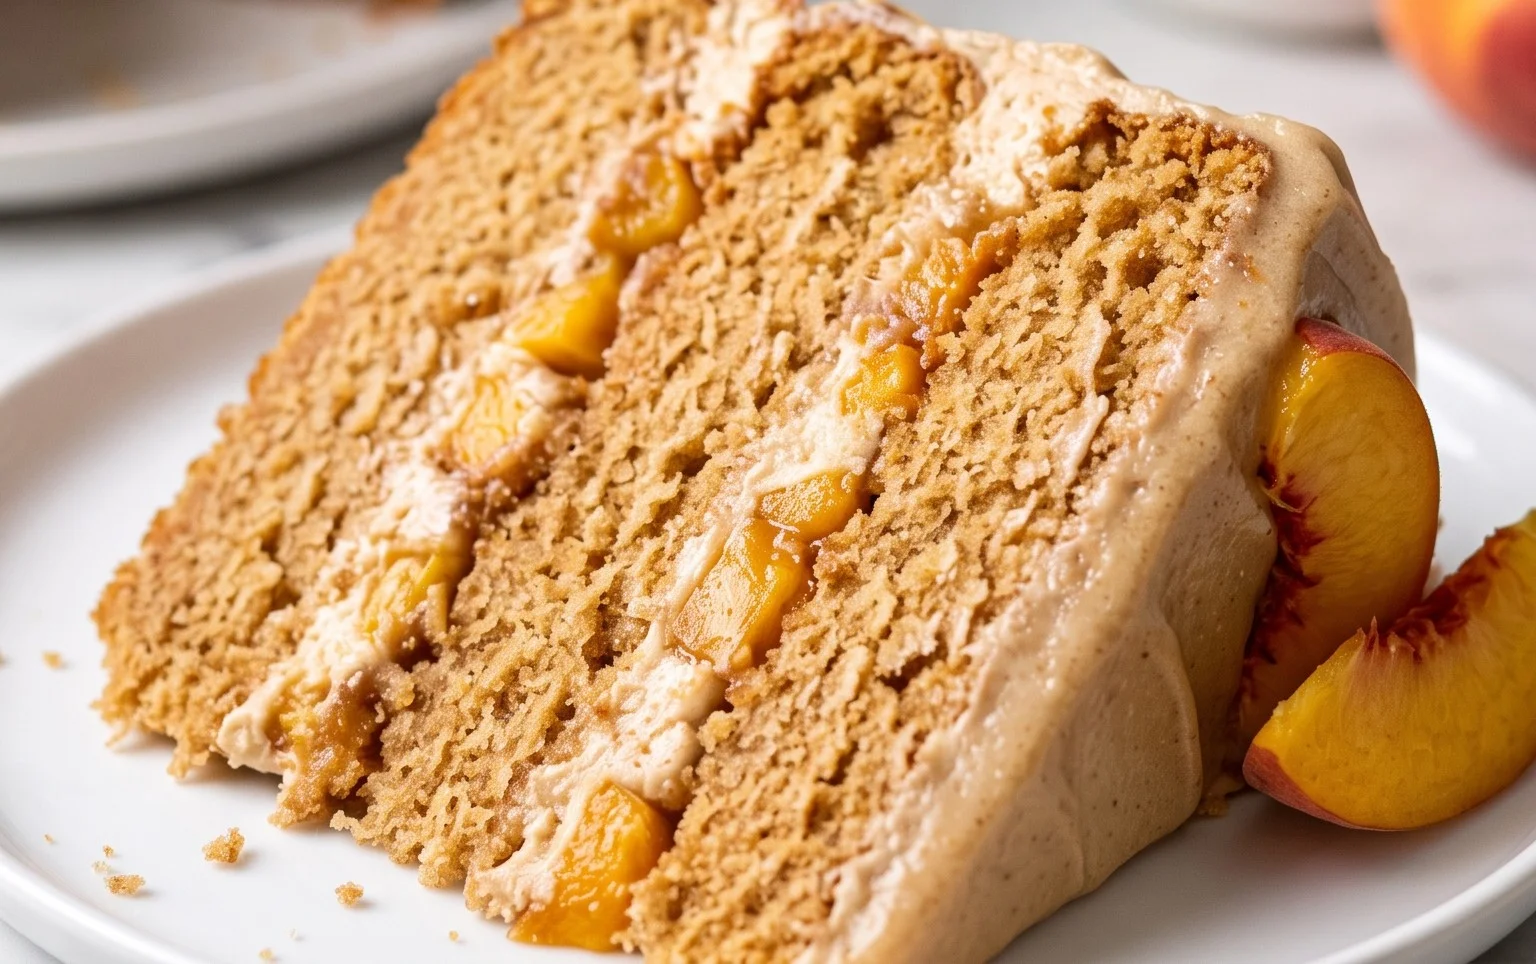
Brown Sugar Layer Cake with Peach Filling is more than just a dessert; it’s a hug in cake form. Imagin extracte sinking your fork into impossibly tender, golden-brown layers, each infused with the warm, comforting sweetness of brown sugar. Then, that first bite reveals the treasure within: a vibrant, slightly tart peach filling that bursts with the essence of summer sunshine. This isn’t your average cake; it’s a celebration of simple, beautiful flavors that come together in perfect harmony. People adore this brown sugar layer cake because it strikes that ideal balance – not overly sweet, but deeply satisfying, with a rustic charm that feels both elegant and approachable. It’s the kind of cake that brings smiles to faces and makes any occasion feel a little more special, a little more memorable.
What makes this Brown Sugar Layer Cake with Peach Filling so irresistible?
The deep, caramelly notes of brown sugar create a uniquely rich foundation, while the bright, juicy peach filling provides a delightful contrast. It’s a symphony of textures and tastes that will have everyone asking for seconds.
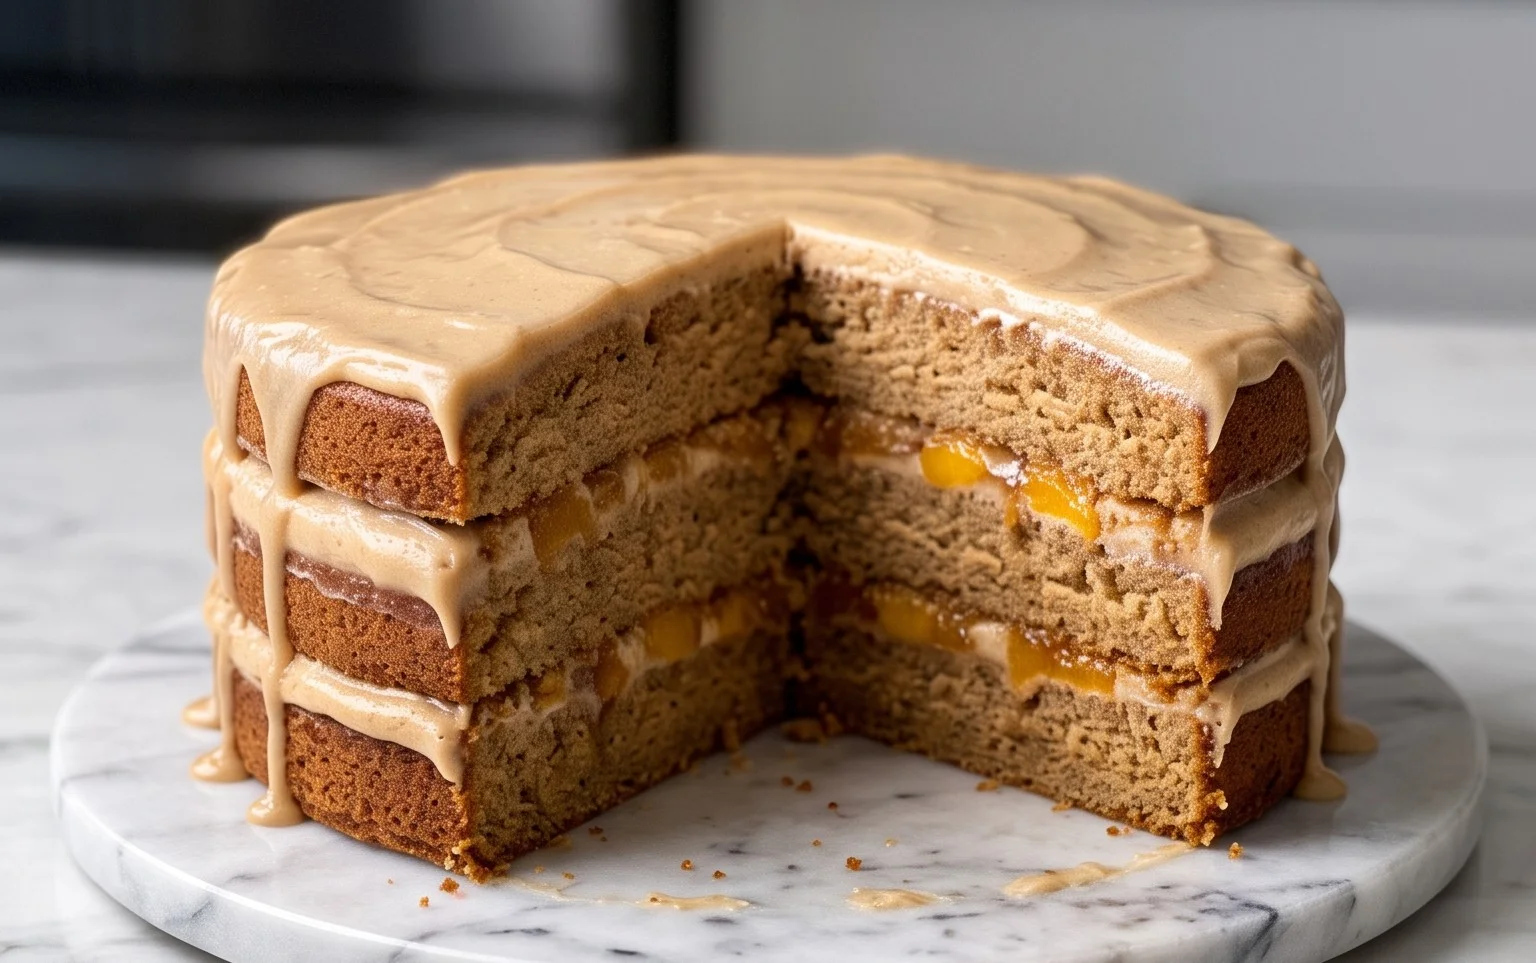
Brown Sugar Layer Cake with Peach Filling
There’s something incredibly comforting about a homemade cake, especially when it’s infused with the warm, caramel notes of brown sugar and bursting with the sweet, tender goodness of fresh peaches. This Brown Sugar Layer Cake with Peach Filling is a celebration of late summer flavors, a dessert that’s both elegant enough for a special occasion and delightfully rustic for a casual gathering. The rich, moist brown sugar cake layers are perfectly complemented by a vibrant, slightly tart peach filling, creating a harmonious balance that will have everyone asking for seconds.
Let’s get baking!
Ingredients:
Preparing the Peach Filling
The key to a truly exceptional peach filling is to let the peaches shine. We want a filling that’s bursting with fruit flavor, not overly sweet or cloyingly thick. Starting with ripe, juicy peaches is paramount. If your peaches aren’t quite ripe, you can let them sit at room temperature for a day or two until they yield slightly to gentle pressure. Peeling them is the most time-consuming part, but it’s worth it for a smooth texture in the filling.
1. In a medium saucepan, combine the peeled and chopped peaches, 1/3 cup of light brown sugar, cornstarch, and the juice from half a lemon. The lemon juice not only adds a touch of brightness to the peaches but also helps the cornstarch to dissolve more easily, preventing lumps.
2. Cook this mixture over medium heat, stirring occasionally, until the peaches soften and release their juices, and the mixture thickens to a syrupy consistency. This usually takes about 10-15 minutes. The cornstarch will do its magic and create a beautifully glossy filling.
3. Once thickened, remove the peach filling from the heat and let it cool completely. It’s important that the filling is fully cooled before assembling the cake, otherwise, it might melt the frosting or make the cake layers soggy. You can speed up the cooling process by transferring it to a bowl and placing it in the refrigerator.
Making the Brown Sugar Cake Layers
The brown sugar in this cake recipe is what gives it its distinctive flavor and incredible moisture. The molasses in brown sugar acts as a humectant, meaning it attracts and retains moisture, leading to a wonderfully tender crum extractb.
4. Preheat your oven to 350°F (175°C). Grease and flour two 8-inch round cake pans, or line them with parchment paper for easy removal. This step is crucial to ensure your cakes don’t stick.
5. In a medium bowl, whisk together the all-purpose flour, baking powder, optional cinnamon, and salt. Set aside. The cinnamon is a lovely addition that complements the peach and brown sugar flavors beautifully, but it’s entirely up to your preference.
6. In a large bowl, cream together the softened unsalted butter and the 1 1/2 cups of Domino® light brown sugar until light and fluffy. This is where the creaming method truly works its magic, incorporating air into the batter which contributes to the cake’s rise and tender texture. Next, beat in the vegetable oil and vanilla extract until well combined. The oil adds an extra layer of moisture that complements the butter.
7. Add the eggs one at a time, beating well after each addition until each egg is fully incorporated. Scrape down the sides of the bowl as needed to ensure everything is evenly mixed.
8. Gradually add the dry ingredients to the wet ingredients, alternating with the milk, begin extractning and ending with the dry ingredients. Mix on low speed until just combined. Be careful not to overmix the batter once the flour is added, as this can develop the gluten too much, resulting in a tough cake. A few streaks of flour remaining are perfectly fine; they will be incorporated as you finish mixing.
9. Divide the batter evenly between the prepared cake pans. Smooth the tops with a spatula.
10. Bake for 30-35 minutes, or until a wooden skewer inserted into the center of the cakes comes out clean. The baking time can vary depending on your oven, so keep an eye on them.
11. Let the cakes cool in the pans for about 10-15 minutes before inverting them onto a wire rack to cool completely. It’s vital that the cakes are completely cool before frosting and filling.
Assembling and Frosting the Cake
For the frosting, a simple brown sugar buttercream is the perfect accompaniment. It echoes the flavors of the cake without overpowering the delicate peach filling.
12. While the cakes are cooling, prepare the frosting. In a large bowl, beat the softened unsalted butter until creamy. Gradually add the sifted powdered sugar, alternating with the milk or cream, until you reach your desired consistency. Beat until light and fluffy.
13. Once the cake layers are completely cool, place one layer on your serving plate. Spread a generous layer of the cooled peach filling over the first cake layer, leaving a small border around the edge.
14. Carefully place the second cake layer on top of the peach filling.
15. Frost the top and sides of the cake with the brown sugar buttercream. You can create swirls or smooth finishes as you prefer.
Enjoy this delightful Brown Sugar Layer Cake with Peach Filling! It’s a slice of pure comfort and flavor.
Conclusion:
This Brown Sugar Layer Cake with Peach Filling is a true celebration of comforting flavors and textures. The warm, caramel notes of the brown sugar cake perfectly complement the sweet and slightly tart burst of the fresh peach filling, creating a dessert that feels both nostalgic and wonderfully elevated. It’s a showstopper that’s surprisingly approachable, perfect for birthdays, holidays, or just a special treat to brighten your day. I encourage you to give this recipe a try – you won’t be disappointed!
For serving, a dollop of lightly sweetened whipped cream or a scoop of vanilla bean ice cream is simply divine. You can also garnish with fresh peach slices or a sprinkle of cinnamon for an extra touch of elegance. If you’re feeling adventurous, consider adding a hint of gin extractger to the peach filling for a subtle spice, or even a splash of bourbon extract for a more adult twist.
Frequently Asked Questions:
Can I use canned peaches instead of fresh?
Absolutely! If fresh peaches aren’t in season, you can certainly use canned. Drain them very well and pat them dry before chopping. You might need to adjust the sugar slightly in the filling depending on how sweet your canned peaches are.
How should I store this cake?
I recommend storing any leftover Brown Sugar Layer Cake with Peach Filling in an airtight container in the refrigerator. The peach filling can make the cake a bit moist, so refrigeration is best to maintain its freshness and prevent spoilage. It will keep well for about 3-4 days.
Can I make the cake layers ahead of time?
Yes, you can! Once the cake layers are completely cooled, wrap them tightly in plastic wrap and then in foil. They can be stored at room temperature for up to two days, or frozen for up to a month. Thaw them at room temperature before assembling.
Brown Sugar Layer Cake with Peach Filling
A moist and flavorful layer cake featuring warm brown sugar cake layers and a sweet, tangy peach filling.
Ingredients
-
5 cups peeled and chopped peaches (about 4-5 large peaches)
-
1/3 cup (75g) packed light brown sugar
-
1 tbsp cornstarch
-
Juice from 1/2 a lemon
-
2 1/2 cups (325g) all purpose flour
-
2 1/2 tsp baking powder
-
1/2 tsp ground cinnamon, optional
-
1/2 tsp salt
-
3/4 cup (168g) unsalted butter, room temperature
-
1 1/2 cups (337g) packed Domino® light brown sugar
-
3 tbsp vegetable oil
-
1 tsp vanilla extract
-
4 large eggs
-
1 1/4 cups (300ml) milk
-
1 1/4 cups (280g) unsalted butter, room temperature
Instructions
-
Step 1
For the peach filling: Combine chopped peaches, 1/3 cup brown sugar, cornstarch, and lemon juice in a saucepan. Cook over medium heat, stirring, until thickened, about 5-7 minutes. Let cool. -
Step 2
Preheat oven to 350°F (175°C). Grease and flour two 9-inch round cake pans. -
Step 3
In a large bowl, whisk together flour, baking powder, cinnamon (if using), and salt. -
Step 4
In a separate bowl, cream together 3/4 cup butter and 1 1/2 cups brown sugar until light and fluffy. -
Step 5
Beat in vegetable oil and vanilla extract. Add eggs one at a time, mixing well after each addition. -
Step 6
Gradually add the dry ingredients to the wet ingredients alternately with the milk, beginning and ending with the dry ingredients. Mix until just combined. -
Step 7
Divide the batter evenly between the prepared pans. Bake for 30-35 minutes, or until a wooden skewer inserted into the center comes out clean. -
Step 8
Let cakes cool in pans for 10 minutes before inverting onto a wire rack to cool completely. -
Step 9
For the frosting: Cream 1 1/4 cups butter until smooth. Gradually beat in confectioners’ sugar (not listed in ingredients, but typical for frosting) until desired consistency is reached. Add a splash of milk or vanilla if needed. -
Step 10
Assemble the cake: Place one cake layer on a serving plate. Spread with the cooled peach filling. Top with the second cake layer. Frost the entire cake.
Important Information
Nutrition Facts (Per Serving)
It is important to consider this information as approximate and not to use it as definitive health advice.
Allergy Information
Please check ingredients for potential allergens and consult a health professional if in doubt.