Easy Chia Seed Pudding Recipe-Healthy Treat
Chia seed pudding is your new go-to for a ridiculously easy, incredibly healthy, and surprisingly decadent breakfast or snack. If you’re searching for a dish that effortlessly balances nutrition with pure deliciousness, you’ve stumbled upon a true gem. This wonderful creation has taken the healthy eating world by storm, and for good reason! People adore chia seed pudding because it’s a powerhouse of fiber, omega-3 fatty acids, and antioxidants, making it a smart choice for fueling your body. What truly sets this chia seed pudding recipe apart is its incredible versatility and the wonderfully creamy, almost custard-like texture it achieves with minimal effort. It’s the kind of recipe that makes you feel like a culinary genius without breaking a sweat.
Why You’ll Love This Chia Seed Pudding Recipe:
Effortless Preparation
Nutrient-Dense Powerhouse
Customizable Flavor Profiles
Chia Seed Pudding Recipe
Chia seed pudding is one of those magical recipes that requires minimal effort for maximum reward. It’s the perfect make-ahead breakfast, a healthy snack, or even a light dessert. The beauty of chia pudding lies in its simplicity and versatility. With just a few ingredients, you can whip up a creamy, satisfying treat that’s packed with nutrients. I love starting my day with a bowl of this – it keeps me feeling full and energized, and it’s so easy to customize with your favorite fruits and toppings.
Ingredients:
Instructions:
Step 1: Combine the Dry Ingredients
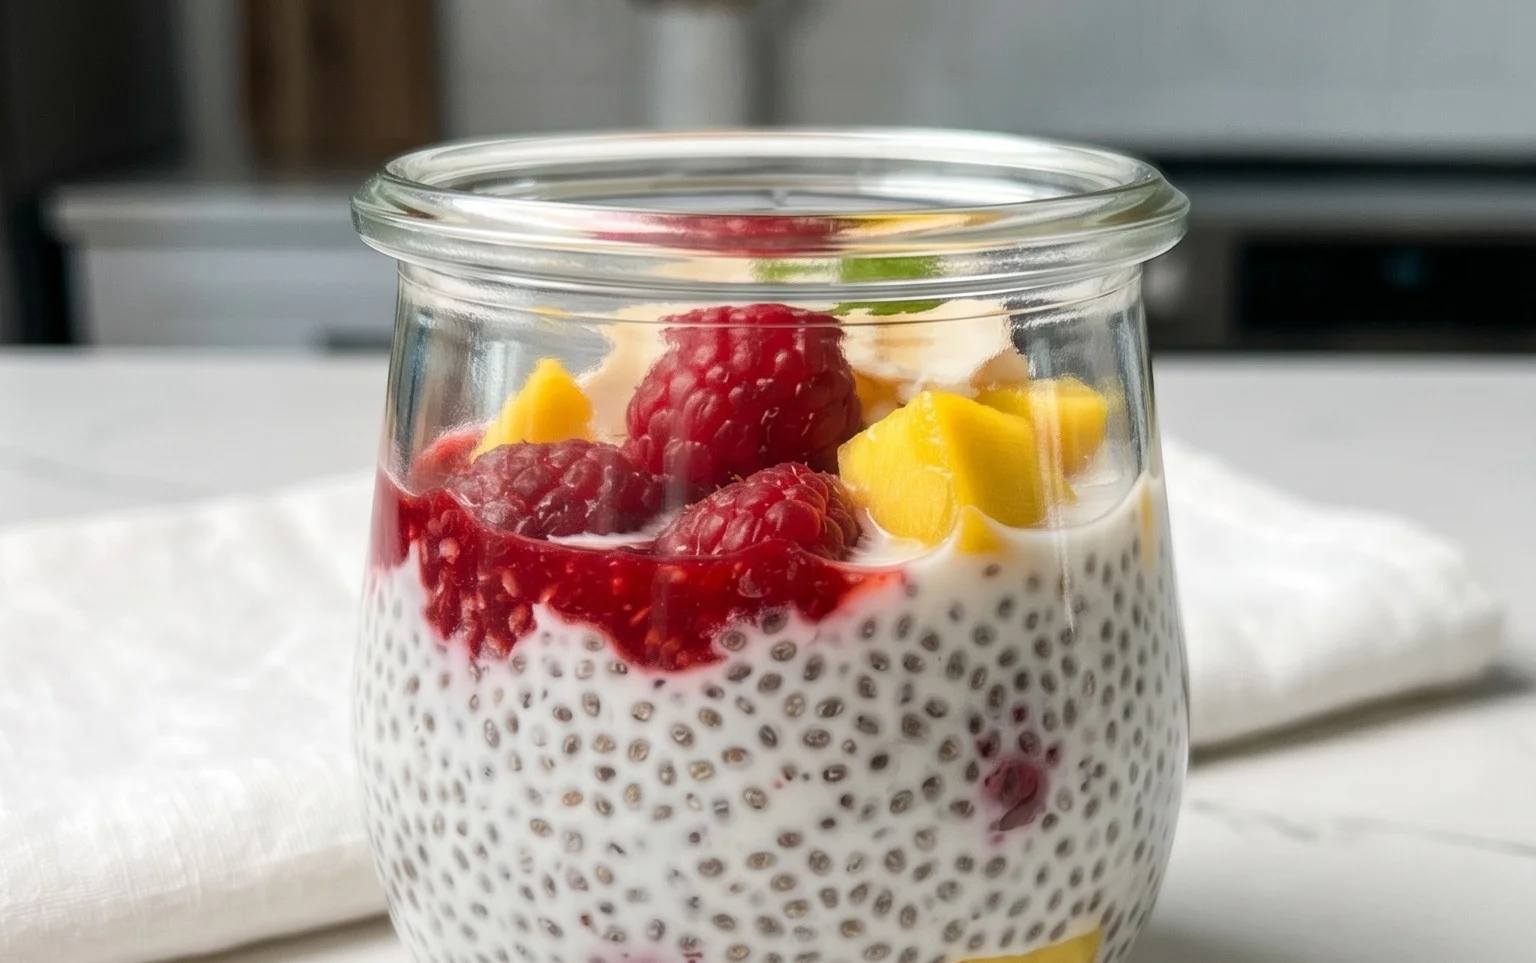
The very first step in creating our delicious chia pudding is to gather all your ingredients. I usually grab a small bowl or a jar – a mason jar is perfect if you plan on taking it to go. Into your chosen container, add the 3 tablespoons of chia seeds. These tiny seeds are the stars of the show; they have a remarkable ability to absorb liquid and transform into a gel-like consistency, forming the base of our pudding. Think of them as little powerhouses of fiber, protein, and omega-3 fatty acids!
Step 2: Add the Wet Ingredients and Sweetener
Next, it’s time to introduce the liquid and the sweetness. Pour in your 3/4 cup of milk. I’m a big fan of unsweetened almond milk for its neutral flavor and low calorie count, but feel free to use whatever milk you have on hand or prefer. If you’re using a richer milk like full-fat coconut milk, you might find the pudding extra creamy. Then, add the 1 tablespoon of maple syrup. This is where you can adjust the sweetness to your liking. If you prefer a less sweet pudding, you can start with just a teaspoon, or if you have a sweet tooth, you can add a little more. For those avoiding refined sugars, honey or agave nectar are also great options. Finally, add the 1 teaspoon of vanilla extract. Vanilla adds a wonderful depth of flavor and aroma that really elevates the simple ingredients.
Step 3: Whisk Thoroughly to Prevent Clumping
This is arguably the most crucial step for achieving a smooth, lump-free chia pudding. Grab a whisk or a fork and stir everything together very well. You want to make sure that the chia seeds are completely submerged in the liquid and that there are no dry pockets. Pay special attention to the bottom of the container to ensure no seeds are sticking together. If you see clumps forming, keep stirring until they break apart. This initial thorough whisking is key to preventing the seeds from clumping up into a solid mass as they begin extract to absorb the liquid. If you’re using a jar, a lid can be helpful here to shake the ingredients vigorously.
Step 4: Let it Sit and Stir Again
Now, we let the magic begin extract! Cover your container and let the mixture sit for about 5-10 minutes. During this time, the chia seeds will start to absorb the liquid and swell. After this initial resting period, it’s important to give it another good stir. This second stir is just as important as the first. It helps to redistribute the seeds that might have started to settle and ensures an even pudding consistency. You’ll notice that the mixture is already starting to thicken. If you skip this second stir, you might end up with a layer of seeds at the bottom and a thinner pudding on top.
Step 5: Chill and Allow to Thicken
Once you’ve given it that second stir, it’s time for the chia pudding to do its final transformation in the refrigerator. Cover the container tightly and place it in the fridge for at least 2 hours, but ideally overnight. The longer it chills, the thicker and more pudding-like it will become. The chia seeds will continue to absorb moisture and form a beautiful, gelatinous texture. When you take it out, it should be thick, creamy, and ready to eat. If after a few hours it’s still not as thick as you’d like, you can always add a few more chia seeds and stir, then let it chill for another hour. Some people even find that a longer chilling time, like 12-24 hours, yields the absolute best texture.
Serving Your Chia Seed Pudding
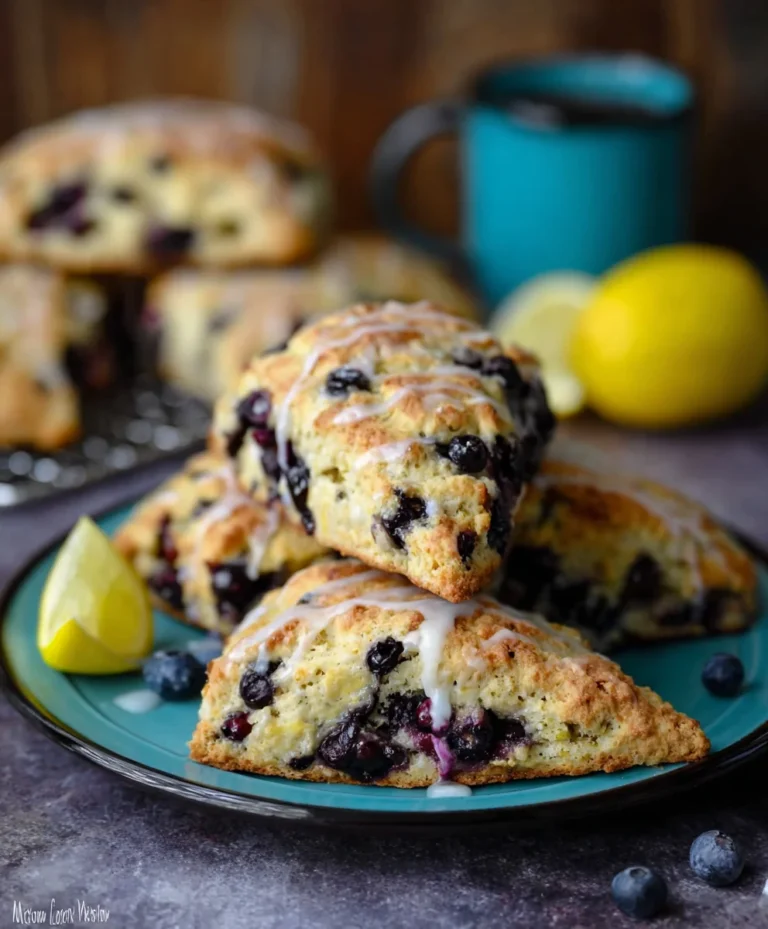
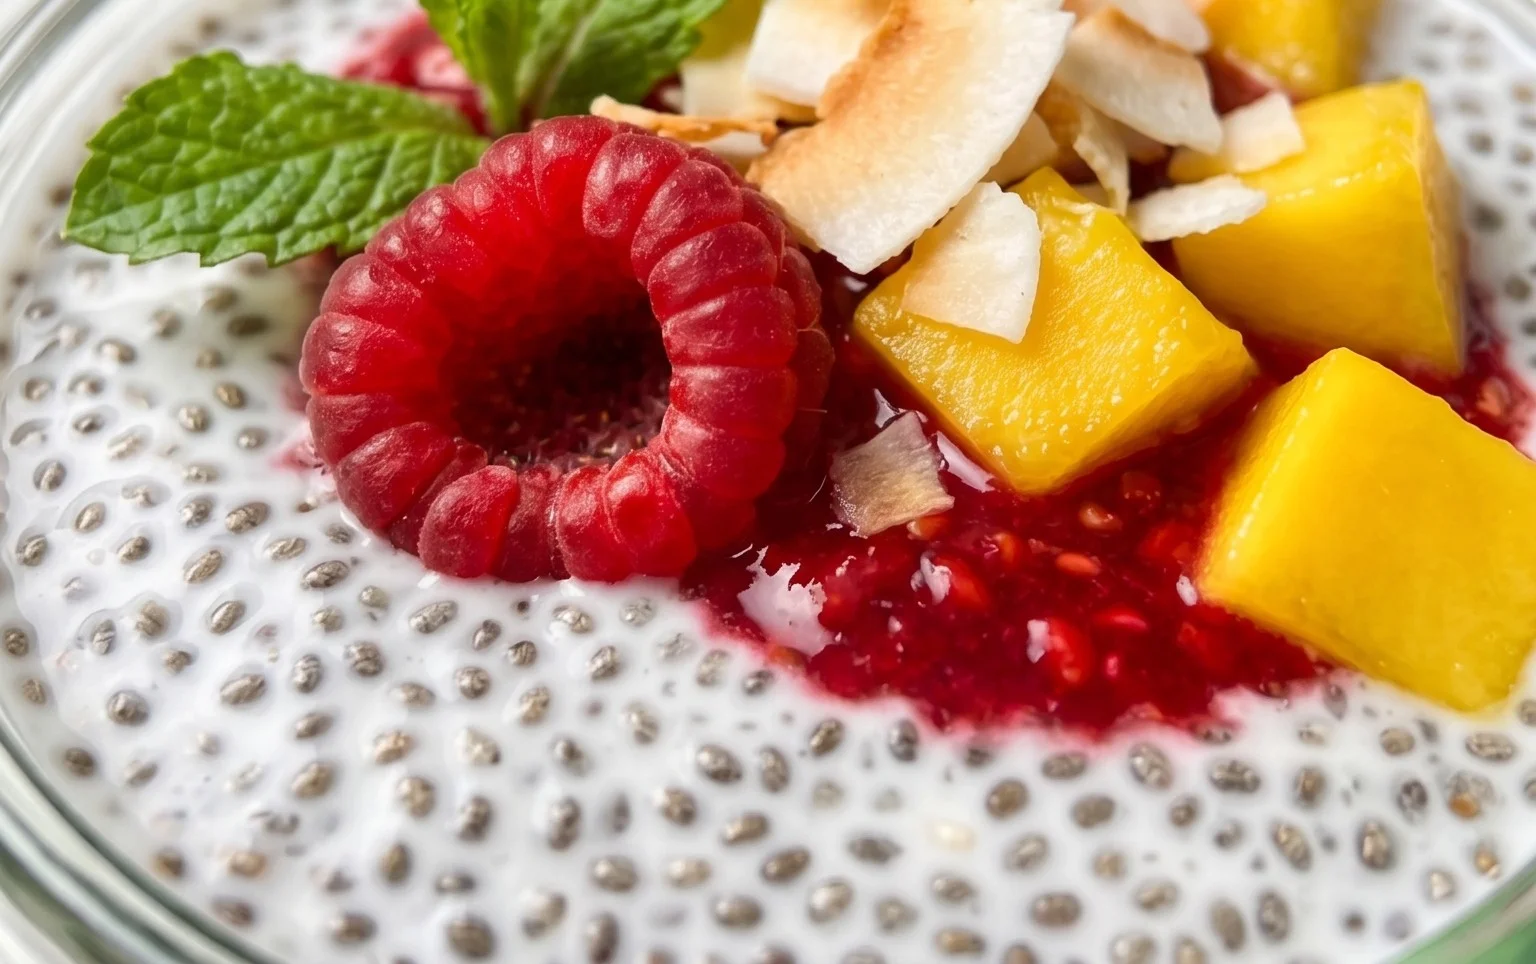
Once your chia seed pudding has reached your desired consistency, it’s time for the fun part: the toppings! This is where you can really let your creativity shine. Fresh berries are always a fantastic choice – think strawberries, blueberries, raspberries, or a mix! A sprinkle of granola adds a delightful crunch. Sliced bananas, a dollop of yogurt, shredded coconut, a drizzle of nut butter, or even a few dark chocolate chips can transform your simple pudding into a gourmet treat. I often find myself reaching for a handful of toasted almonds and a sprinkle of cinnamon for a warm, comforting flavor. Enjoy this simple yet satisfying creation!
Conclusion:
There you have it – a wonderfully simple and incredibly versatile Chia Seed Pudding recipe that’s a true game-changer for your breakfast or snack routine. This delightful dish is a powerhouse of nutrition, packed with fiber, omega-3 fatty acids, and protein, making it an ideal choice for a healthy and satisfying meal. Its ability to be prepared ahead of time means you can enjoy a delicious and wholesome treat with minimal effort on busy mornings. I truly encourage you to give this Chia Seed Pudding a try; it’s so easy to customize to your personal tastes!
The beauty of chia seed pudding lies in its adaptability. Beyond the basic recipe, feel free to explore a world of flavor combinations. Swirl in some mashed berries for a fruity burst, add a tablespoon of cocoa powder for a chocolatey indulgence, or incorporate a pinch of cinnamon and nutmeg for a warm, spiced dessert. For a richer texture, try using full-fat coconut milk or a blend of different plant-based milks. Top with fresh fruit, granola, nuts, seeds, or a drizzle of honey or maple syrup for an extra layer of deliciousness and texture. It’s perfect served chilled straight from the fridge, making it an excellent make-ahead option.
Frequently Asked Questions:
Can I make this recipe without a sweetener?
Absolutely! While the sweetener helps balance the flavors, you can omit it entirely if you prefer. The natural sweetness from any added fruits you choose for toppings or mix-ins might be enough for you. You can also use sugar-free sweeteners if that aligns with your dietary goals.
How long does chia seed pudding last in the refrigerator?
Chia seed pudding is best enjoyed within 3 to 5 days when stored in an airtight container in the refrigerator. The chia seeds will continue to absorb liquid and thicken over time, so the texture might become quite firm after a few days. You can always add a splash of milk to loosen it up if needed.
What kind of liquid is best for chia seed pudding?
Almost any liquid works well! Dairy milk, almond milk, soy milk, oat milk, coconut milk (canned for a richer texture, carton for lighter), and even water can be used. Each liquid will impart a slightly different flavor and texture, so experiment to find your favorite!
Chia Seed Pudding Recipe
A simple and healthy chia seed pudding recipe that’s customizable with your favorite milk and sweetener.
Ingredients
-
3 tablespoons chia seeds
-
1 tablespoon maple syrup
-
1 teaspoon vanilla
-
3/4 cup milk of choice
-
1/4 cup fruit (e.g., berries)
-
1 tablespoon nuts (e.g., almonds)
-
Pinch of cinnamon
Instructions
-
Step 1
In a bowl or jar, combine chia seeds, maple syrup, and vanilla. -
Step 2
Pour in the milk of choice and whisk or stir well to combine, ensuring there are no clumps of chia seeds. -
Step 3
Let the mixture sit for 5-10 minutes, then stir again to break up any settled chia seeds. -
Step 4
Cover the bowl or jar and refrigerate for at least 2 hours, or preferably overnight, until thickened. -
Step 5
Before serving, stir the pudding and top with desired fruit, nuts, and a pinch of cinnamon.
Important Information
Nutrition Facts (Per Serving)
It is important to consider this information as approximate and not to use it as definitive health advice.
Allergy Information
Please check ingredients for potential allergens and consult a health professional if in doubt.