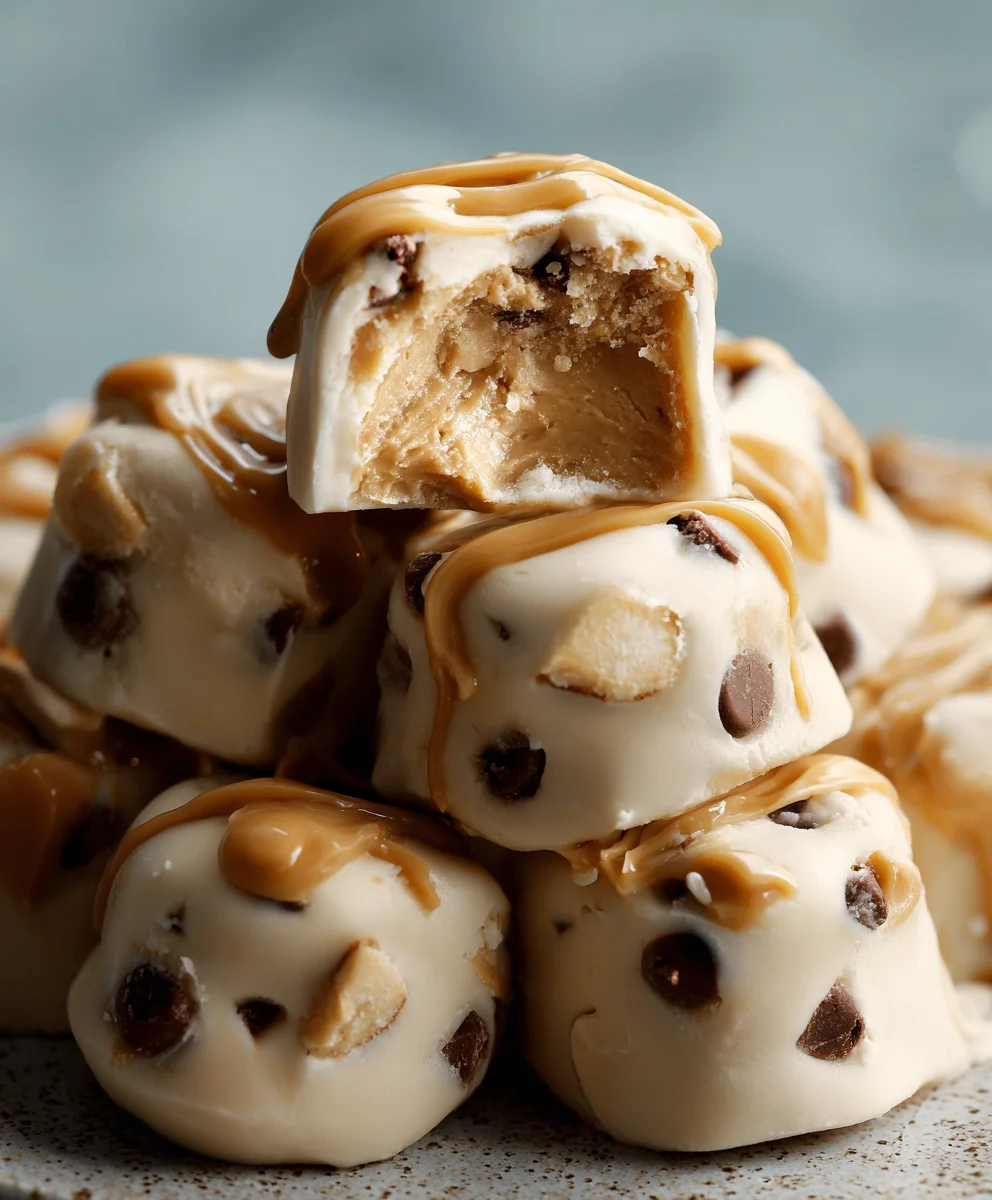
Frozen Greek Yogurt Peanut Butter Bites – Easy Recipe
Frozen Greek Yogurt Peanut Butter Bites: Your Freezer’s New Best Friend is a title that promises a delightful treat, and oh, does it deliver! If your freezer is currently a barren wasteland of forgotten leftovers and ice crystals, it’s time for an upgrade. These frozen delights are not just snacks; they are mini moments of pure joy, perfect for when that sweet craving hits or you need a healthy, energy-boosting pick-me-up. What’s not to love about the creamy tang of Greek yogurt perfectly balanced with the rich, nutty embrace of peanut butter? They’re incredibly satisfying without being heavy, making them an ideal post-workout reward or a guilt-free indulgence any time of day.
What makes these Frozen Greek Yogurt Peanut Butter Bites so special?
It’s their simplicity combined with their irresistible flavor and texture. Imagin extracte biting into a cool, slightly firm, yet yielding bite that melts in your mouth, releasing that classic peanut butter and yogurt combination that we all adore. They are incredibly versatile, too. While the classic is a winner, you can easily customize them with a drizzle of honey, a sprinkle of mini chocolate chips, or even a dash of cinnamon. They’re surprisingly easy to make, requiring just a handful of common ingredients and minimal effort, proving that truly delicious and healthy treats don’t need to be complicated. Get ready to fall in love with your freezer all over again!
Ingredients:
- 1 ½ cups creamy peanut butter (natural or regular, your preference!)
- ½ cup honey or maple syrup (adjust to your sweetness preference)
- 1 teaspoon vanilla extract
- ¼ cup milk (dairy or non-dairy, like almond or oat milk)
- ½ cup mini chocolate chips (or roughly chopped regular chocolate chips)
- 2 tablespoons chia seeds
- A pinch of ground cinnamon
Making Your Frozen Greek Yogurt Peanut Butter Bites
Step 1: Preparing the Peanut Butter Base
The foundation of our delicious frozen bites starts with a creamy peanut butter base. In a medium-sized mixing bowl, combine the 1 ½ cups of creamy peanut butter. If you’re using natural peanut butter, give it a good stir first to ensure the oil is fully incorporated, which will prevent a greasy texture in your bites. Next, add ½ cup of honey or maple syrup. I often find myself tasting the mixture at this stage and adjusting the sweetness – if you prefer a less sweet treat, start with ¼ cup and add more to your liking. Then, stir in the 1 teaspoon of vanilla extract. This is where that wonderful, warm, cozy aroma starts to emerge, hinting at the deliciousness to come. Whisk everything together until it’s smooth and well combined. You want a uniform consistency, free of streaks of peanut butter or sweetener.
Step 2: Achieving the Perfect Texture with Milk
Now, it’s time to introduce a touch of milk to achieve the ideal consistency for our bites. Add ¼ cup of milk to the peanut butter mixture. You can use any milk you prefer – dairy milk works wonderfully, but if you’re looking for a dairy-free option, almond milk or oat milk are excellent choices and won’t significantly alter the flavor profile. Stir the milk into the peanut butter mixture. At this point, the mixture might seem a little looser than you expect, and that’s perfectly normal. We’re aiming for a consistency that’s thick enough to hold its shape when dolloped, but still pliable enough to mix in our delicious add-ins easily. Continue stirring until the milk is fully incorporated and you have a smooth, creamy batter. Don’t overmix; just ensure everything is blended evenly.
Step 3: Incorporating the Flavor Boosters
This is where we elevate our simple peanut butter base into something truly special. Gently fold in ½ cup of mini chocolate chips. Using mini chocolate chips ensures they distribute nicely throughout the bites and provide delightful bursts of chocolate in every mouthful. If you only have regular-sized chocolate chips, a quick chop will do the trick. Next, sprinkle in the 2 tablespoons of chia seeds. These tiny powerhouses add a fantastic nutritional boost, contributing fiber and those all-important omega-3 fatty acids. They also add a subtle textural element. Finally, add a pinch of ground cinnamon. Honestly, a pinch of cinnamon makes almost everything better, in my opinion. It adds a warm, subtle spice that beautifully complements the peanut butter and chocolate. Stir everything together gently until the add-ins are evenly distributed throughout the mixture. Be careful not to mash the chocolate chips too much; we want them to retain their shape.
Step 4: Shaping and Freezing Your Bites
Once your delicious mixture is ready, it’s time to prepare them for their chilly transformation. Line a baking sheet with parchment paper or a silicone baking mat. This is crucial for preventing the bites from sticking to the baking sheet as they freeze. Using a small cookie scoop or two spoons, drop rounded spoonfuls of the peanut butter mixture onto the prepared baking sheet. Aim for bite-sized portions, about 1 to 1 ½ inches in diameter. Leave a little space between each bite, as they will firm up once frozen. For a more uniform look, you can gently flatten the tops slightly with the back of a spoon. Once your baking sheet is filled, carefully transfer it to the freezer. Let the bites freeze for at least 1 to 2 hours, or until they are completely solid. You’ll know they’re ready when they feel firm to the touch and hold their shape without any greasiness.
Step 5: Storing Your Frozen Delights
After your frozen Greek yogurt peanut butter bites have achieved their ideal frozen firmness, it’s time to transfer them to their long-term storage. Once they are solid, carefully remove the baking sheet from the freezer. Working quickly, transfer the frozen bites from the parchment paper into an airtight container or a heavy-duty freezer bag. Removing excess air from the bag before sealing will help prevent freezer burn. These bites are incredibly versatile, and because they’re so dense and flavorful, a few are usually enough to satisfy a craving. They can be stored in the freezer for up to 2 to 3 months. When you’re ready for a treat, simply reach into your freezer and enjoy one (or a couple!) of these delightful, healthy frozen bites. They are perfect for a quick breakfast, a post-workout snack, or a guilt-free dessert.
Conclusion:
And there you have it – your guide to creating the ultimate “Frozen Greek Yogurt Peanut Butter Bites: Your Freezer’s New Best Friend”! These delightful little treats are surprisingly simple to whip up and offer a fantastic healthy indulgence. We’ve covered the essential steps to achieve that perfect creamy texture and delightful peanut butter swirl. Remember, the beauty of these bites lies in their versatility. Feel free to get creative with your add-ins, perhaps a sprinkle of mini chocolate chips or a drizzle of honey for extra sweetness. Once made, they are a lifesaver for those moments when a sweet craving strikes, or you just need a quick, nutritious pick-me-up. Enjoy them straight from the freezer for a cool, satisfying snack, or let them thaw slightly for a softer, melt-in-your-mouth experience. We encourage you to experiment and make them your own – happy blending!
Frequently Asked Questions:
Q1: How long do these Frozen Greek Yogurt Peanut Butter Bites last in the freezer?
These bites can be stored in an airtight container or freezer bag for up to 1-2 months. For the best texture and flavor, try to consume them within this timeframe. Ensure they are completely frozen before sealing to prevent ice crystal formation.
Q2: Can I make these bites dairy-free?
Absolutely! To make them dairy-free, simply substitute the Greek yogurt with a thick, plain, unsweetened plant-based yogurt, such as coconut or almond yogurt. Ensure the consistency is comparable to Greek yogurt for the best results.
Q3: What are some other healthy mix-in ideas for these bites?
The possibilities are endless! Consider adding finely chopped nuts like almonds or walnuts for extra crunch, a sprinkle of chia seeds or flaxseeds for added nutrients, or even some unsweetened shredded coconut for a tropical twist. A small amount of vanilla extract can also enhance the overall flavor profile.
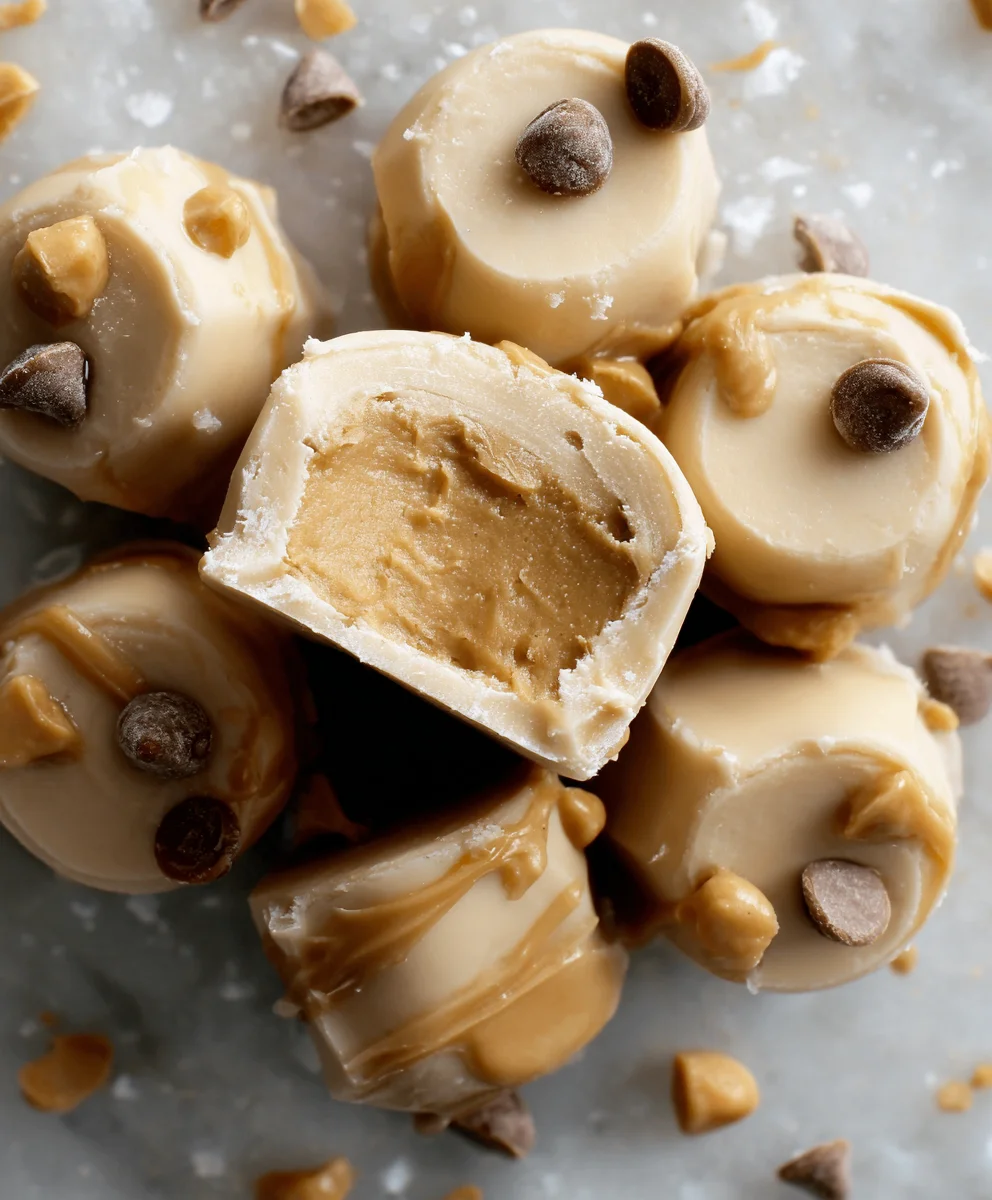
Frozen Greek Yogurt Peanut Butter Bites
Easy no-bake frozen bites made with peanut butter, honey, chocolate chips, and chia seeds.
Ingredients
-
1 ½ cups creamy peanut butter
-
½ cup honey or maple syrup
-
½ teaspoon vanilla extract
-
¼ cup milk
-
½ cup mini chocolate chips
-
2 tablespoons chia seeds
-
A pinch of ground cinnamon
Instructions
-
Step 1
In a medium bowl, combine peanut butter, honey or maple syrup, and vanilla extract. Stir until smooth and well combined. -
Step 2
Add milk to the peanut butter mixture and stir until a smooth, creamy batter forms. -
Step 3
Gently fold in mini chocolate chips, chia seeds, and cinnamon until evenly distributed. -
Step 4
Line a baking sheet with parchment paper. Drop rounded spoonfuls of the mixture onto the baking sheet, about 1 to 1 ½ inches in diameter. -
Step 5
Freeze for at least 1 to 2 hours, or until completely solid. -
Step 6
Transfer frozen bites to an airtight container or freezer bag for storage.
Important Information
Nutrition Facts (Per Serving)
It is important to consider this information as approximate and not to use it as definitive health advice.
Allergy Information
Please check ingredients for potential allergens and consult a health professional if in doubt.